248
10.9 Installation
10.9.1 Installation Procedures
If you have any problem on product, contact the local Haier distribution center.
Please use the standard tools according to the installation requirements.
The standard attached accessories of the units of this series refer to the packing list; prepare other accessories
according to the requirements of the local installation point of our company.
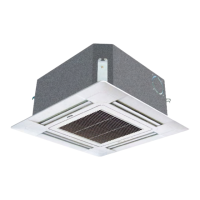
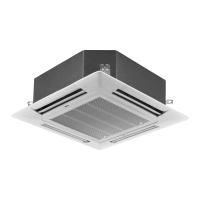
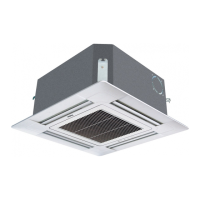
Indoor Units
1. Choose the suitable installation location. Indoor units should be installed in places with the environment
of even circulation of cool and warm blows. The following places should be avoided.
※
3. Dimension (unit: mm).
Model a b c d e f g h i
AD072MLERA
AD092MLERA
AD122MLERA
418 538 500 220 255 508 610 136 --
AD162MLERA
AD182MLERA
AD242MLERA
1002 483 136 1105 255 105 880 970 220
Places with high salinity (beach), high sulfureted gas (such as the thermal spring regions where copper tubes
and soft soldering are easy to be eroded), much oil (including mechanical oil) and steam; places where organic
substance solvent is frequently used; places where machines generate the high frequency electromagnetic wave
(abnormal condition will appear in the control system); places where there is high humidity exists near the door
or windows (dew is easily formed); and places where the special sprayer is frequently used.
(1) The distance between wind outlet port and the ground should not be more than 2.7m.
(2) Select appropriate places for installation where the outlet air can be spread to places all over the house and
arrange proper locations for connecting pipes and lines as well as the drainpipe to the outdoor.
(3) Ceiling construction must be hard enough to hold the weight of the unit.
(4) Make sure that the connecting pipe, the drainpipe and connecting guide line can be put into walls to connect
the outdoor units.
(5) It is recommended to make the connecting pipe between the outdoor and indoor units and the drainpipe are as
short as possible.
(6) Please read the attached installation instruction of outdoor units for regulation of lling amount of refrigerant if
necessary.
(7) The connecting ange should be checked by users.
(8) Those electrical appliances such as television, instruments, devices, artwork, piano, wireless equipment and
other valuables should not be placed under the indoor unit as to prevent condensate from dropping into them and
causing damage.
2. The following steps can be taken after selecting the installation place:
(1) Cut a hole on the wall and put the connecting pipe and connecting
thread into the PVC, which is purchased at the local shop. With a slight
downwards tilt towards the exterior, the gradient should be kept at least
1/100, as shown in Fig.1.
(2) Before cutting the hole, check if there are pipes or reinforcing steel bars
at the rear of the hole. Making the hole in the place where wires or pipes should be avoided.
(3) Hang the unit on a xed and at roof. Unstable base will cause noise, vibration or leakage.
(4) Fix the unit support and change the connection pipes, connecting the shapes of wires and drainpipes so as to
let them go through the wall hole.