27 ODROID C2 USER MANUAL
Uncompress the compressed image le using the 7-zip appli-
cation, which generates the directory win32diskimager2-binary that
includes the Win32DiskImager2.exe application. Move the entire di-
rectory to C:\Program Files (x86):
C:\Program Files (x86)\win32diskimager2-binary\
You will need to be logged in to Windows OS as an administrator
to move this directory. Then, create a shortcut for the application on
the desktop using the following link:
C:\Program Files (x86)\win32diskimager2-binary\Win32DiskIm-
ager2.exe
Next, change the properties of the shortcut (right-click of mouse)
so it will run with Administrator privileges. Finally, double-click this
shortcut in order to launch the Win32DiskImager2.exe application.
Click the folder (directory) icon to browse and select the directory that
has the uncompressed image le.
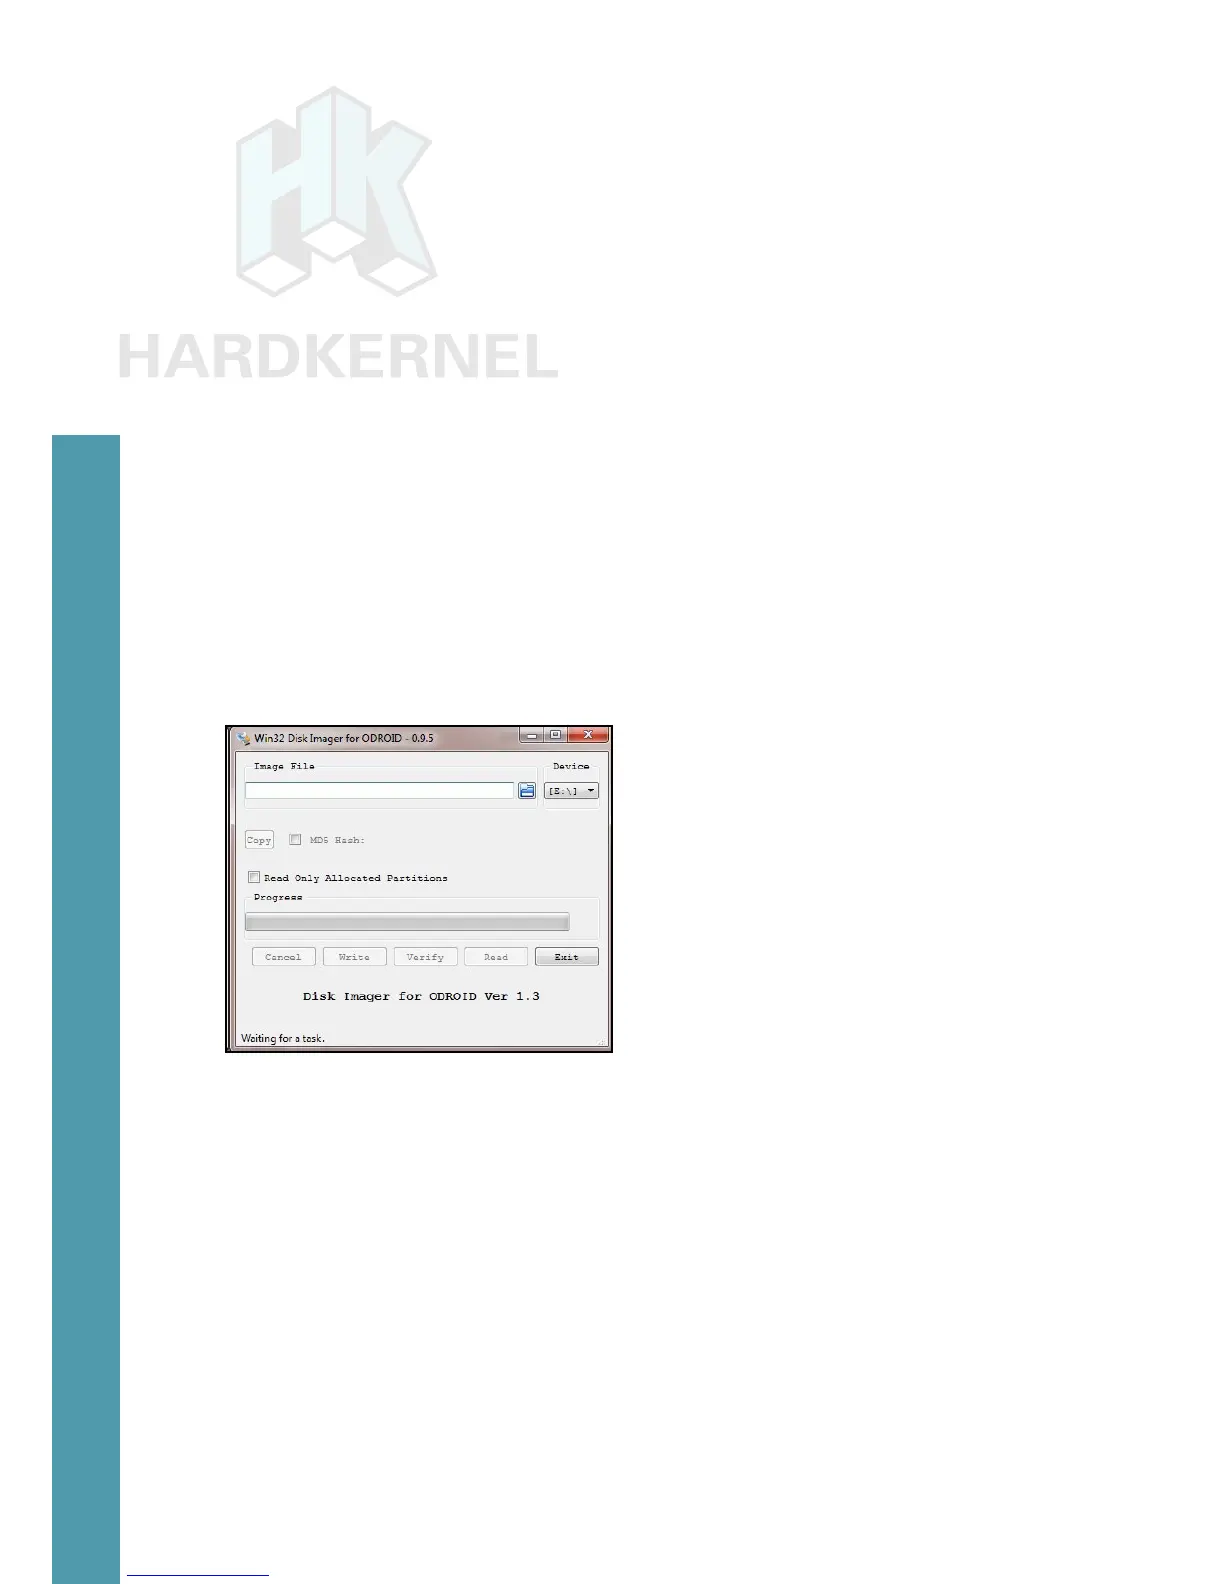
Flashing an image using Win32DiskImager2
Select the uncompressed image le. Note that the application au-
tomatically selects the device (G:) that corresponds to the boot media in
the microUSB card reader / writer. The image above shows the congu-
ration. Click on the Write button to start the ash process.
You will be notied of the completion of the ash process. Launch
the Windows Explorer application and right-click the device that was
used in the ash process by Win32DiskImager2.exe with the mouse
and select the Eject option. When permitted, remove the microUSB
card reader / writer from the USB port of the computer. Remove the
boot media and place it on the non-conductive surface.
The above steps are to ash the Linux image. What if you wish to
ash an Android image? While you would download a different compressed
Chapter 2