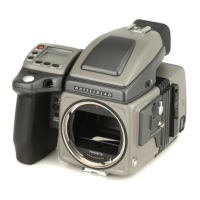
37
H4D
Light metering and exposure control
Two primary factors have to be considered when making exposure control choice,
namely, metering method and exposure method:
Metering method determines in which manner the light measurement is made and
how much of the image is taken into account (Centre Weighted, CentreSpot and Spot).
Exposure method involves the parameters and deciding factors about how the light
measurement is translated into aperture and shutter speeds. Here the choice is about
the camera controls and their e ect on the result or suitability for the subject. Included
in this choice is the type of automation too (Manual for 100% user control, Aperture pri-
ority, Program, etc for automated control).
Some methods and modes are much more suited to various situations and applications
than others, while some depend to a greater degree on personal preference and ways
of working. A discussion of the points to consider in this context is beyond the scope of
this manual.
Since the light measuring system is TTL, lter factors, lens extension / extension ring
factors, etc, are automatically taken into account for average purposes. However, some
combinations of methods and equipment can cause slight discrepancies for various rea-
sons and therefore for critical work you should make alternative captures to suit per-
sonal preference.
Exposures are displayed on the grip display to within 1, 1/2 and 1/3 EV tolerances (depen-
dent on setting). This means that ‘half-stops’ are shown in a form that can di er from more
traditional displays. For example, the position between f/ 8 and f/11 is displayed as f9.5
and likewise the position between 1/30s and 1/60s is displayed as 45. Therefore a display
showing ‘f 9.5 45’ simply means ‘f/9.5 at 1/45 second’. The appearance of an ‘s’ after the
shutter speed signi es whole seconds so, for example, ‘32s’ on the display signi es an ex-
posure time of 32 seconds, not 1/30.
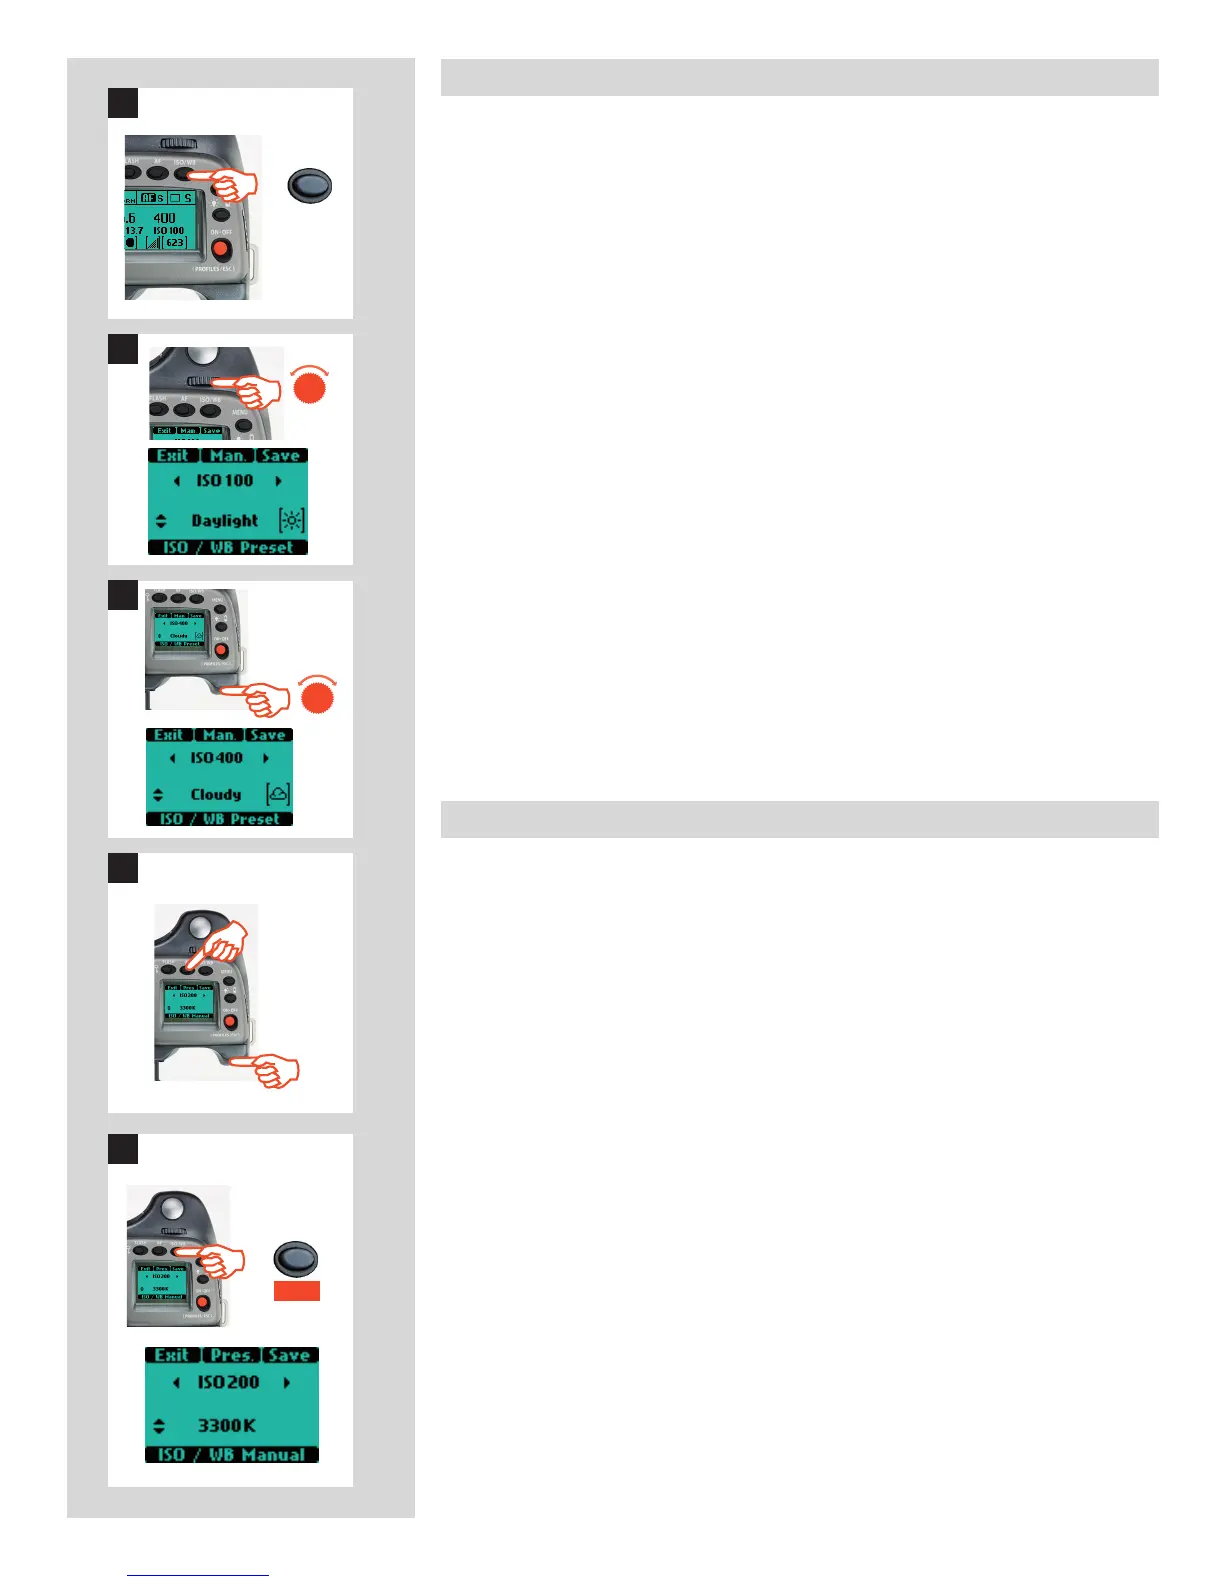
ISO & White Balance button
The ISO/WB button provides immediate access to ISO and White Balance settings. The
front and rear control wheels are used to make the desired changes. The settings are au-
tomatically and simultaneously transferred from the camera to the digital capture unit.
Please note that the changes are only displayed on the digital capture unit unit when the
settings have been saved.
1) Press the ISO/WB button on the grip.
2) To make an ISO setting, turn the front control wheel to choose between:
100, 200, 400, 800 and 1600 (40 Mpix)
50, 100, 200, 400 and 800 (50 Mpix).
3) To make a preset White Balance setting, turn the rear control wheel to choose
between:
Daylight, Shade, Cloudy, Flash, Fluorescent and Tungsten
4) To make a Manual White Balance setting (not a White balance test exposure),
press the Man. (AF) button and then turn the rear control wheel to choose a color
temperature:
2000 – 10000 K
5) Press SAVE (ISO/WB button) to save the setting.
White Balance settings are only approximate color temperature settings. They are only
used for user convenience when viewing. 3F/3FR les are raw format le and therefore
contain all the information required for correction in Phocus and/or other software, re-
gardless of the original color temperature at the time of exposure .
1
ISO/WB
2