44
To reverse looper playback, press the Reverse footswitch. The looper’s current playback direction is shown in
the Playback field.
Tip: Create eerie effects by recording layers in reverse then switching back to normal playback.
To set the looper’s location in the signal chain, tap the Source field, and then turn the main encoder to place it
before (GUIT IN, MIC/GT2 IN) or after (XLR OUT, 1/4”) the signal chain. Moving the looper to the GUIT IN or
MIC/GT2 IN position enables you to edit your rig without having to play the same riff over and over again.
To create a new loop, tap the + icon in the top right corner and then tap NEW LOOP. Tap Yes to clear the current
loop and create a new one or No to return to the Looper screen.
To save a loop, tap the disk icon in the top right corner and then tap SAVE LOOP. Tap Yes to confirm or Cancel
to return to the Looper screen without saving.
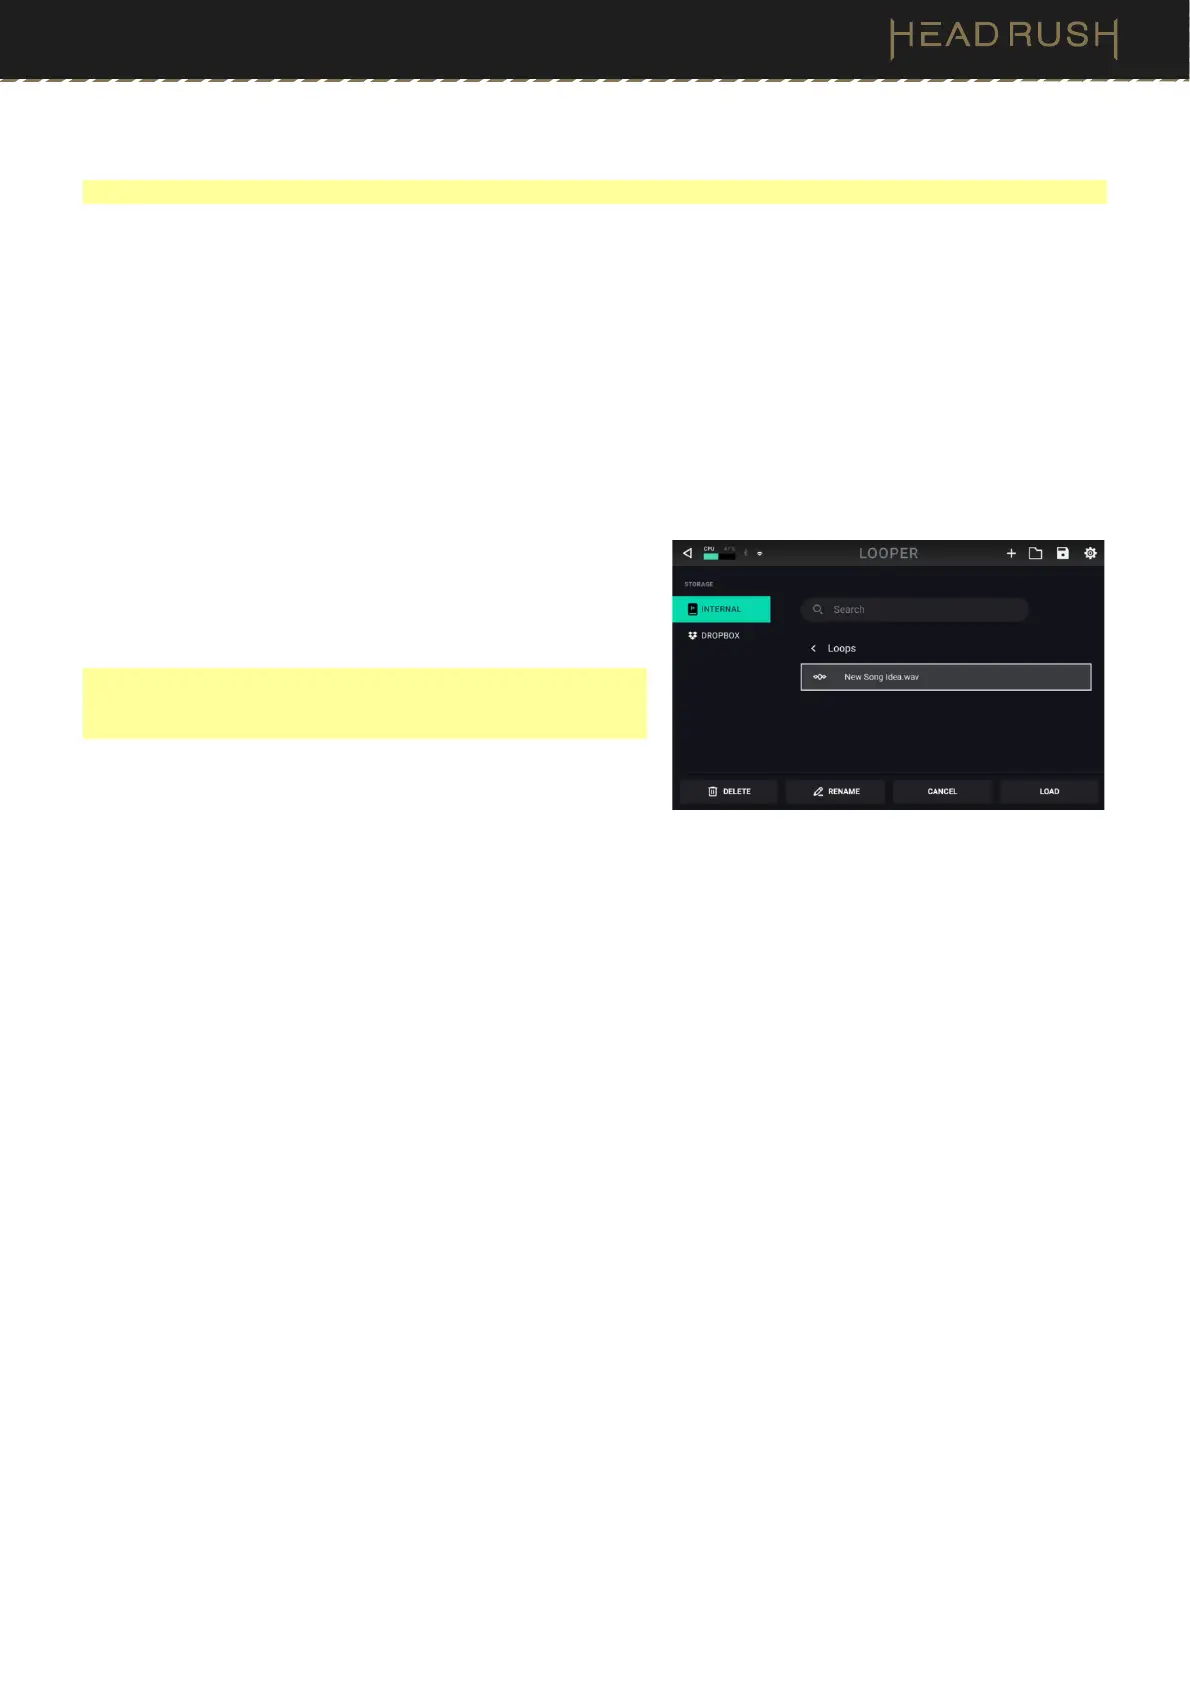
To load a loop, tap the folder icon in the top right corner and
then tap LOAD LOOP. When the file browser appears, select
the loop to load, and then tap Load to load the loop or
Cancel to return to the Looper screen.
Tip: While using the USB Transfer feature, you can import .WAV
and .MP3 audio files for the Looper by placing the files in
HeadRush Core’s /LOOPS/ directory.
To edit a loop’s name, tap the folder icon in the top right corner
to access the file browser, locate the loop, and then tap
RENAME. Use the virtual keyboard to type a new name, and
then tap OK to confirm the new name or Cancel to return to
the Looper screen.
To delete a loop, tap the folder icon in the top right corner to access the file browser, locate the loop, and then tap
DELETE. Tap Yes to confirm the deletion or No to return to the Looper screen without deleting.
To exit the looper and return to the main screen, press the Exit footswitch. If the looper is playing, playback will
continue.
To re-enter the looper, press and hold footswitch 4 (labeled “—Looper”) again.