30
(4.6.2) Scenes
The Scene feature allows you to turn multiple blocks on or off or change multiple presets for a block in each rig
using one footswitch press. When you press the footswitch assigned to that scene, all blocks included in that scene
will turn on or off, depending on how you assign them. This is a great way to create multiple tones in the same rig.
For instance, you may want a particular reverb block to be on anytime a particular distortion block is also on.
Alternatively, you may want to turn one delay block off when you turn another one on. Scenes enable you to do this
with only one footswitch press.
To create and edit a scene:
1. On the Hardware Assign screen, tap Toggle/Hold/Scene
for the desired footswitch to cycle through the available
options, and select Scene.
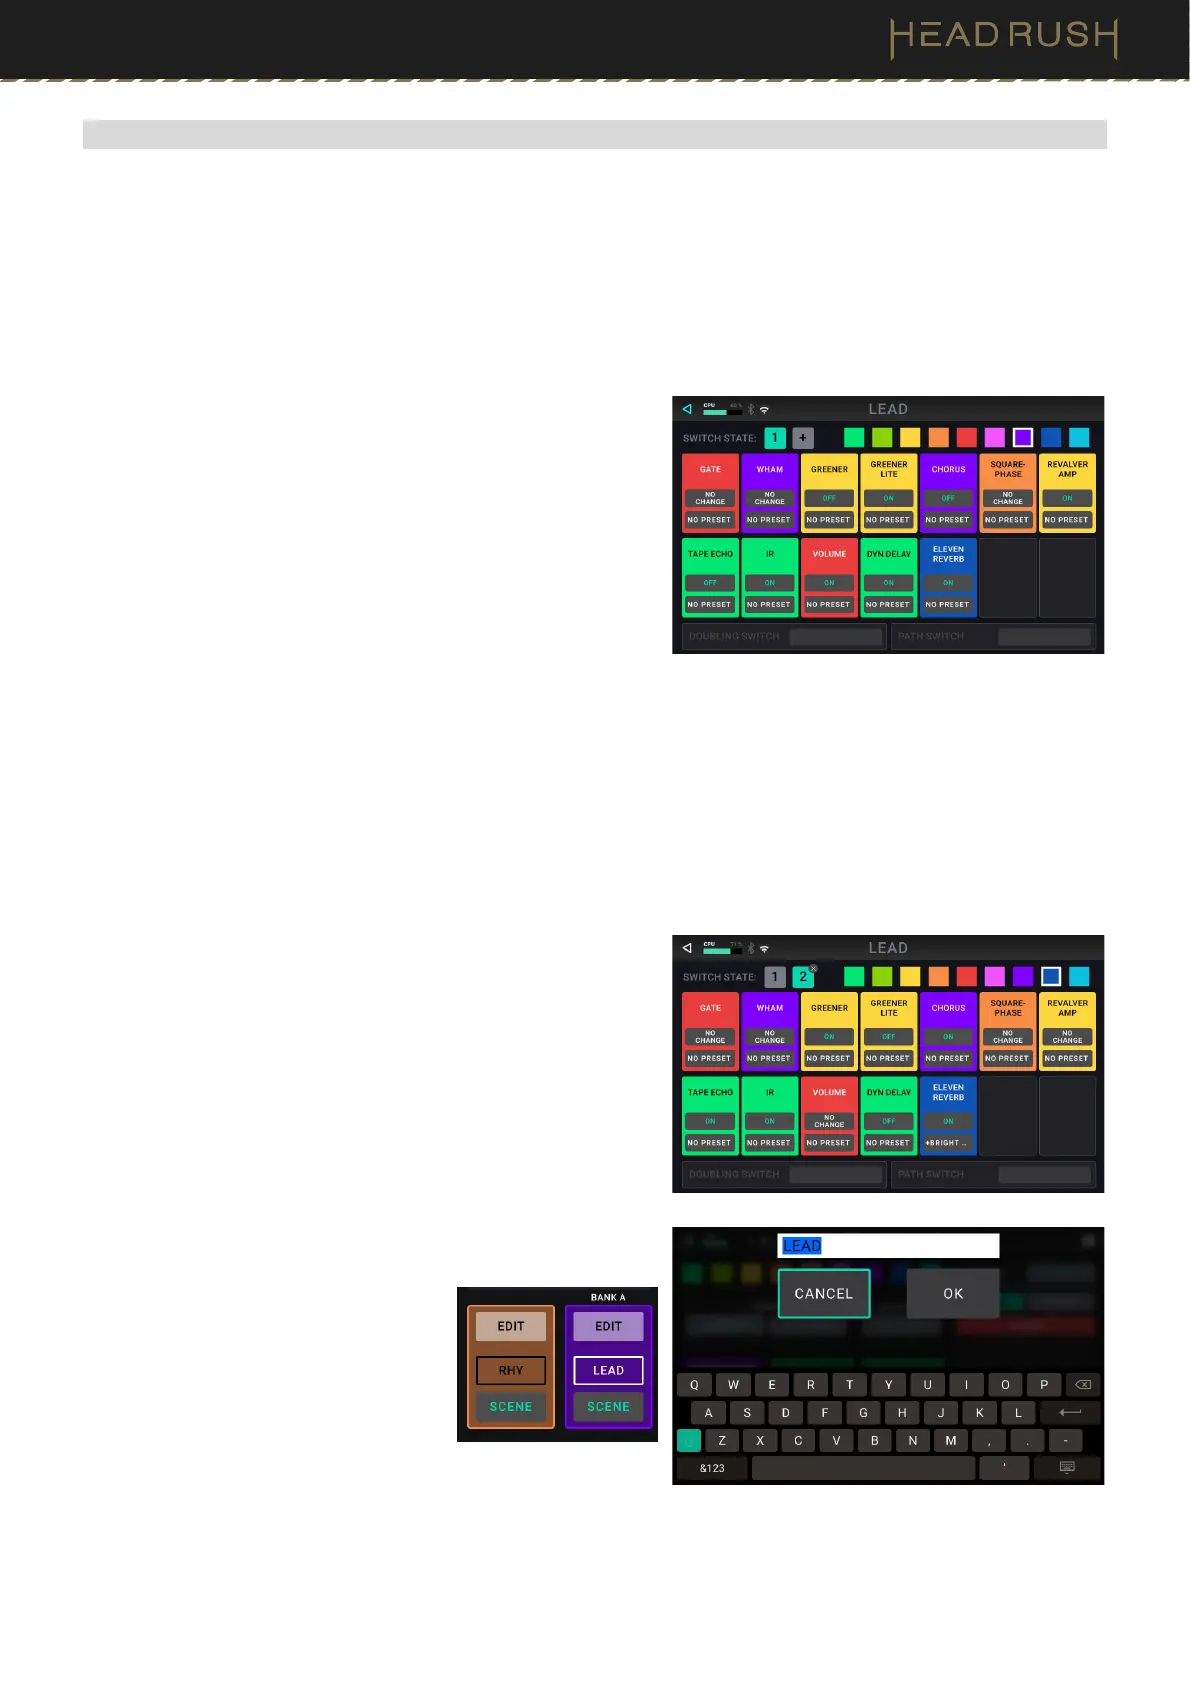
2. On that block, tap Edit. The Scene Editor will appear, which
shows all blocks in your rig.
3. For each block in the rig, tap the On/Off/No Change field
to cycle through the available options:
• On: This block will turn on when you turn the scene on.
• Off: This block will turn off when you turn the scene on.
• No Change: This block will remain unaffected when
you turn the scene on.
4. If you would like a block to load a preset when the scene is turned on, tap the Preset field, and select a preset.
With this feature enabled, you change the parameters of a block by selecting a scene.
5. If you are using Switch-Doubling or a Split Path signal chain, use the Doubling Switch and Path Switch options
to toggle between A/B/No Change.
6. Tap a color at the bottom of the touchscreen to select a color for the scene.
7. Tap the button in the upper-left corner to return to the Hardware Assign screen.
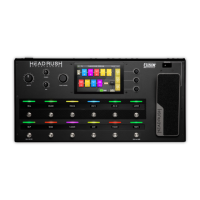
To toggle between 2 scenes on 1 footswitch:
1. On the Scene Editor screen, tap the located next to
Switch State 1, to add a second state.
2.
Create the second scene using the editor as normal by
choosing which blocks should be turned on, off, or have no
chain.
3. Tap a different color for the footswitch LED to be shown
when the second state is enabled by the footswitch.
4. Tap the button in the upper-left corner to return to the
Hardware Assign screen.
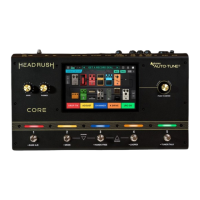
To rename a scene (which appears in
the footswitch indicators), tap the text
in the box below Edit on the block on
the Hardware Assign screen, use the
virtual keyboard that appears to enter
a name, and then tap anywhere other
than the text field.
You can also rename the scene from the scene edit page by
double-tapping the current scene name at the top of the
screen.