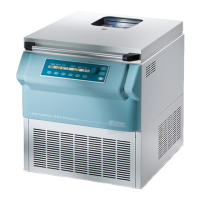
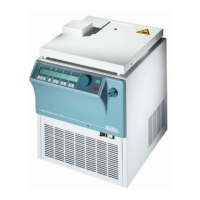
Hettich AG, Seestrasse 204a, 8806 Baech, Switzerland Operator_Manual_Rotolavit II_und_Rotolavit II-S_en_rev2.5
Seite 21
7.4 Starting the wash centrifuge
Push the ON / OFF main switch (fig. 7.1, Pos. 3). The start initialization needs approx. one minute.
When the main screen appears push the lid-open button and open the lid, chapter 8.2 pos.7, remove the
transportation safety device from the top of the rotor and keep it in a safe place.
7.5 Install and remove the rotor
Either a 12-place rotor or a 24-place rotor may be installed in the Rotolavit II and Rotolavit II-S. Both rotors can
hold either 10 mm x 75 mm tubes or 12 mm x 75 mm tubes, glass- or plastic-types. A rotor must be installed
and the setup must be correctly to operate, see cha. 8.5 systems settings and cha. 10.1 Entering the rotor-
type.
Rotor installation procedure:
1. Grasp the rotor on the grip area (fig. 7.6, pos. 1) and place the rotor over the motor-axis.
2. Align the markings (fig. 7.6, pos. 2) on the top of the rotor with the slots on the motor-axis.
3. Lower the rotor onto the motor-axis.
If the rotor is placed incorrectly over the motor-axis, then it is not possible to close the lid.
Rotor removal procedure:
1. Open the lid.
2. Grasp the rotor on the grip area and lift the rotor straight up.
 Loading...
