25
– Channel A is selected by default. Both symbols CAL and appear on display.
– Connect the first dummy probe to probe input A (-1000 µm).
– Set display to nominal value of dummy probe by pressing each key
– Press the key to confirm this first value.
– Acknowledgment through the second symbol appearing now, telling you
that the second stage of calibration has started off.
– Apply second value (1000 µm) to probe input A.
– Set display to nominal value as described above.
– Press the key to confirm this second stage.
– Channel B ist automatically selected. Both symbols CAL and appear.
– Connect first dummy probe to probe input B (-1000 µm).
– Set display to nominal value by pressing both keys
– Press the key to confirm this first value.
– Second symbol now appears for acknowledgement, telling you that the
second stage of calibration has started off.
– Apply second value (1000 µm) to probe input B.
– Set display to nominal value as described earlier.
– Press the key to confirm this second stage.
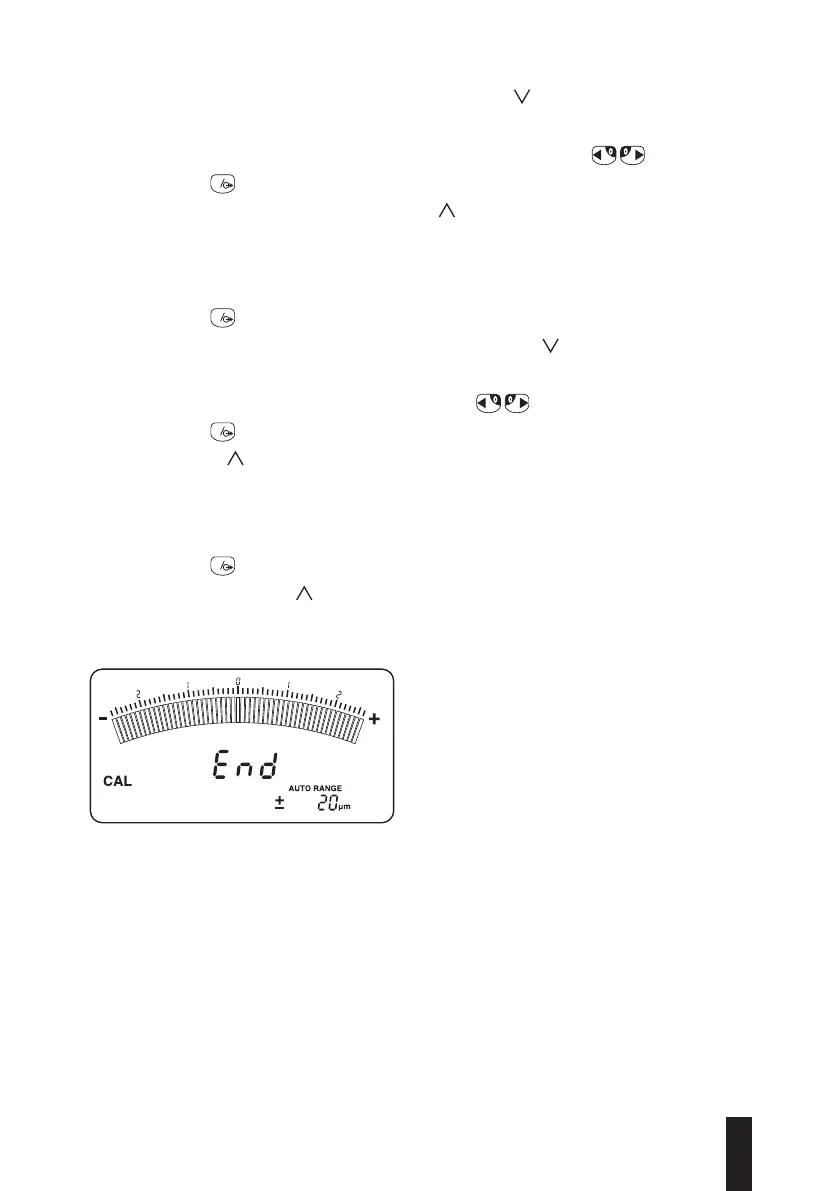
– END replaces the symbol for acknowledgement.
– Turn the instrument off, then set the switch 3 to measurement (last operation
is unnecessary for TT90 which only needs to be switched OFF).
– Turn the instrument on and carry out the measurements.
Incoherent values generate an error message and they will be neglected.