December 2016 Page 4-21
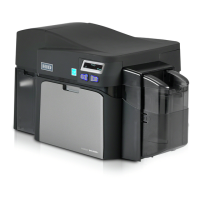
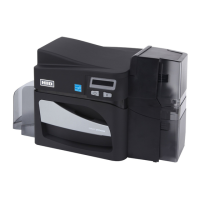
PLT-01668, Version: 1.2 Printer Preferences
Creating a Fluorescent Image
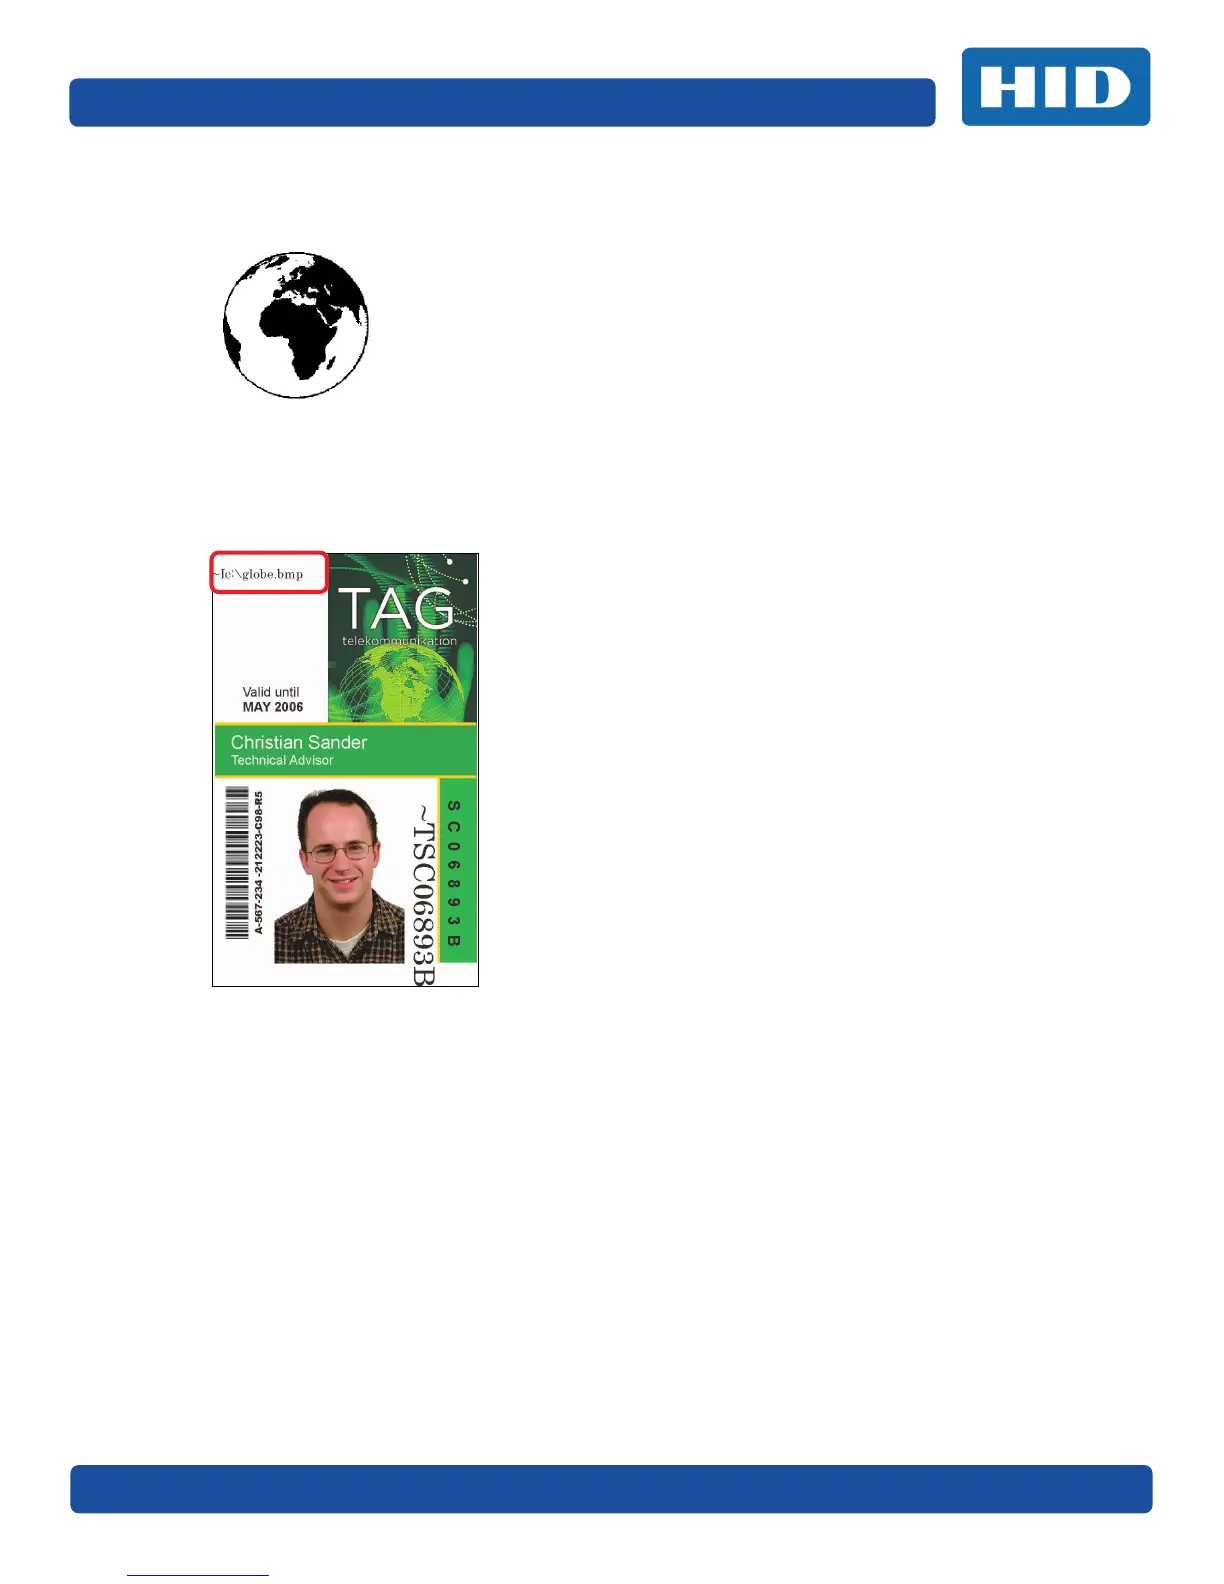
1. In a separate drawing program, create the image that you wish to fluoresce.
2. Create the IMAGE in the actual size that you want it to appear on the card, and save it as a
Grayscale or 1 - bit bmp file on the root c:\ directory.
Note: Do not put spaces in the file name.
3. Create a new text box in your badge application, and type ~I followed by the address of your
image. The top left of your image will start at the top left of your text box.
4. Set up the printer driver preferences.
5. Set the Ribbon for YMCFKO in the Printing Preferences.
Note: The Automatically detect the installed Ribbon for every print job button may also be
used.
6. Select Invert F-Panel Image to create a negative of the fluorescent image.
This refers to the ability to cause light or white areas of the image to fluoresce and dark
colors to remain dark on the printed card when exposed to a UV light.
This was requested because the fluorescent dye color is bright when black light is applied to
it.
By default, the dark areas of the image will fluoresce on the card and the lighter or white areas
will have no dye applied.
Note: This may improve the look of the person’s image if used for the Logo.
7. Printer will print the fluorescent BMP IMAGE at the ~I position on the card. Printer will print the
fluorescent TEXT at the ~T position on the card.
 Loading...