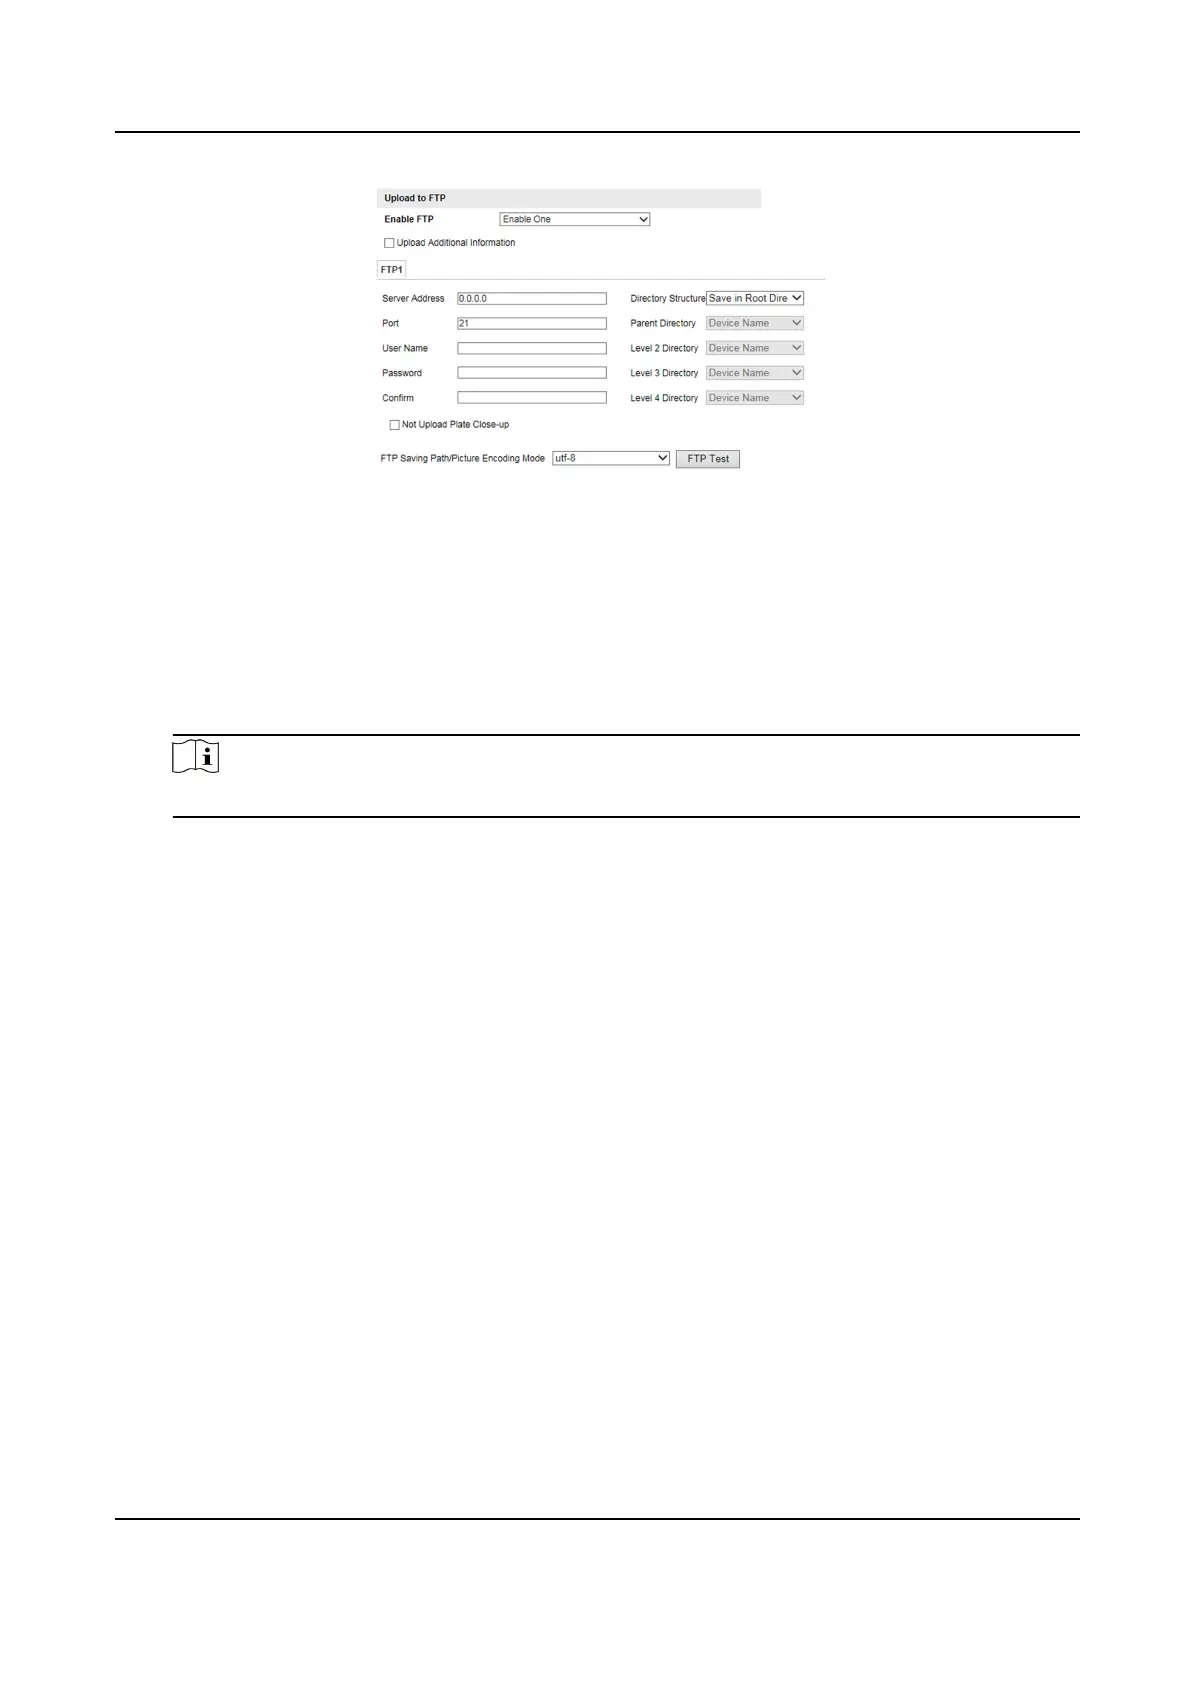
Figure 4-2 Set FTP
2. Enable the FTP server.
3.
Oponal: Check Upload Addional Informaon, and then the related informaon can be
aached when uploading.
4. Set FTP parameters.
1) Enter Server Address and Port.
2) Enter User Name and Password, and
conrm the password.
3) Select Directory Structure.
Note
If mulple directories are needed, you can customize the directory name.
5. Oponal: Check Not Upload Plate Close-up if the license plate close-up pictures are not needed
to upload.
6.
Oponal: Click FTP Test to test the server connecon.
7. Set the name rule and separator according to the actual needs.
8.
Oponal: Edit OSD informaon which can be uploaded to the FTP server with the pictures to
make it convenient to view and disnguish the data.
9. Click Save.
4.1.3 Set Listening Host
The listening host can be used to receive the uploaded informaon and pictures of the device
arming alarm.
Before You Start
The listening service has been enabled for the listening host, and the network
communicaon with
the device is normal.
Steps
1. Go to Conguraon → Device Conguraon → System → Network Interface Parameters .
Network Trac Camera (for Trac Flow Camera) User Manual
16

 Loading...