3. Click Save.
Result
When the
mes you entered incorrect passwords have reached the limit, the current IP address
will be locked automacally.
9.3 Set HTTPS
9.3.1 Create and Install Self-signed Cercate
HTTPS is a network protocol that enables encrypted transmission and identy authencaon,
which improves the security of remote access.
Steps
1. Go to
Conguraon → Device Conguraon → System → HTTPS .
2. Select Create Self-Signed Cercate.
3. Click Create.
4. Follow the prompt to enter Country/Region, IP Address, Valid Date (Day), and other
parameters.
5. Click OK.
Result
The device will install the self-signed
cercate by default.
9.3.2 Install Authorized
Cercate
If the demand for external access security is high, you can create and install authorized cercate
via HTTPS protocol to ensure the data transmission security.
Steps
1. Go to Conguraon → Device Conguraon → System → HTTPS .
2. Select Create the cercate request rst and connue the installaon.
3. Click Create.
4. Follow the prompt to enter Country/Region, IP Address, and other parameters.
5. Click Download to download the
cercate request and submit it to the trusted authority for
signature.
6. Import
cercate to the device.
-
Select Signed
cercate is available. Start the installaon directly. Click Browse and Install
to import the cercate to the device.
-
Select Create the cercate request rst and connue the installaon. Click Browse and
Install to import the cercate to the device.
7. Click Save.
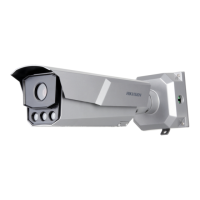
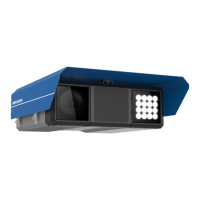
Network Trac Camera (for Trac Flow Camera) User Manual
38

 Loading...