5. Leveling
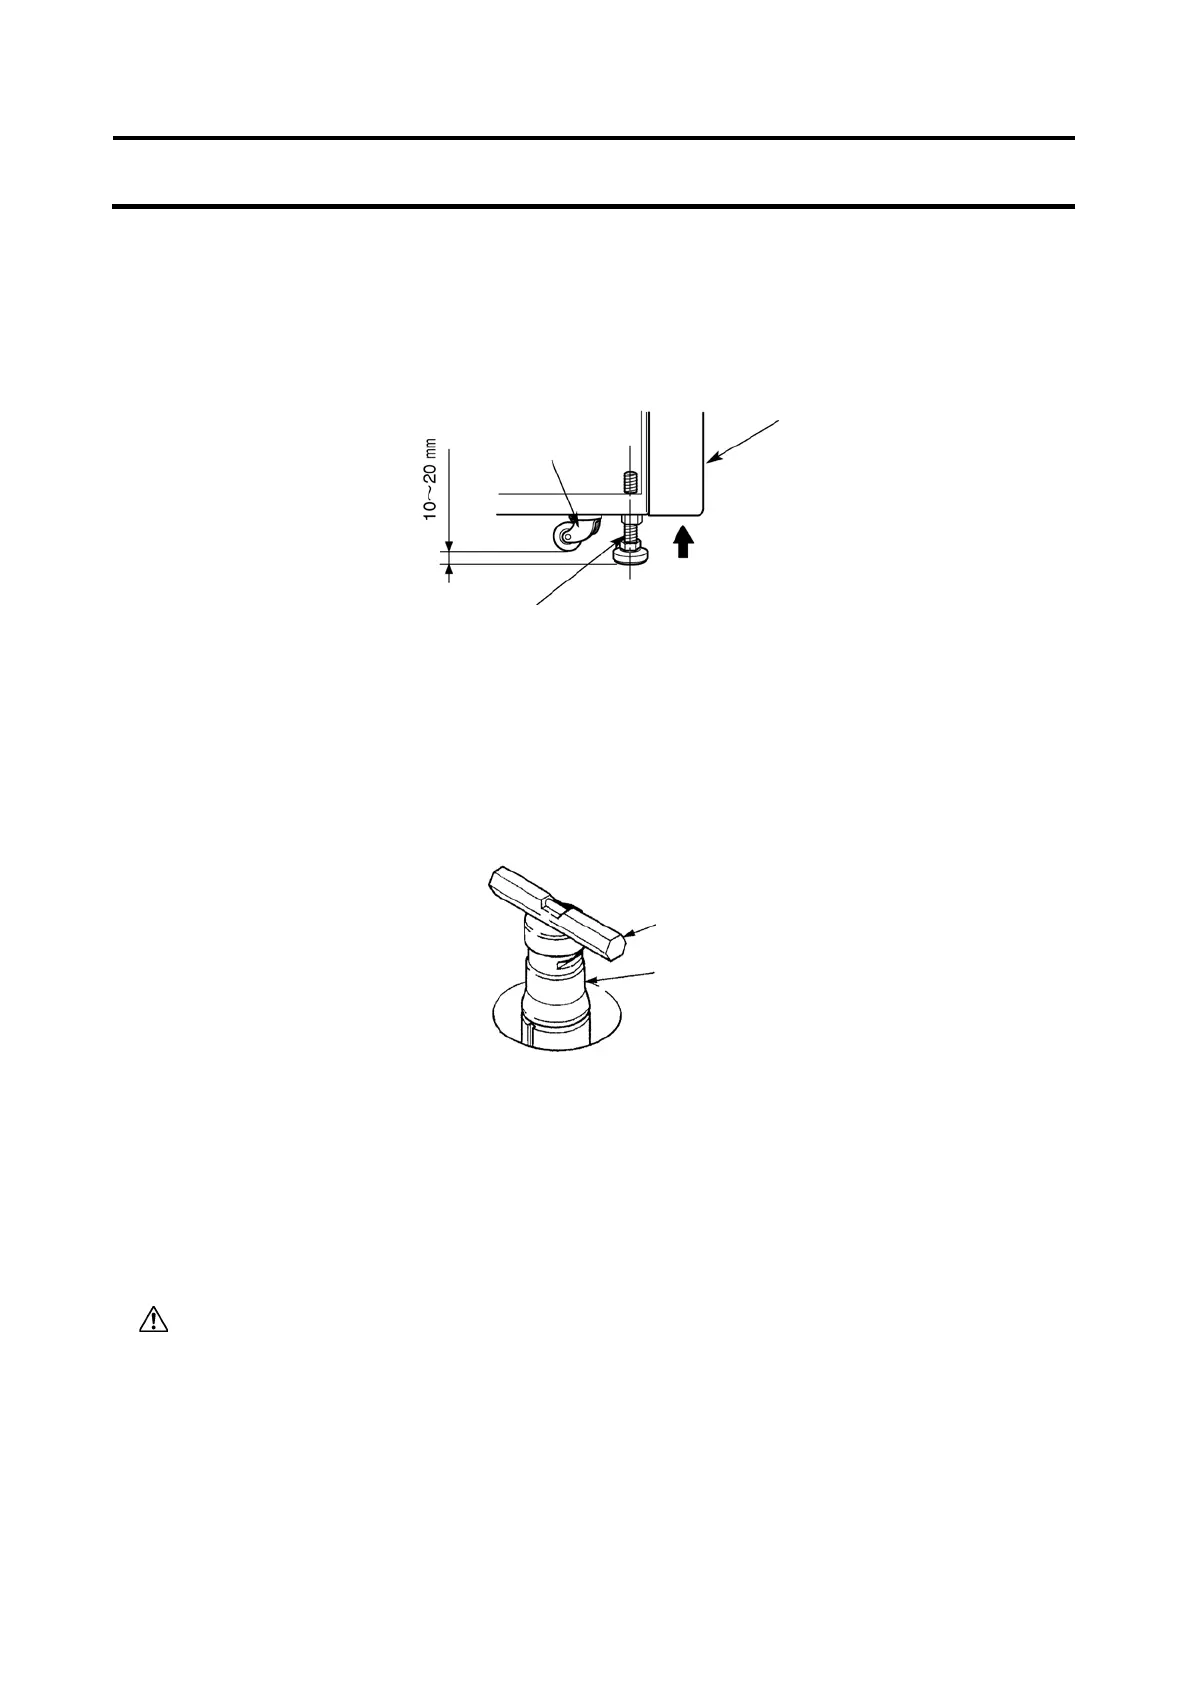
(1) Turn the four leveling screws with a wrench to lift the caster about 10 to 20 mm off the floor as
shown in Fig. 6-3.
(2) Turn on the POWER switch and open the chamber door. Then turn off the switch again. If the power
cord is not yet connected, remove the front cover and then open the door according to the
instructions given in Section 3-5, "Happenings when power failure occurs."
(3) Place the level across the top of the drive shaft in the rotor chamber (see Fig. 6-4). Turn the four
leveling screws until the bubble in the level indicates the instrument is level.
(4) When the instrument is level, check that the four leveling screws are secured to the floor.
(5) Moving the ultracentrifuge
When moving the ultracentrifuge, disconnect the power cord and unscrew the leveling screws with a
wrench to lower the caster to the floor. Raise the leveling screws enough to remove the leveling
pads, then move the ultracentrifuge. After moving, be sure to install and level the instrument again.
CAUTION: Be sure to remove the rotor from the rotor chamber when centrifuge is moved.
After installation and before any test-run, this ultracentrifuge always needs the
internal check by a Hitachi Koki authorized sales/service representative.
Fig.6-3 Leveling operation
6-4
 Loading...