Installing Your Array 3–19
Hitachi Simple Modular Storage 100 User’s Guide
2. When the installation starts, follow the instructions in the friendly
screens that appear. As part of these instructions, you will be asked to
either accept the default destination directory where Storage Navigator
Modular 2 is to be installed or specify a different location.
Logging in to Storage Navigator Modular 2
1. After you install Storage Navigator Modular 2, log in:
http://<IP address of management console PC>:23015/
StorageNavigatorModular/
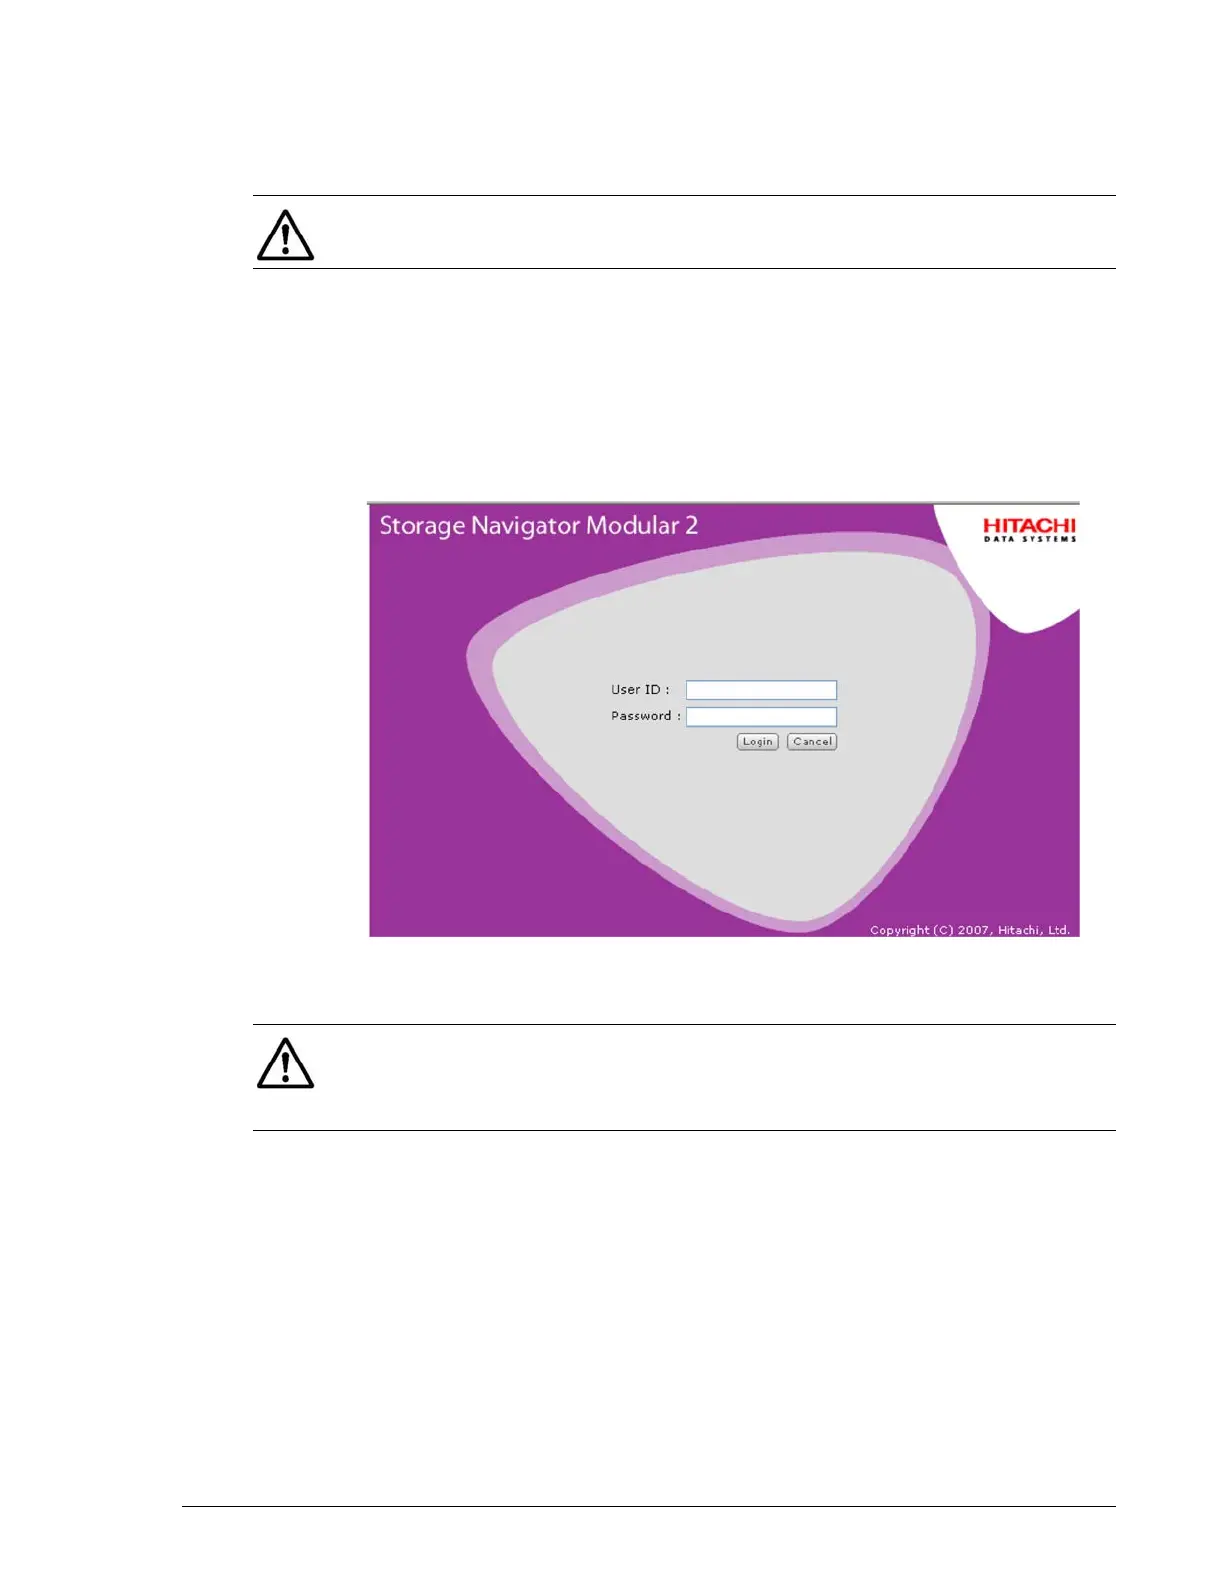
2. When the login window appears (see Figure 3-11), enter system as the
default User ID and manager as the default password ID box.
•
Figure 3-11: Storage Navigator Modular Login Window
•
3. Click the Login button.
Adding Arrays (Add Array Wizard)
When Storage Navigator Modular 2 is launched, it displays all existing
arrays contained in its database. The first time it starts, the database does
not contain any arrays and Storage Navigator Modular 2 launches the Add
Array wizard automatically.
NOTE: If autostart is turned off on the management console, double-click
the file SNM2.exe in the SNM2 folder to start the installation.
NOTE: For security, each password character you type appears as a dot
(•). We recommend you change the default password to protect your
Hitachi Simple Modular Storage 100 against unauthorized access. For more
information, refer to the Storage Navigator Modular 2 online help.