OPERATION OF THE SOFTWARE MENU
Imager Duo Operator’s Manual
4.57
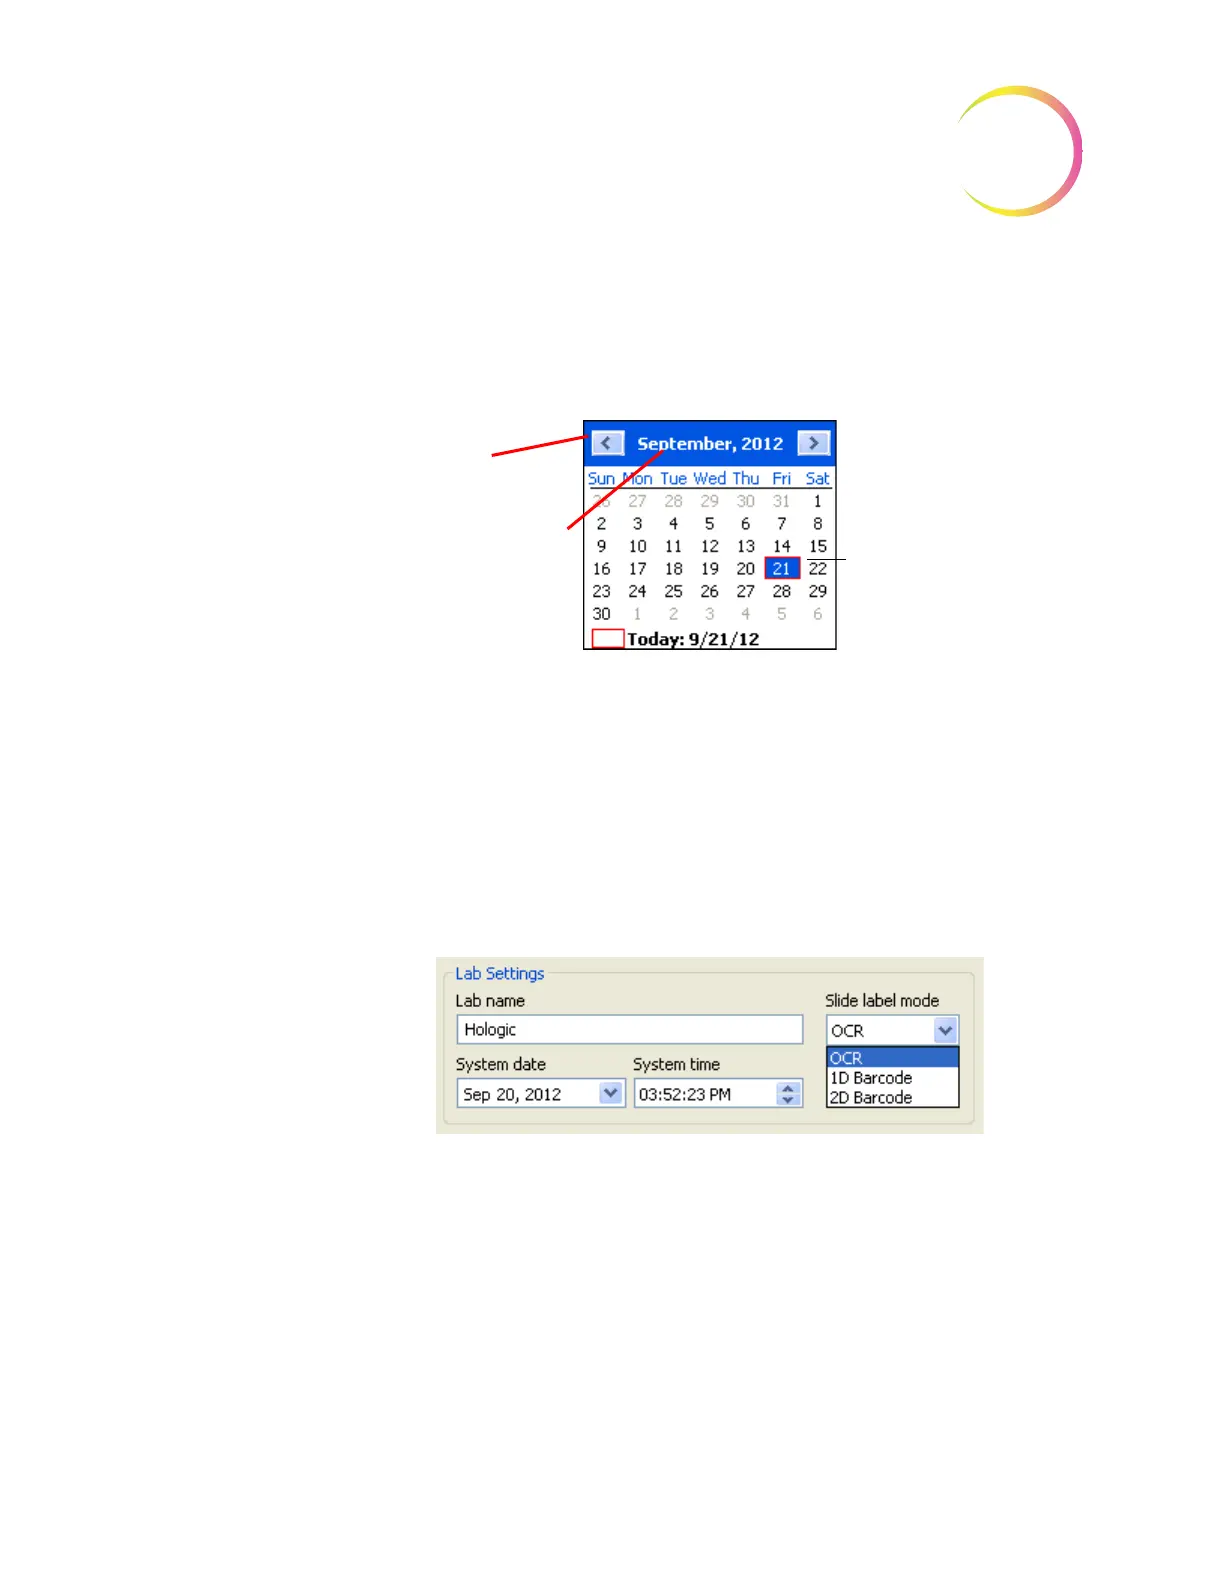
System date
- Use the pull down menu to access a pop-up calendar. The date
may be changed by clicking on a date on the calendar. That day will become
highlighted. (See Figure 4-72.) To change the month, click on the left or right
arrows on the top of the calendar.
Figure 4-72 Set System Date
To save the setting, click on the
Apply
button at the bottom of the window.
Slide label mode
- use this setting before running a batch to match the format
of the slide labels in the cassettes. The pull down menu lists the types the
Imager Duo can accept. No mixed label types are allowed in a cassette and no
mixed cassettes are allowed in a batch. If the wrong slide label type is selected
and a batch begins, after rejecting 3 slides, an error will occur and the next cas-
sette is attempted. The instrument will attempt to read all cassettes present and
then end the batch if each of the first three slides in each cassette is rejected.
Figure 4-73 Slide Label Mode
System time
- click on the hours, minutes or seconds to highlight it as a selec-
tion. Then type in the new setting. Or scroll forward and backward by using the
arrows to the right of the time field.
Note:
This sets the time on the Server and affects all IPCs, which will be
updated with this date/time. It may take up to ten minutes for it to take
effect after clicking on the
Apply
button.
Click the date to choose
a new date setting.
Click on the forward or
back arrows to change
the month.
Or, click on the month (in
this case “September”)
to see a drop down list of
months.