IMAGER DUO MAINTENANCE
Imager Duo Operator’s Manual
5.3
CAUTION
The verification slide
is very delicate. Only
handle it by the
edges. Keep it clean
and dust-free at all
times.
Remove the verification slide from the cassette and gently clean it with a lint-
free tissue and alcohol. Inspect the slide to make sure it is not cracked, scratched
or damaged in any way. Contact Hologic Technical Support if the slide is dam-
aged in any way.
Replace the verification slide into slot 1 of the cassette and install the cassette
onto the loading platform of the Image Processor.
Note:
The slide must be placed in slot 1 (the bottom slot) of the slide cassette.
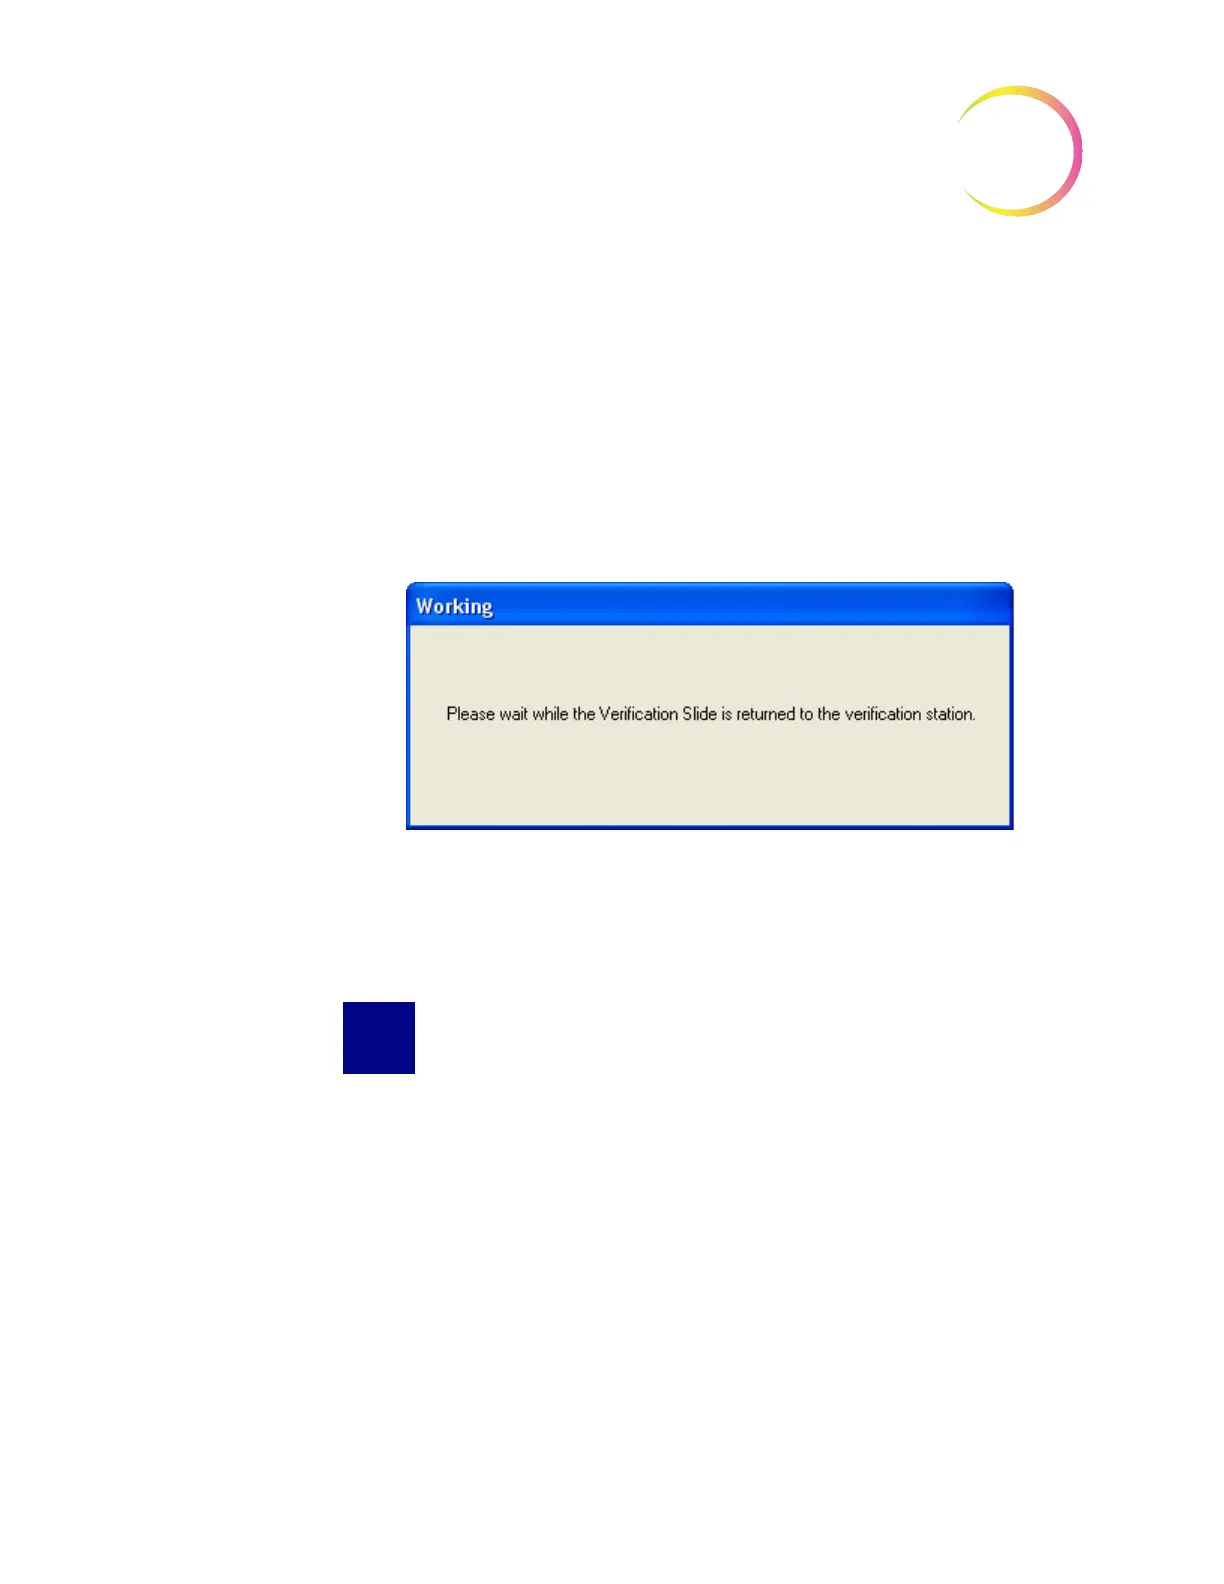
Click the
Store
button on the display screen. Wait while the slide is returned to
the verification slide station. (Figure 5-4.)
Figure 5-4 Please wait While Verification Slide is Stored
The system will return to the idle mode screen when complete.
REPLACING THE USER-ACCESSIBLE FUSES
There are two user-accessible fuses located in the Imaging Station (refer to Fig-
ure 1-5). If the fuses must be replaced, follow these steps: