OPERATION OF THE SOFTWARE MENU
4.58
Imager Duo Operator’s Manual
Figure 4-74 Set System Time
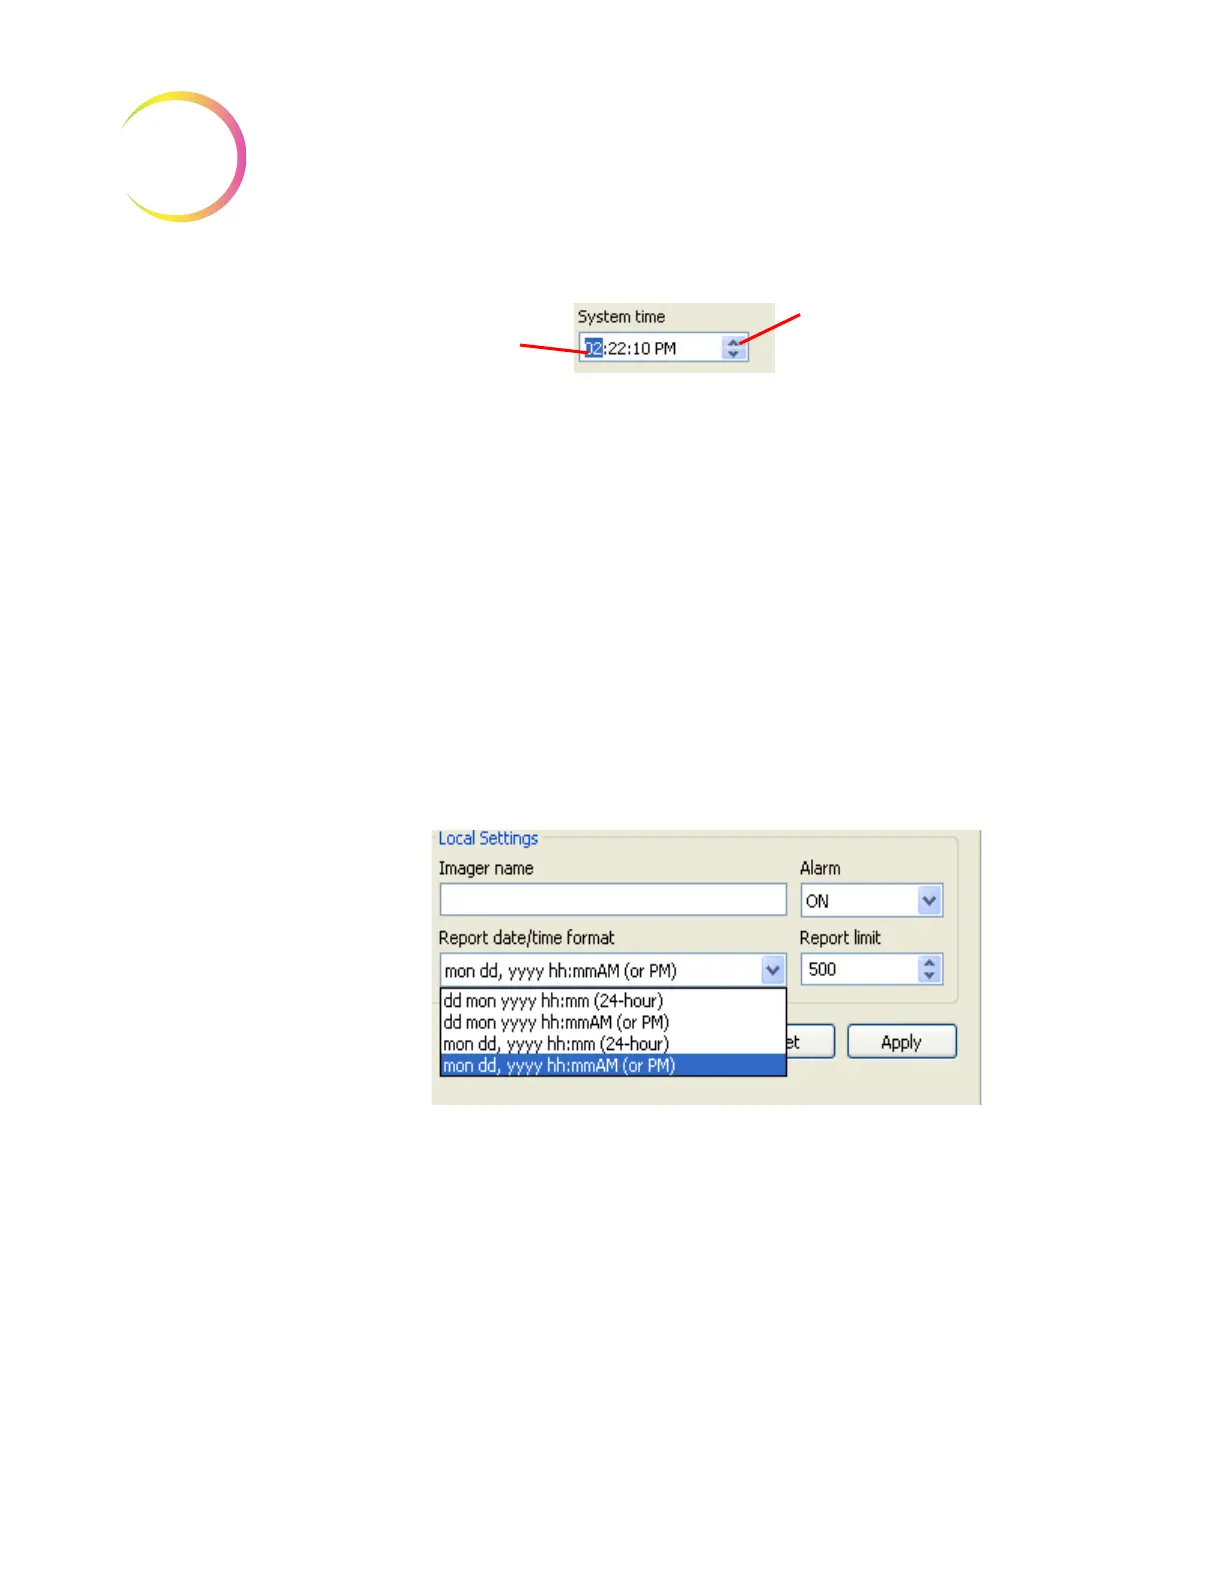
Imager name
- to type in a name, click on the empty Imager name field, then
type the name of the Imager. Alphanumeric characters may be used up to 49
characters. Click the
Apply
button to save this setting.
Note:
This takes effect immediately on the IPC and Server, but any other IPCs
on the network must visit the Lab Settings page to update the name.
Restarting the remote IPC(s) will also update the setting.
Alarm
- this turns the audible alarm on or off. This is the alarm that sounds
when an error condition has occurred. Select ON or OFF. To save the setting,
click the
Apply
button.
Report date/time format
- to select the preferred format for the date and time,
click on the pull down list to see the options. Select the desired format by click-
ing on it. To save that setting, click the
Apply
button. See Figure 4-75.
Figure 4-75 Set Date and Time Format
Report limit
- this sets the maximum number of lines of data that are retrieved
from the database for a report, from 500 to 5000. (If there is less data than the
number chosen, all the available data will report.)
The
Reset
button is to reset all settings to the last saved settings.
System - Page Setup
The Page Setup window allows you to choose which printer to print to (if more
than one is on the network), choose what size paper to print on (limited by the
printer’s paper size capability) and the paper source - which tray from the
printer to use.
Change the highlighted
value
Scroll forward or backward
using the arrows