110 NFS2-640/E Programming Manual — P/N 52742:L2 7/17/14
Appendix E: Detector Initialization
E.1 Overview
The control panel automatically performs a detector initialization routine when you add or change a
detector, unless the control panel is in Walk Test or Advanced Walk Test. If you change a detector
with the control panel in Walk Test or Advanced Walk Test, you must manually initialize the
detector as detailed in “How to Manually Initialize a Detector” on page 111. The detector
initialization routine takes approximately 2.5 minutes, during which time the FACP remains in
service. While initializing a detector, follow these guidelines:
• Make sure the detector is free of residual smoke during detector initialization.
• Do not test a detector during detector initialization.
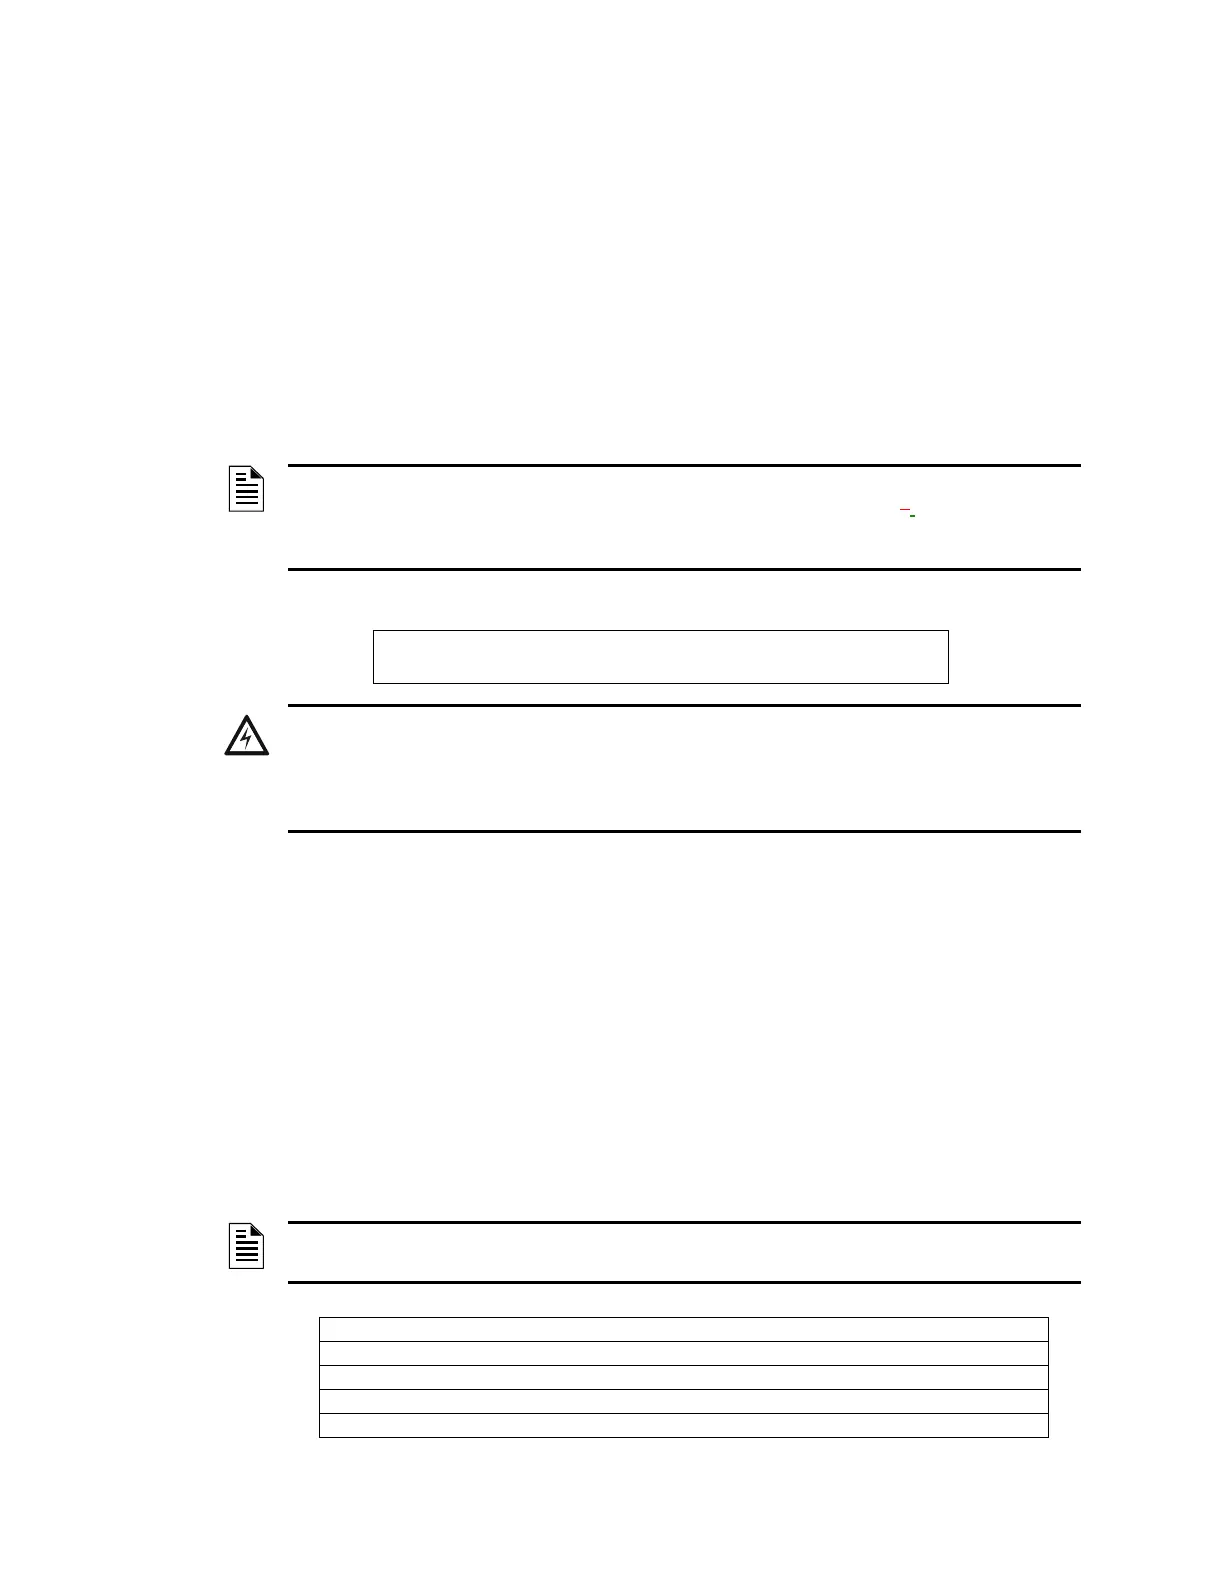
A sample screen that appears on the LCD display during detector initialization.
E.2 System Testing and Detector Initialization
To facilitate system testing, the control panel does not initialize detectors during Walk Test and
Advanced Walk Test. You can remove a detector to confirm supervision, then replace the detector
for immediate testing. If you replace a removed detector with a different detector of the same type,
you must manually initialize the detector according to the instructions in “How to Manually
Initialize a Detector” on page 111. If, however, you want to replace a removed detector with a
different type of detector, refer to “How to Replace a Detector” on page 110.
E.3 How to Replace a Detector
If you replace a detector with a different type of detector, you must immediately program the
control panel for the new detector type. To replace a detector, follow these steps:
NOTE: The control panel only performs detector initialization if it senses that a detector was
removed for at least 15 seconds. This is what actually “turns on” the detector. It is an automatic
procedure but is specified here because of the delay between detector connection and full
function. The rest of the system remains in full service during this time.
Detector Initializing _ Please Wait
02:48P 041508 Sat
WARNING:
If you replace any detector with a different type of detector (for example, replace a laser detector with
a photoelectric detector), you must immediately program the control panel with the new detector
Type Code. Failure to do so can cause incorrect control panel operation, including false alarms. For
instructions on replacing a detector, refer to “How to Replace a Detector” on page 110.
NOTE: Parentheses show an example of replacing an existing photoelectric detector at address
1D101 with a laser detector.
Step Action
1 Disable the point of the detector. (point 1D101)
2 Remove the photoelectric detector and replace with laser detector set to the same address.
3 Autoprogram the panel to recognize the new detector type.
4 Enable new detector.
 Loading...