System board
Description Spare part number
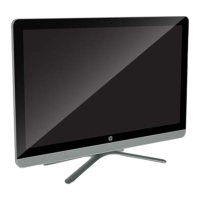
System board for use in HP 205 G1 models:
●
AMD E1-2500 APU for use in models with Windows 7 or without the Windows operating system 751275-001
●
AMD E1-2500 APU for use in models with Windows 8.1 Standard 751275-501
●
AMD E1-2500 APU for use in models with Windows 8.1 Professional or Windows 10 751275-601
System board for use in HP 205 G2 models:
●
AMD E1-6010 APU for use in models with Windows 7 or without the Windows operating system 806244-001
●
AMD E1-6010 APU for use in models with Windows 8.1 Standard 806244-501
●
AMD E1-6010 APU for use in models with Windows 8.1 Professional or Windows 10 806244-601
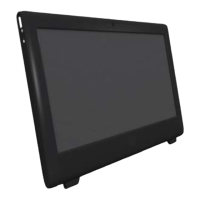
System board for use in HP 18 models:
●
Intel Pentium J2900 processor for use in models with Windows 7 or without the Windows operating
system
782107-001
●
Intel Pentium J2900 processor for use in models with Windows 8.1 Standard 782107-501
●
Intel Pentium J2900 processor for use in models with Windows 8.1 Professional or Windows 10 782107-601
●
Intel Celeron J1800 processor for use in models with Windows 7 or without the Windows operating
system
782108-001
●
Intel Celeron J1800 processor for use in models with Windows 8.1 Standard 782108-501
●
Intel Celeron J1800 processor for use in models with Windows 8.1 Professional or Windows 10 782108-601
The system board is located on the right side of the computer (viewed from the rear). It is secured with eight
Torx screws.
To remove the system board:
1. Prepare the computer for disassembly (see Preparing to disassemble the computer on page 19).
2. Remove the rear cover (see Rear cover on page 20).
3. Remove the system board cover (see System board cover on page 39).
4. Remove the memory modules (see Memory on page 41).
5. Remove the WLAN module (see WLAN module on page 43).
6. Disconnect all cables from the system board, noting their location for reinstallation.
46 Chapter 5 Removal and Replacement Procedures All-in One (AIO) Chassis
 Loading...