Serial Number Enter the Serial Number of Unit. Support
SKU Number Enter the SKU or Product Number including Localization Code. Support
Asset Tag Enter the 18-byte identier assigned to the computer. Support
Feature Byte Enter the Feature Byte string. The feature byte string is case sensitive.
The label includes spaces after every four characters. You can enter or ignore these
spaces – their only purpose is to help with data entry. There is a character
limitation of 40 bytes per line. When you reach this limit, go to the next line to
continue data entry. BIOS ignores the spaces and lines.
If you make an error during data entry, the data will not validate, and the computer
asks you to correct your data input.
Flexbuild
Build ID The Build ID of the unit. Flexbuild
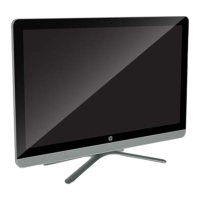
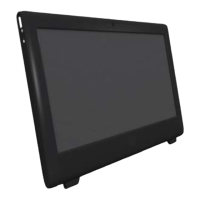
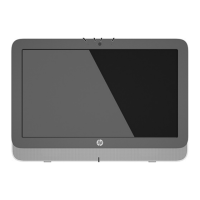
Display panel
Description Spare part number
Display panel, 18.5-inch, anti-glare , LED N-ZBD, 200 nits 752345-001
Display panels require a backlight cable specic to the manufacturer. Make sure you use the backlight cable
packaged with the display panel.
The display panel is secured to the computer with four Torx screws.
To remove the display panel:
1. Prepare the computer for disassembly (see Preparing to disassemble the computer on page 19).
2. Remove the rear cover (see Rear cover on page 20).
3. Remove the optical drive (see Replacing the optical disc drive on page 26).
4. Remove the system board cover (see System board cover on page 39).
5. Remove the memory modules (see Memory on page 41).
6. Remove the WLAN module (see WLAN module on page 43).
7. Remove the speakers (see Speakers on page 34).
8. Remove the hard drive (see Replacing drives on page 23).
9. Remove the front bezel (see Front bezel on page 28).
48 Chapter 5 Removal and Replacement Procedures All-in One (AIO) Chassis