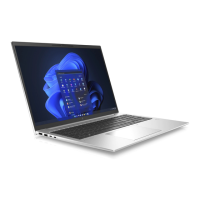
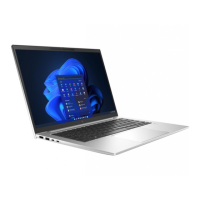
Table 2-3 Display components and their descriptions (continued)
Component Description
(2) Internal microphones (2) Record sound.
(3) Camera light On: The camera is in use.
(4) Camera Allows you to video chat, record video, and record still images.
Some cameras also allow a facial recognition logon to Windows,
instead of a password logon.
NOTE: Camera functions vary depending on the camera
hardware and software installed on your product.
*The antennas are not visible from the outside of the computer. For optimal transmission, keep the areas
immediately around the antennas free from obstructions.
For wireless regulatory notices, see the section of the
Regulatory, Safety, and Environmental Notices
that applies to your country or region.
To access this guide:
■
Select the Search icon in the taskbar, type HP Documentation in the search box, and then select
HP Documentation.
Keyboard area
Keyboards can vary by language.
NOTE: The keyboard area, including the function keys and (select products only) power key, is
disabled in stand, tent, and tablet modes. To enable the keyboard, including the power key, change to
the clamshell mode.
Touchpad settings and components
Learn the touchpad settings and components.
Touchpad settings
Learn how to adjust touchpad settings.
Adjusting touchpad settings
Use these steps to adjust touchpad settings and gestures.
1. Select the Search icon in the taskbar, type touchpad settings in the search box, and then
press enter.
2. Choose a setting.
Turning on the touchpad
Follow these steps to turn on the touchpad.
1. Select the Search icon in the taskbar, type touchpad settings in the search box, and then
press enter.
Keyboard area
7

 Loading...
