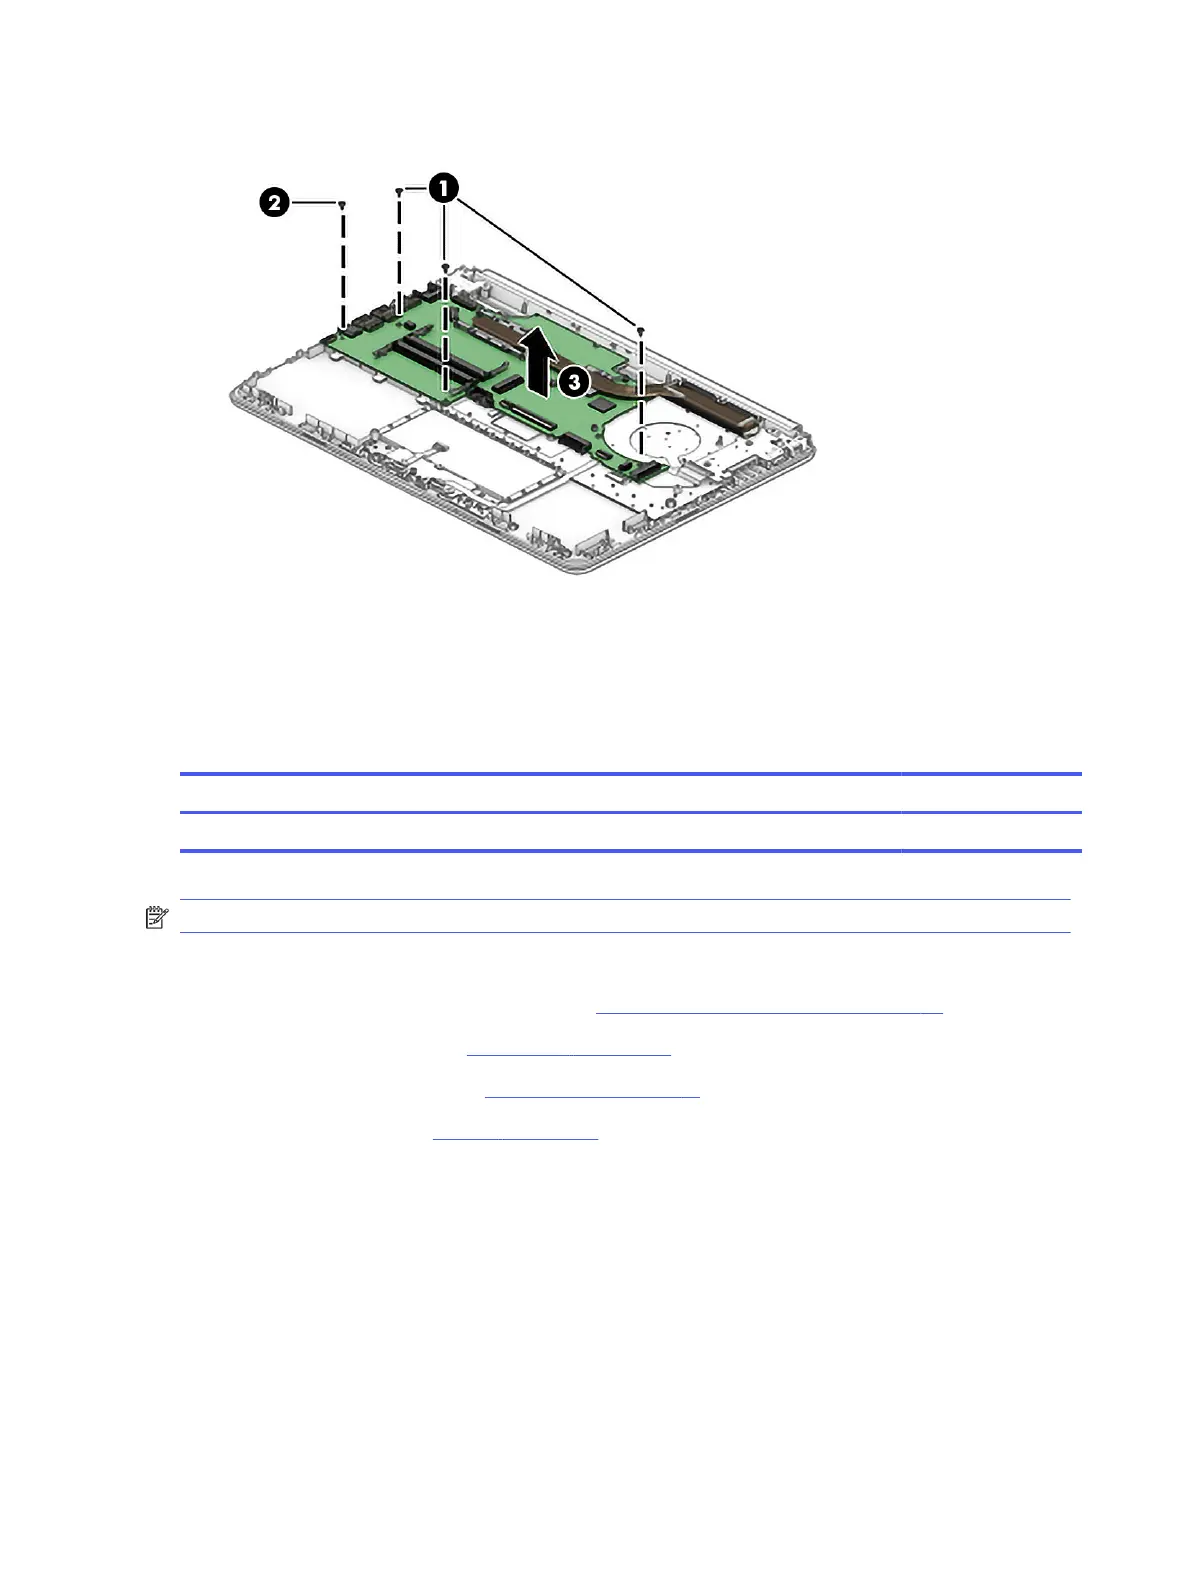
4. Lift the system board (3) out of the computer.
To install the system board, reverse this procedure.
Heat sink
To remove the heat sink, use this procedure and illustration.
Table 5-12
Heat sink description and part number
Description Spare part number
Heat sink N06929-001
NOTE: You can remove the heat sink and the system board at the same time.
Before removing the heat sink, follow these steps:
1. Prepare the computer for disassembly (see Preparation for disassembly on page 30).
2. Remove the rubber feet (see Rubber feet on page 30).
3. Remove the bottom cover (see Bottom cover on page 31).
4. Remove the battery (see Battery on page 32).
Remove the heat sink:
1. In the order indicated on the heat sink, remove the four Phillips M2.0 × 2.8 screws (1) that secure the
heat sink to the system board.
44
Chapter 5 Removal and replacement procedures for authorized service provider parts
 Loading...