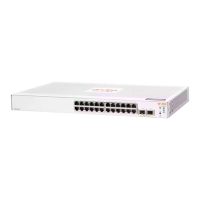
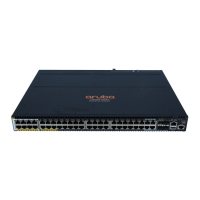
2 Installing the Switch
This chapter shows how to install the switch. The 3810M switches come with an accessory kit
that includes the brackets for mounting the switch in a standard 19-inch telco rack, in an equipment
cabinet, and with rubber feet that can be attached so the switch can be securely located on a
horizontal surface. The brackets are designed to allow mounting the switch in a variety of locations
and orientations. For other mounting options contact your local Hewlett Packard Enterprise
authorized network reseller or Hewlett Packard Enterprise representative.
NOTE: If the switch is to be shipped in a rack, it can be mounted and shipped in a Hewlett
Packard Enterprise 10K rack using the HPE X410 Universal Rack Mounting Kit (J9583A).
Additionally, it can also be mounted in any four post rack using the HPE X410 Universal Rack
Mounting Kit (J9583A).
Included Parts
The 3810M switches have the following components shipped with them:
• Aruba Switch Quick Setup Guide
• Switch Safety and Regulatory sheet
• Warranty notice
• General Safety and Regulatory booklet
• Console cable
• Accessory kit
(5066-0651) for PoE+ 3810M switches(5069-5705) for Non-PoE+ 3810M switches
two mounting bracketstwo mounting brackets
eight 8-mm M4 screws to attach the mounting brackets
to the switch
eight 8-mm M4 screws to attach the mounting brackets
to the switch
four 5/8-inch number 12-24 screws to attach the switch
to a rack
four 5/8-inch number 12-24 screws to attach the switch
to a rack
four rubber feetfour rubber feet
• There are two warranty documents. One is HPN warranty and the other is EG warranty.
5998-8729 Warranty Statement and Software License◦
◦ 5998-8843 Aruba 3810M QSG/SRI
◦ 5998-8844 Read Me First
◦ 703828-026 EG Safety, Compliance, and Warranty Information
• Power cord, one of the following
28 Installing the Switch

 Loading...