Installing a 3.5-inch SATA Hard Drive into an Internal Drive Bay
NOTE: The system does not support Parallel ATA (PATA) hard drives.
Before you remove the old hard drive, be sure to back up the data from the old hard drive so that you
can transfer the data to the new hard drive. Also, if you are replacing the primary hard drive, make sure
you have created a Recovery Disc Set to restore the operating system, software drivers, and any
software applications that were preinstalled on the computer. If you do not have this CD set, select
Start > HP Backup and Recovery and create it now.
To install a hard drive in a 3.5-inch internal drive bay:
1. Prepare the computer for disassembly (
Preparation for Disassembly on page 63).
2. Remove the computer access panel (
Computer Access Panel on page 70).
3. Remove the computer access panel.
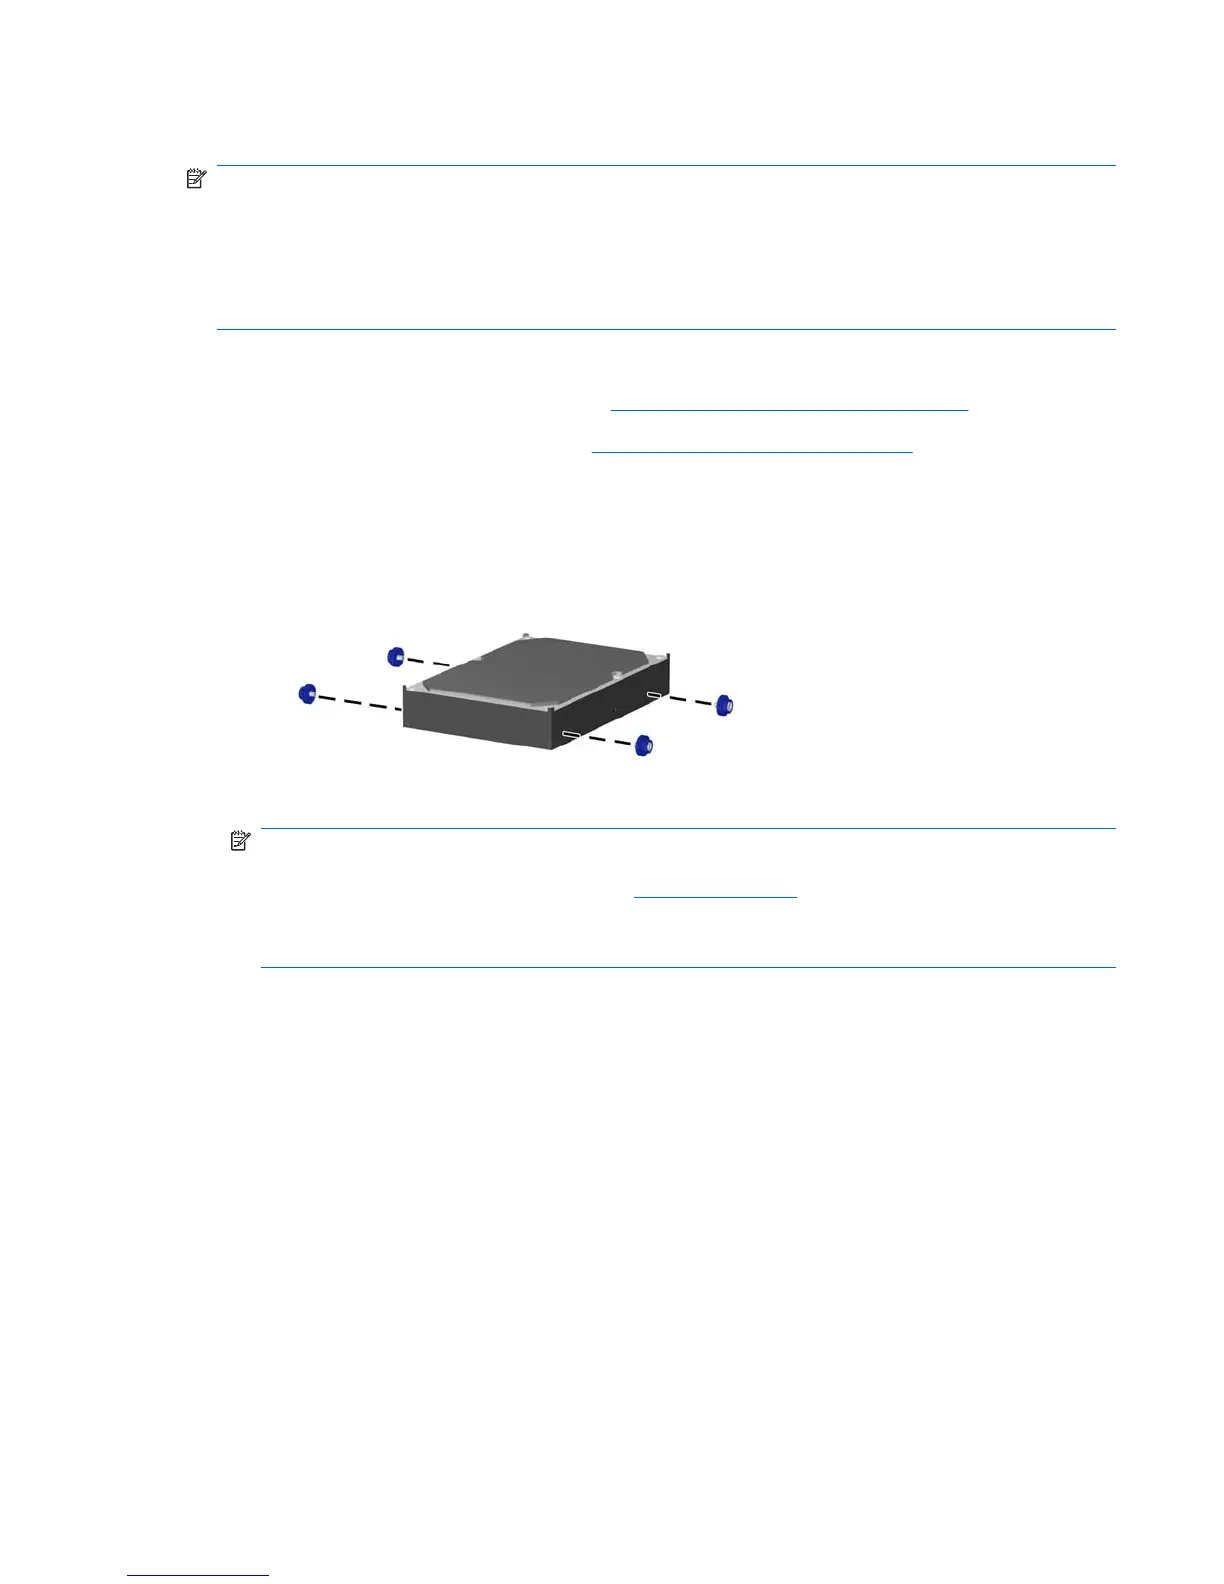
4. Install four 6-32 isolation mounting guide screws, two on each side of the drive.
Figure 7-33 Installing the Hard Drive Guide Screws
NOTE: The hard drive uses 6-32 isolation mounting guide screws. Four extra guide screws are
installed on the hard drive bracket under the access panel. The HP-supplied isolation mounting
guide screws are silver and blue. Refer to
Drives on page 83 for an illustration of the extra 6-32
isolation mounting guide screws location.
If you are replacing a drive, transfer the guides screws from the old drive to the new one.
Drives 93
 Loading...