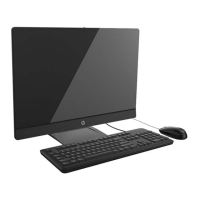
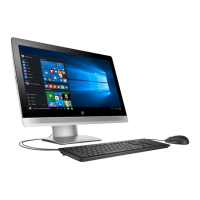
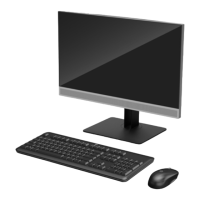
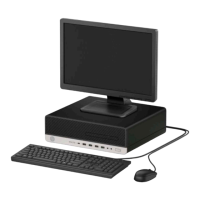
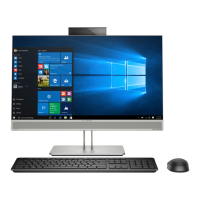
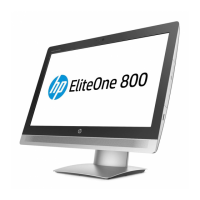
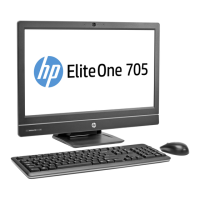
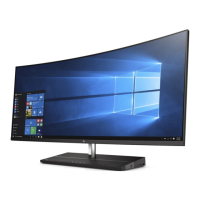
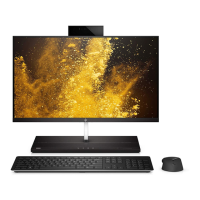
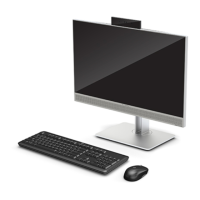
Display panel
NOTE: On healthcare models, display assemblies are spared with the cover, glass, and front bezel come as a
bonded assembly.
IMPORTANT: Install the new display panel together with all other parts in the replacement kit. Do not reuse
any old parts. Return all old parts to HP for warranty processing.
CAUTION: it is very important to use the exact cable that shipped with the replacement panel. Failure to use
the correct cable may result in panel failure.
IMPORTANT: You must install the latest touch drivers. Failure to install the latest drivers could result in a
loss of touch functionality. Go to www.hp.com/support to install the latest drivers.
To remove the display panel:
1. Prepare the computer for disassembly (see Preparing to disassemble the computer on page 18).
2. Remove the rear port cover (see Removing the rear port cover on page 18).
3. Remove the stand (see Stands on page 19).
4. Remove the access panel (see Access panel on page 20).
5. Remove the M.2 solid-state drive from above the right speaker (see Heat sink on page 33).
6. Remove the power button board and ngerprint reader board (see Power button and ngerprint reader
boards on page 30).
7. Remove the audio board (see Audio board on page 49).
8. Remove the rear I/O cover (see Rear I/O cover on page 42).
9. Remove the 12 Phillips screws (1)-(12) that secure the main frame to the display panel.
10. Lift the left side of the frame (1).
11. Disconnect the display ribbon cable, and then route the cable through the hole in the frame (2).
Display panel 51
 Loading...
