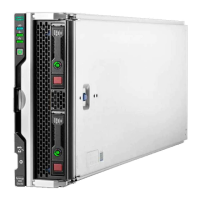
Preparing the Preparing the compute modulecompute module for installation for installation
ProcedureProcedure
1. Observe the following warnings:
WARNING: WARNING: The front panel Power On/Standby button does not shut off system power.
Portions of the power supply and some internal circuitry remain active until AC power is
removed.
To reduce the risk of personal injury, electric shock, or damage to the equipment, remove
power from the compute module:
For rack and tower servers, remove the power cord.
For server blades and compute modules, remove the server blade or compute module
from the frame.
WARNING: WARNING: To reduce the risk of personal injury from hot surfaces, allow the drives and the
internal system components to cool before touching them.
2. Update the system ROM.
Locate and download the latest ROM version from the Hewlett Packard Enterprise Support Center websiteHewlett Packard Enterprise Support Center website . Follow the instructions
on the website to update the system ROM.
3. Update the system ROM.
Locate and download the latest ROM version from the Hewlett Packard Enterprise Support Center website
(http://www.hpe.com/support/hpeschttp://www.hpe.com/support/hpesc). To update the system ROM, follow the instructions on the website.
4. Power down the compute module.
a. Shut down the OS as directed by the OS documentation.
b. To place the compute module in standby mode, press the Power On/Standby button. When the compute module enters standby
power mode, the system power LED changes to amber.
c. Disconnect the power cords (rack and tower servers).
5. Do one of the following:
Remove the compute module from the rack, if necessary.
Remove the compute module or compute module blade from the frame.
6. Place the compute module on a flat, level work surface.
7. Remove the access panel.
8. Remove any options or cables that may prevent access to the TPM connector.
9. Proceed to Installing the TPM board and cover .

 Loading...