5.6.2. How to modify an existing PV module
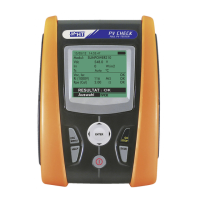
1. Select the PV module to be modified from the internal database by
means of the arrow keys ( , ).
2. Press the ENTER key and select the “Modify” command using the
arrow key ().
3. Confirm selection with ENTER.
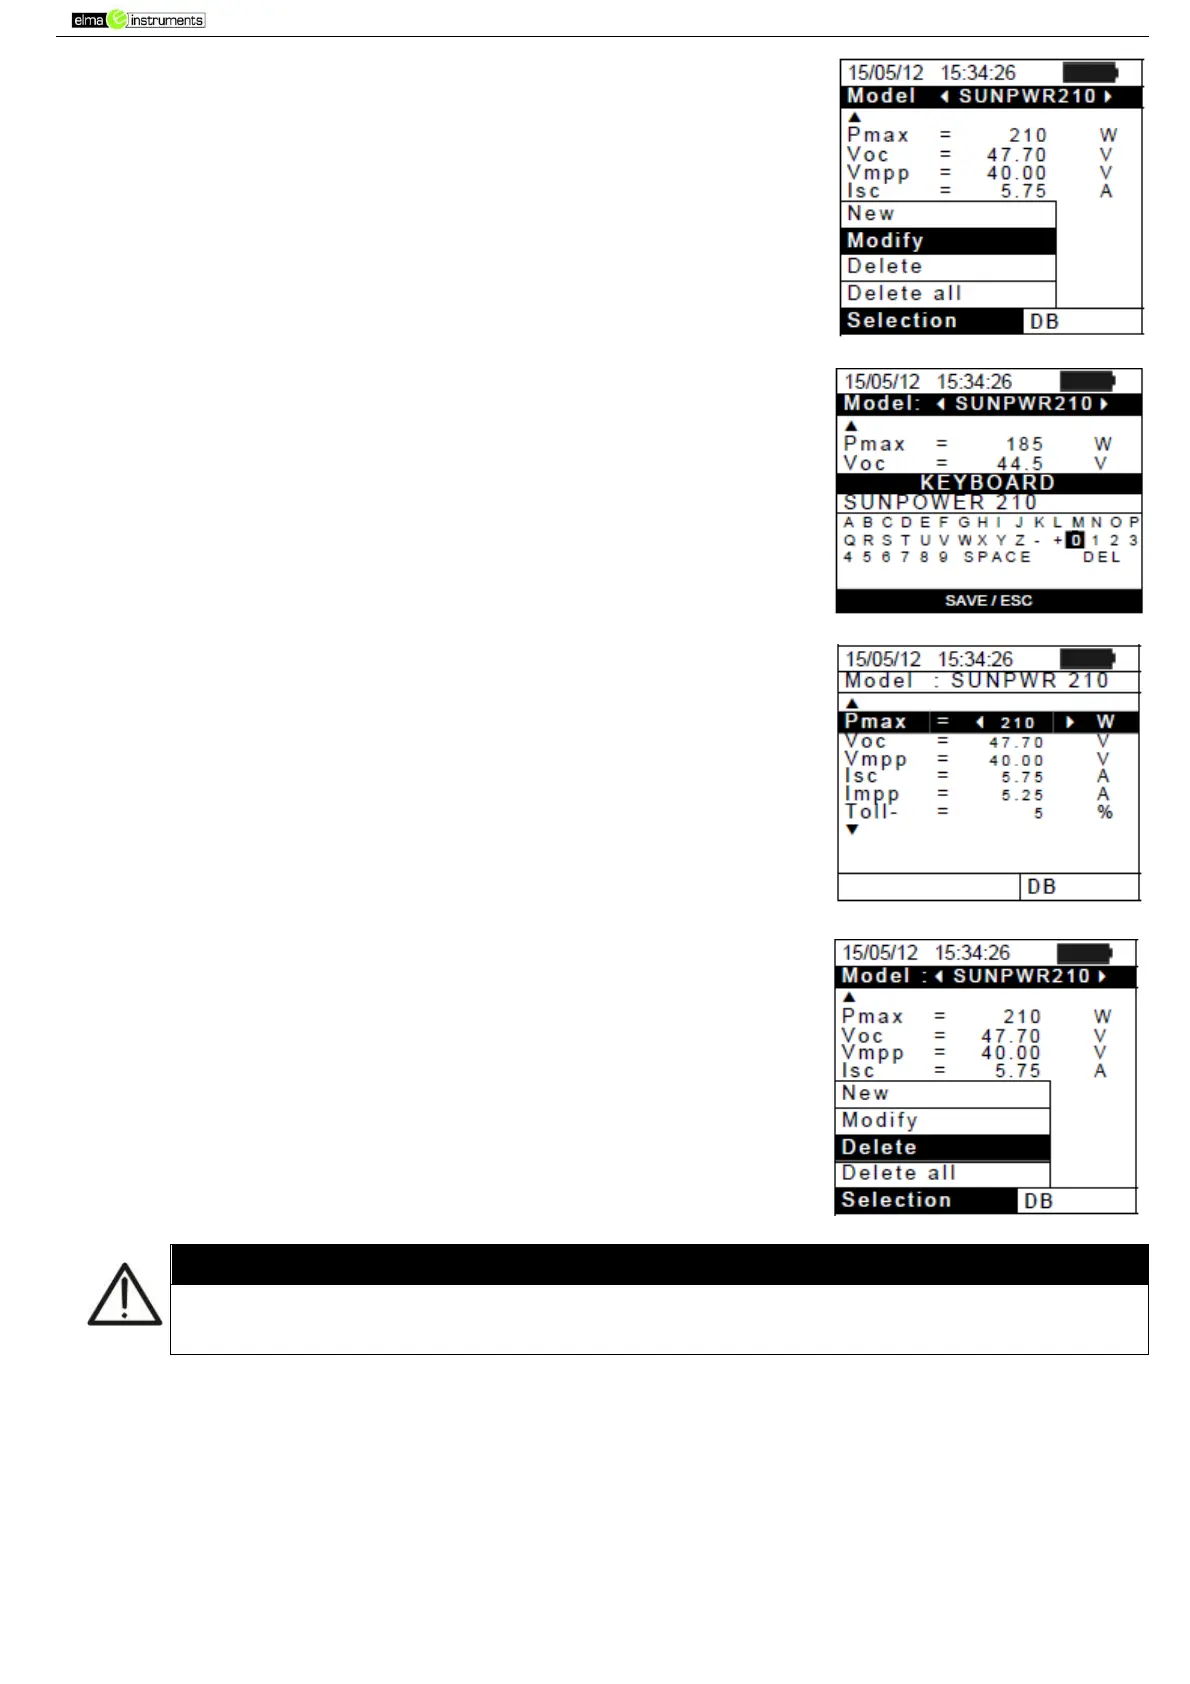
4. By using the internal virtual keyboard it is possible to define
again the name of the module or leave it unchanged by means
of the arrow keys (,, , ). Press ENTER to digit any
character of the desired name.
5. Press the SAVE key to save the name of the new module thus
defined or to access the new parameter setting.
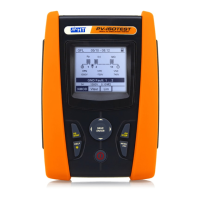
6. Change the value of the desired parameters by using the arrow
keys (,) and set the value using the arrow keys ( , ).
Keep the arrow keys ( , ) pressed to carry out a quick setting
of the values. If the value of any parameter is unknown, press
and hold the HELP key for a few seconds to set the default
values.
7. Press the SAVE key to save the settings made or the
ESC/MENU key to exit without saving. In this case, the
instrument shows the message “Data not saved”.
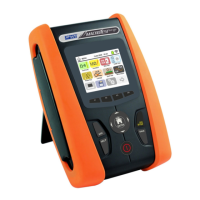
5.6.3. How to delete an existing PV module
1. Select the PV module from the internal database by means of
the arrow keys ( , ).
2. Press the ENTER key and select the “Delete” command by
means of the arrow key () to delete the selected module.
3. Press the ENTER key and select the “Delete all” command by
means of the arrow key () to delete all modules in the
database.
4. Confirm the selection with ENTER or press ESC/MENU to exit.
It is not possible to modify nor delete the “DEFAULT” PV module which is a factory
setting.