This measurement can be input automatically, if the DSP9200 is equipped with the
optional auto inner and/or outer Dataset
®
arms.
Close safety hood and spin wheel.
After wheel stops, raise the safety hood.
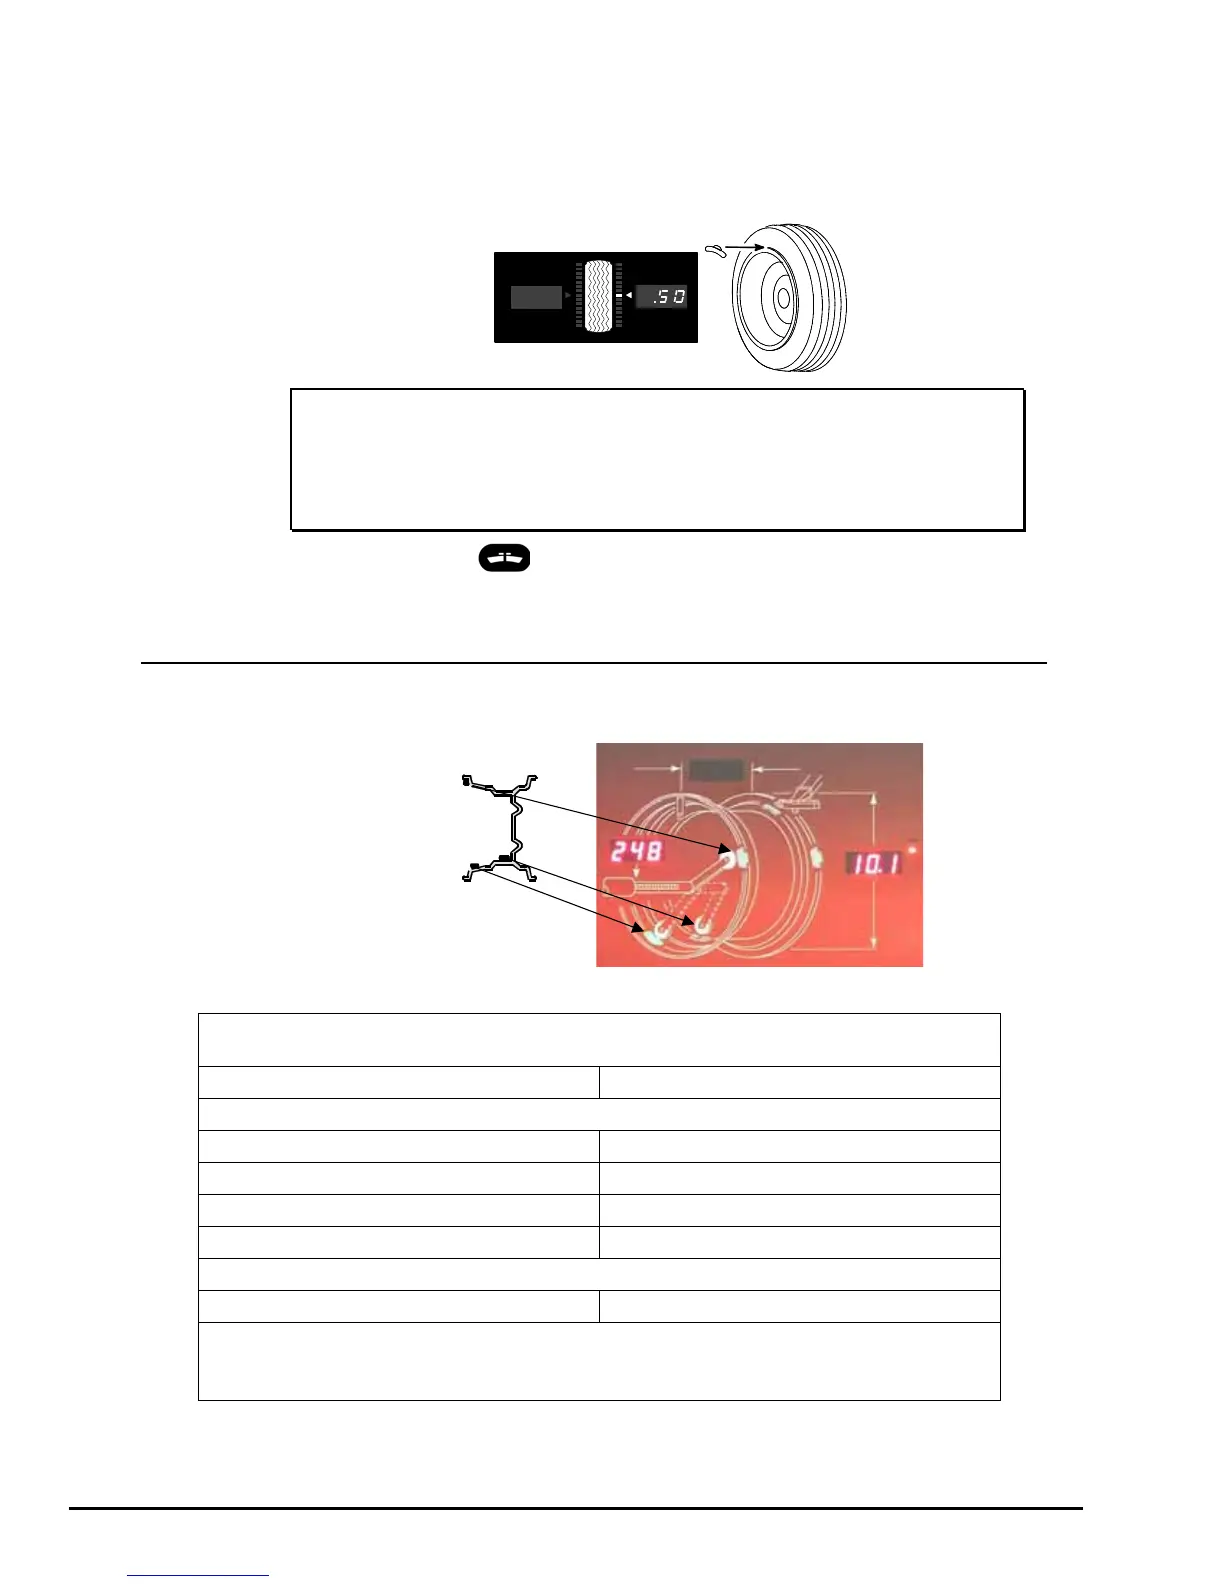
Find TDC for static plane and attach clip-on weight on either rim lip.
NOTE: It is recommended that the weight be distributed equally
between the left and right rim lips to provide minimum
residual dynamic imbalance.
For example: In the illustration above, place a 0.25 oz.
weight amount on each rim lip at the TDC position.
If necessary, use the “Right Plane Split Weight
®
” button to split weight.
Verify balance condition by spinning again. Display should show “zero.”
The STATIC / STANDARD balancing procedure is complete.
3.7 Adhesive Weight Procedures (Combination of Clip-on &
Adhesive Weights, or Two Adhesive)
RIGHT PLANE
LEFT PLANE
ADH/ADH
LEFT PLANE
CLIP-ON/ADH
The following combinations of weight placements are available:
Adhesive Weight Placement (Types and Locations)
Left Plane Right Plane
Dynamic Balancing
Clip-On (TDC) Adhesive inner (backside of wheel, BDC)
Clip-On (TDC) * Adhesive outer (front side of wheel, BDC)
Adhesive (BDC) Adhesive inner (backside of wheel, BDC)
Adhesive (BDC) * Adhesive outer (front side of wheel, BDC)
Static Balancing
N/A Adhesive inner (backside of wheel, BDC)
* Select front side weight placement mode by entering either clip-on/adhesive or
adhesive/adhesive mode, then move the optional outer Dataset
®
arm away from the
home position.
36
3. Balancing a Wheel DSP9200 Series Balancer Operation Instructions
 Loading...