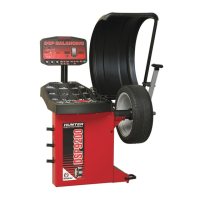
Placing Hidden Weight Forward of Obstructions
On some wheels, it may be possible to hide right weight plane adhesive weights inside
of the hollow spoke. However, wheel construction may make it impossible to enter the
right weight plane to the desired location with the optional inner Dataset
®
arm.
The following example is in the mixed weight mode.
Move the optional inner Dataset
®
arm to left plane position. Enter the data by
pressing the foot pedal.
Enter the left weight plane to the best possible position, using a tape measure. This
distance must be in millimeters (convert inches to millimeters by multiplying by 25.4).
Measure the weight plane diameter manually, using caliper.
NOTE: This may need to be done before the wheel is mounted on
the DSP9200.
Add the measurement from the left weight plane to the desired right weight plane to
the distance to the inner rim lip and enter this new dimension manually.
Enter the weight plane distance (mm) and diameter (in) manually. Close safety hood.
Press the green
“Start” button if “Hood Autostart” is disabled.
After wheel comes to a complete stop, raise the safety hood.
Place left plane weight (if in DYNAMIC mode) per the balance procedure being
performed. Refer to “Balancing a Wheel,” page 19.
Press the green
“Start” button with the safety hood in the raised position and
the DSP9200 will servo to the location for the right adhesive weight plane (dynamic)
or the static adhesive weight plane (static), aligned with the first spoke.
With the servo enabled, attach the adhesive weight behind the first spoke using the
weight amount shown on the CRT.
Press the green
“Start” button with the safety hood in the raised position and
the DSP9200 will servo to the location for the second spoke.
Attach the appropriate weight as displayed on the console.
Verify balance condition by spinning again.
54
4. Balancing Features and Options DSP9200 Series Balancer Operation Instructions

 Loading...