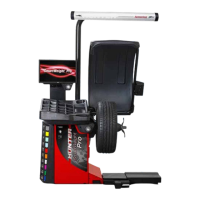
INTRODUCTION TO BALANCING 15
Figure 33.
Install the weights as indicated on the screen using the
TruWeight™ feature. Lower the hood to re-spin and
check the balance.
The balancer displays “OK,” indicating that the force
levels are reduced to within the acceptable tolerances.
Figure 34.
Switching from SmartWeight Balancing
Technology® to Traditional Dynamic
Balancing
At any time, SmartWeight Balancing Technology® can
be switched to standard balancing provided that both
standard and SmartWeight® balancing modes are
enabled in setup.
Touch the SmartWeight® button to display the
SmartWeight® menu buttons. (Figure 35.)
Figure 35.
Prior to balance spin, the tire graphs will display no color.
The SmartWeight® balance force graphs will display red
for excessive forces and green for acceptable amounts of
force.
Figure 30.
If the SmartWeight® balancing procedure requires
correction weights, wheel dimensions will be required.
Enter the dimensions using the Dataset® arms.
Figure 31.
Figure 32.
Close the hood and perform a spin.
After the spin is complete, the screen will display the
amount and location of corrective weight necessary.