INSTALLATION
7
■
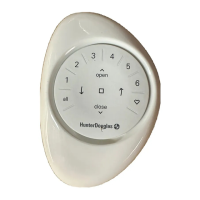
Attach the installation brackets using the screws provided.
NOTE: Do not overtighten the screws. Check to ensure
the lever can be moved easily side to side. If the lever is
not moving easily, loosen the screws in one-eighth turn
increments until it can be moved easily.
IMPORTANT: The front edges of the installation brackets
must be level and aligned to each other.
UltraGlide
®
Shading : Proceed to
“STEP 3: Install the Shading” on page 12.
PowerView
®
Gen 3 Shading: Proceed to
“STEP 2: Mount the Battery Wand (PowerView® Gen 3)” on page 10.
Mount the Installation Brackets — Outside Mount
■
Center the headrail over the window opening at the desired height. Use a pencil to lightly
mark each end of the headrail.
➤
Alternatively, measure the width of the headrail and use that width to mark the
headrail end points over the window opening.
■
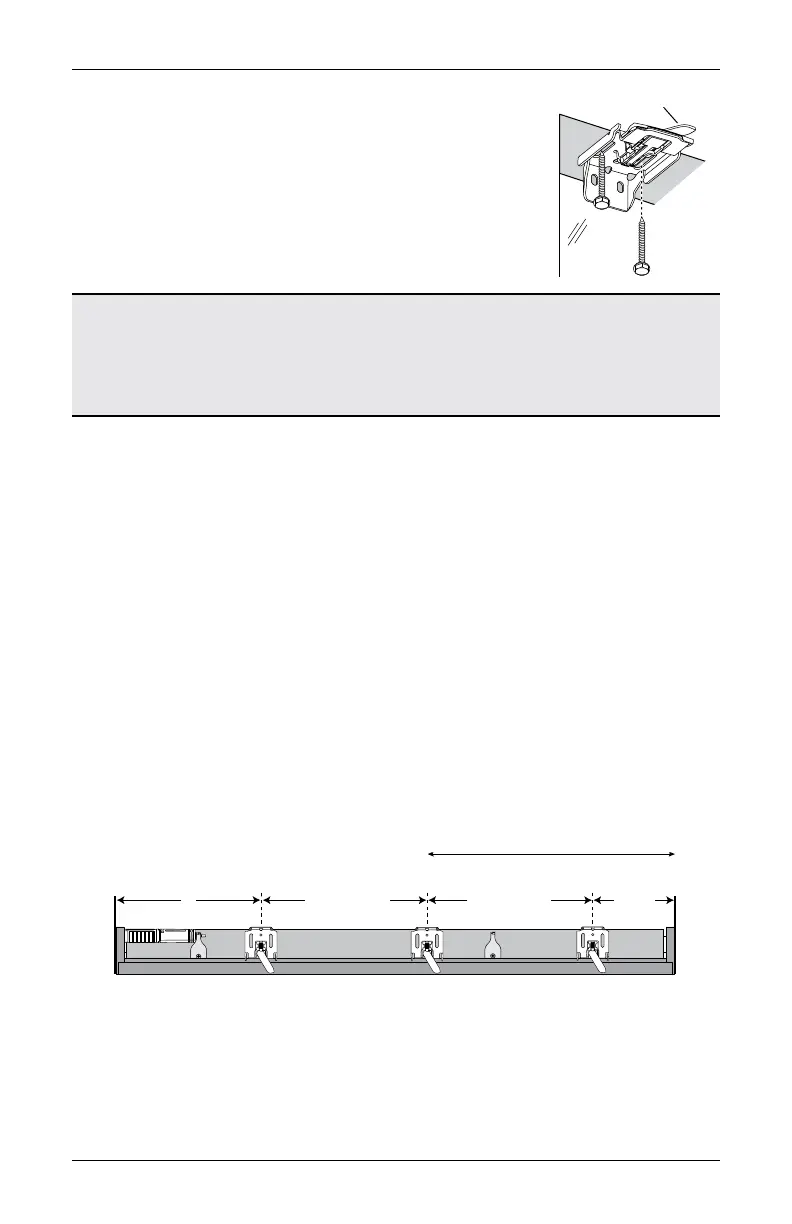
From the headrail end marks, mark 2" for bracket location on the control side and 7" on
non-control side.
CAUTION: Installation brackets must be installed 7" from the shading end cap on the
non-control side. Failure to place the non-control side bracket outside this area will
damage the shading when installed.
➤
If more than two installation brackets came with your order, space additional bracket(s)
between the two end brackets and mark their location. Mount into wood whenever
possible.
➤
For PowerView Gen 3 shadings with battery wand, allow a minimum of 18" between
bracket centerlines for the battery wand/rechargeable battery wand.
18" Minimum for Battery Wand/
Rechargeable Battery Wand
Space Evenly
2" to 3"
7"
Jamb
Jamb
Space Evenly