Chapter 8. IBM BladeCenter HX5 391
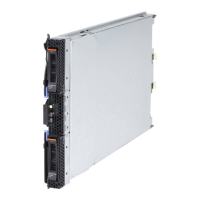
Figure 8-24 Creating an IM volume
2. In Figure 8-24, click No under RAID Disk to form the array. For each disk, you are
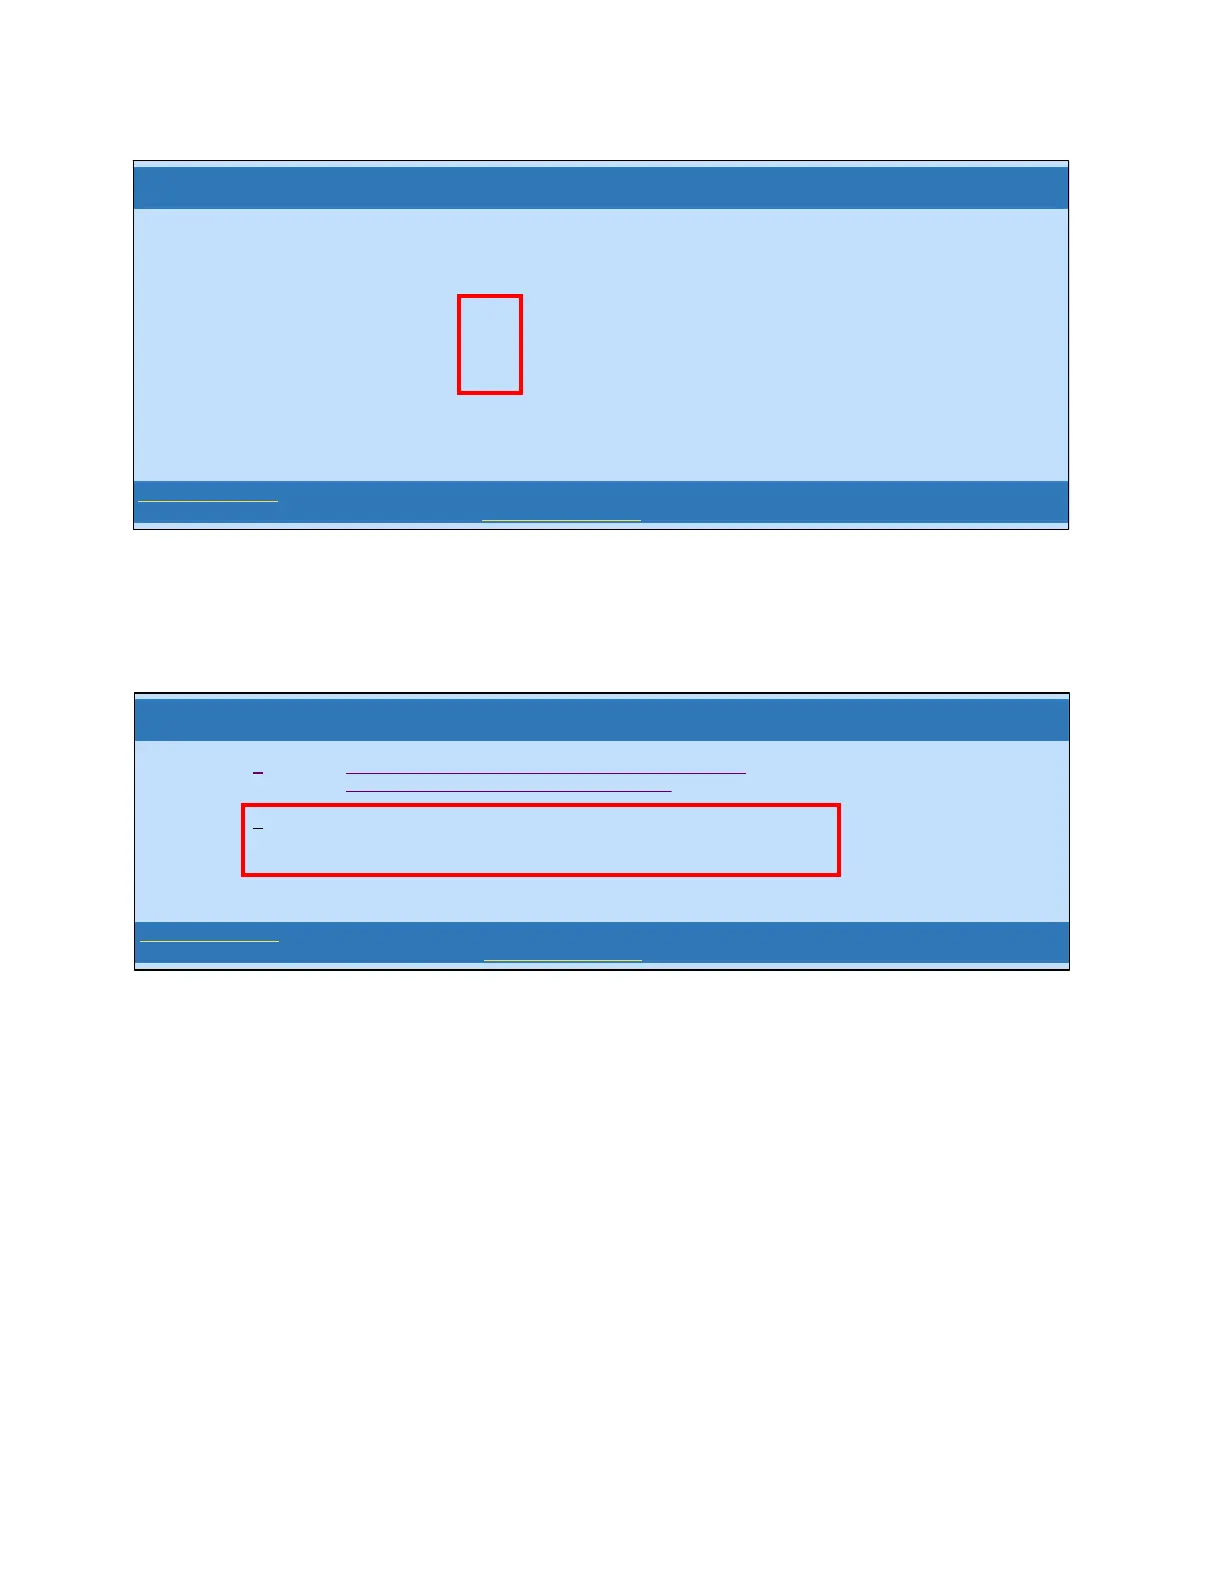
prompted to confirm by pressing D, as shown in Figure 8-25. Pressing D ensures that you
understand that all data on this disk will be deleted.
Figure 8-25 Overwriting existing data
3. Repeat this deletion for the other drive. After you finish, you see Figure 8-26 on page 392.
The RAID Disk column now lists each drive as Yes.
LSI Logic MPT Setup Utility v6.04.07.00 (2005.11.03)
Create New Array – SAS1064
Esc = Exit Menu F1/Shift+1 = Help
Enter=Select Item Alt+N=Next Array C=Create an array
Slot
Num
1
0
Device Identifier
RAID
Disk
Hot
Spr
Drive
Status
Pred
Fail
Size
(MB)
IBM-ESXSMAY2036RC T106 [No] [No] -------- No 34715
IBM-ESXSMAY2036RC T106 [No] [No] -------- No 34715
Array Type: IM
Array Size (MB) ------
LSI Logic MPT Setup Utility v6.04.07.00 (2005.11.03)
Create New Array – SAS1064
Esc = Exit Menu F1/Shift+1 = Help
Enter=Select Item Alt+N=Next Array C=Create an array
M - Keep existing data, migrate to an IM array.
Synchronization of disk will occur.
D - Overwrite existing data, create a new IM array
ALL DATA on ALL disks in the array will be DELETED!!
No Synchronization performed
 Loading...