To install a SAS controller on the SAS riser card, complete the following steps.
1. Touch the static-protective package that contains the new ServeRAID SAS
controller to any unpainted metal surface on the server. Then, remove the
ServeRAID SAS controller from the package.
Note: If you have the optional ServeRAID adapter advanced feature key,
install it first (see “Installing an optional ServeRAID adapter advanced feature
key” on page 205).
2. If you are replacing a SAS controller that uses a battery, you can continue to
use that battery with your new SAS controller.
3. If the new SAS controller is a different physical size than the SAS controller
that you removed, you might have to move the controller retention bracket
(tape-enabled model servers only) to the correct location for the new SAS
controller.
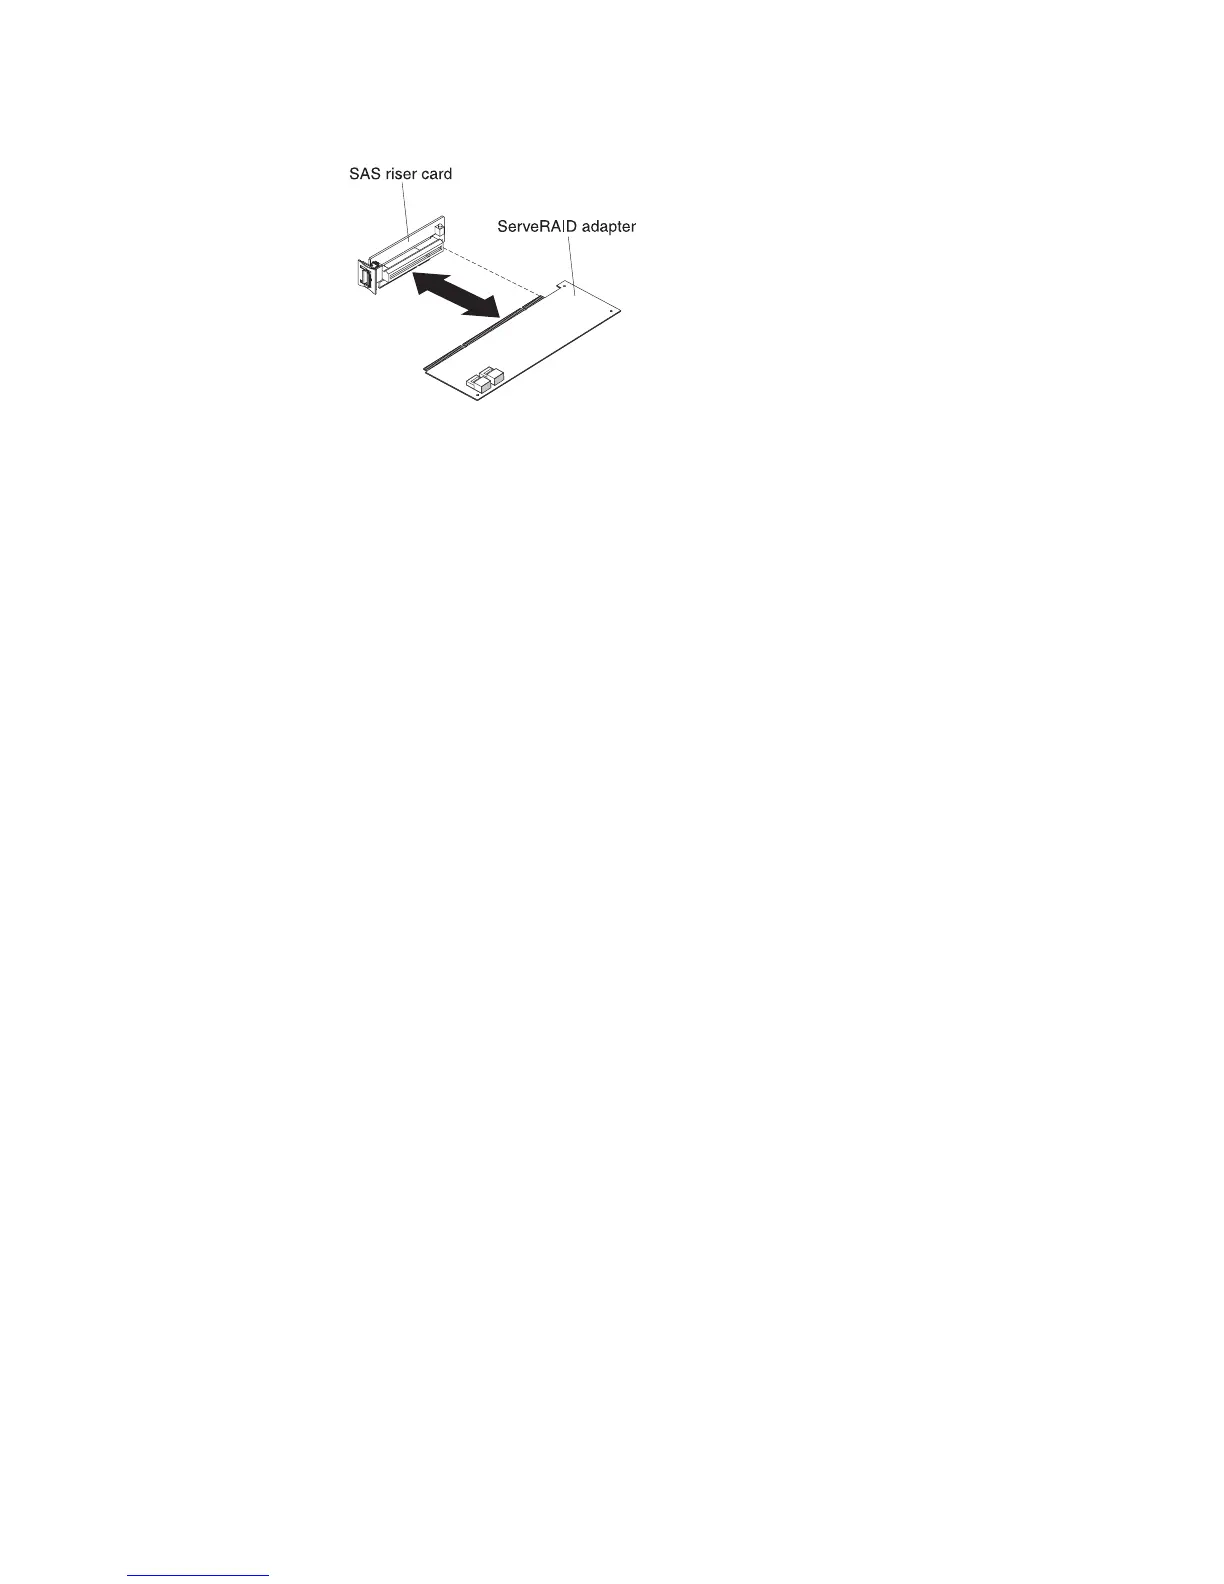
4. Turn the SAS controller so that the keys on the bottom edge align correctly
with the connector on the SAS riser card in the SAS controller assembly.
5. Firmly press the SAS controller horizontally into the connector on the SAS riser
card.
6. (Tape-enabled model server only) Gently press the opposite edge of the SAS
controller into the controller retention bracket.
7. Install the SAS riser-card and controller assembly (see “Installing the SAS
riser-card and controller assembly” on page 198).
8. Install the server cover (see “Installing the cover” on page 178).
9. Slide the server into the rack.
10. Reconnect the external cables; then, reconnect the power cords and turn on
the peripheral devices and the server.
Notes:
1. When you restart the server for the first time after you install a SAS controller
with a battery, the monitor screen remains blank while the controller initializes
the battery. This might take a few minutes, after which the startup process
continues. This is a one-time occurrence.
Important: You must allow the initialization process to be completed. If you do
not, the battery pack will not work, and the server might not start.
The battery comes partially charged, at 30% or less of capacity. Run the server
for 4 to 6 hours to fully charge the controller battery. The LED just above the
battery on the controller remains lit until the battery is fully charged.
Until the battery is fully charged, the controller firmware sets the controller
cache to write-through mode; after the battery is fully charged, the controller
firmware re-enables write-back mode.
2. When you restart the server, you will be given the opportunity to import the
existing RAID configuration to the new ServeRAID SAS controller.
Chapter 5. Removing and replacing server components 203

 Loading...


