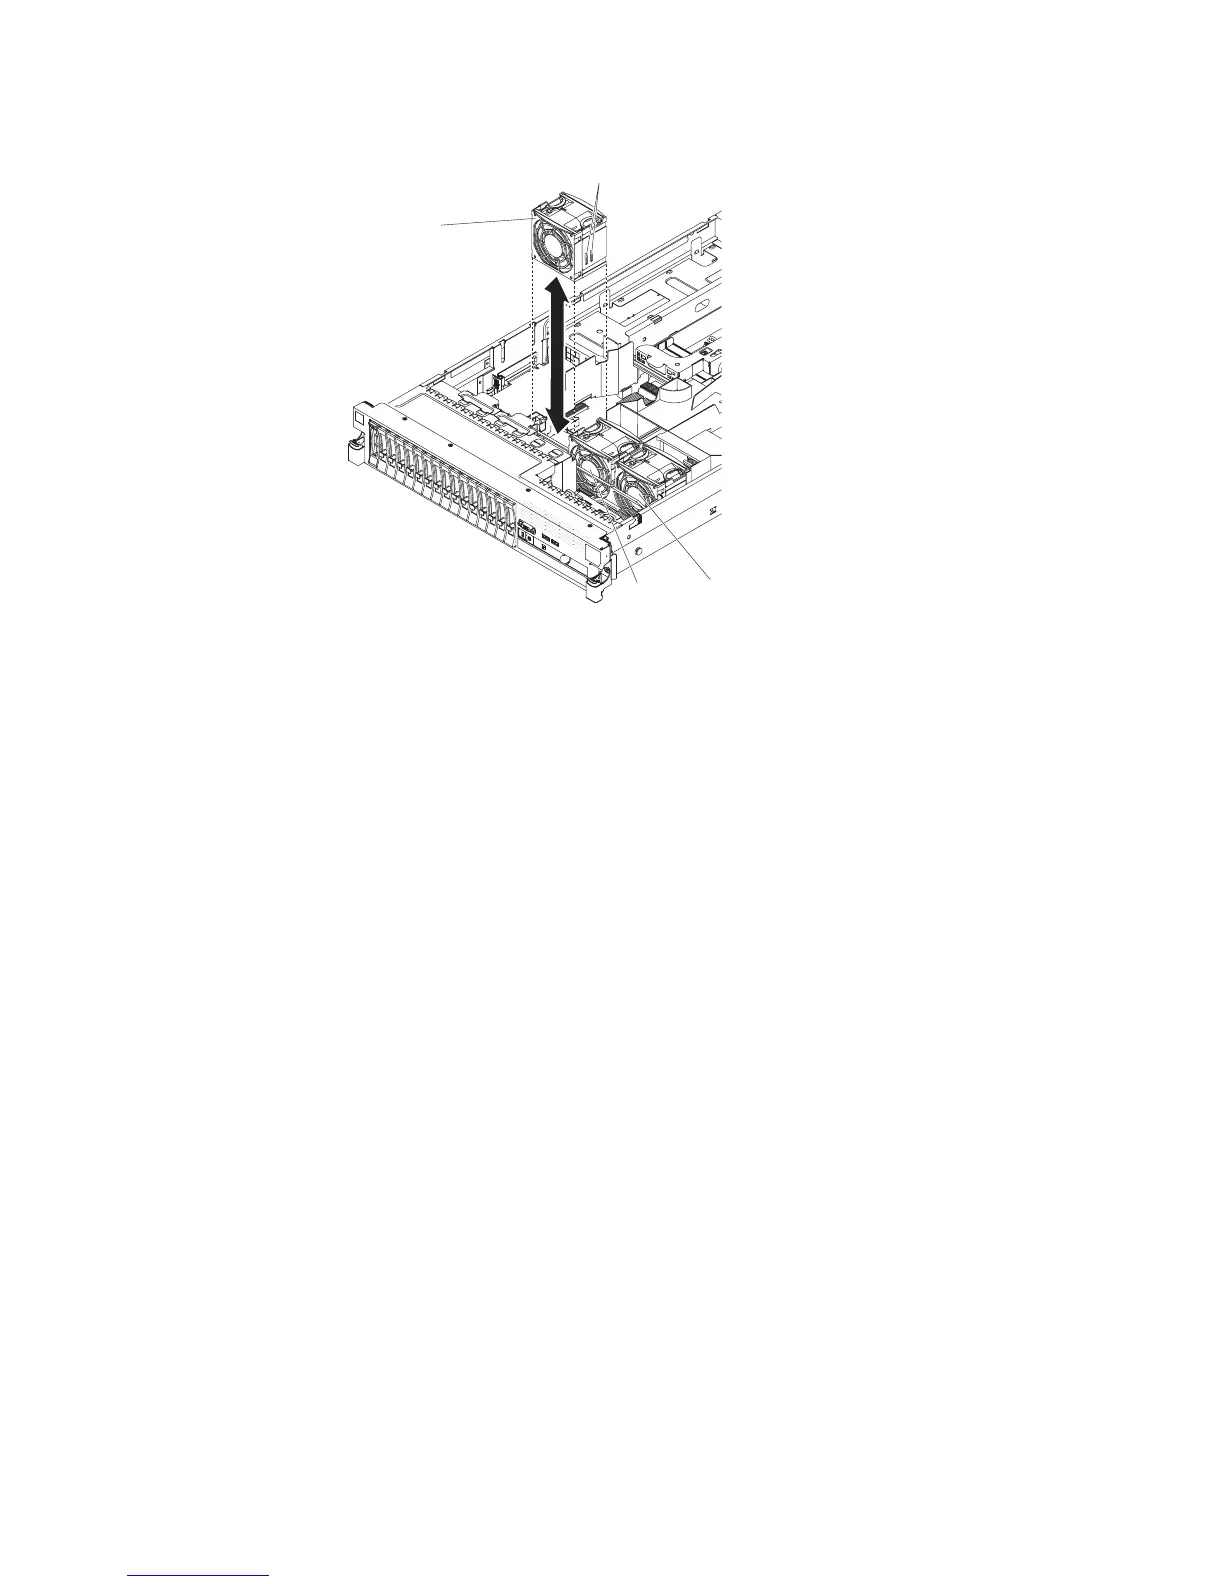
To install any of the three replaceable fans, complete the following steps.
Vertical tabs
Fan 3
Fan 2 Fan 1
1. Orient the new fan over its position in the fan bracket so that the connector on
the bottom aligns with the fan connector on the system board.
2. Align the vertical tabs on the fan with the slots on the fan cage bracket.
3. Push the new fan into the fan connector on the system board. Press down on
the top surface of the fan to seat the fan fully. (Make sure that the LED has
turned off.)
4. Repeat steps 1 through 3 until all the new or replacement fans are installed.
5. Install the cover (see “Installing the cover” on page 178).
6. Slide the server into the rack.
Removing a hot-swap ac power supply
Important: If the server has two power supplies, and if you remove either of them,
the server will not have redundant power; if the server power load then exceeds
675 W, the server might not start or might not function correctly.
Note: The procedure below describes how to remove a hot-swap ac power supply,
for instructions on how to remove a hot-swap dc power supply, refer to the
documentation that comes with the dc power supply.
To remove a power supply, complete the following steps.
Chapter 5. Removing and replacing server components 225

 Loading...


