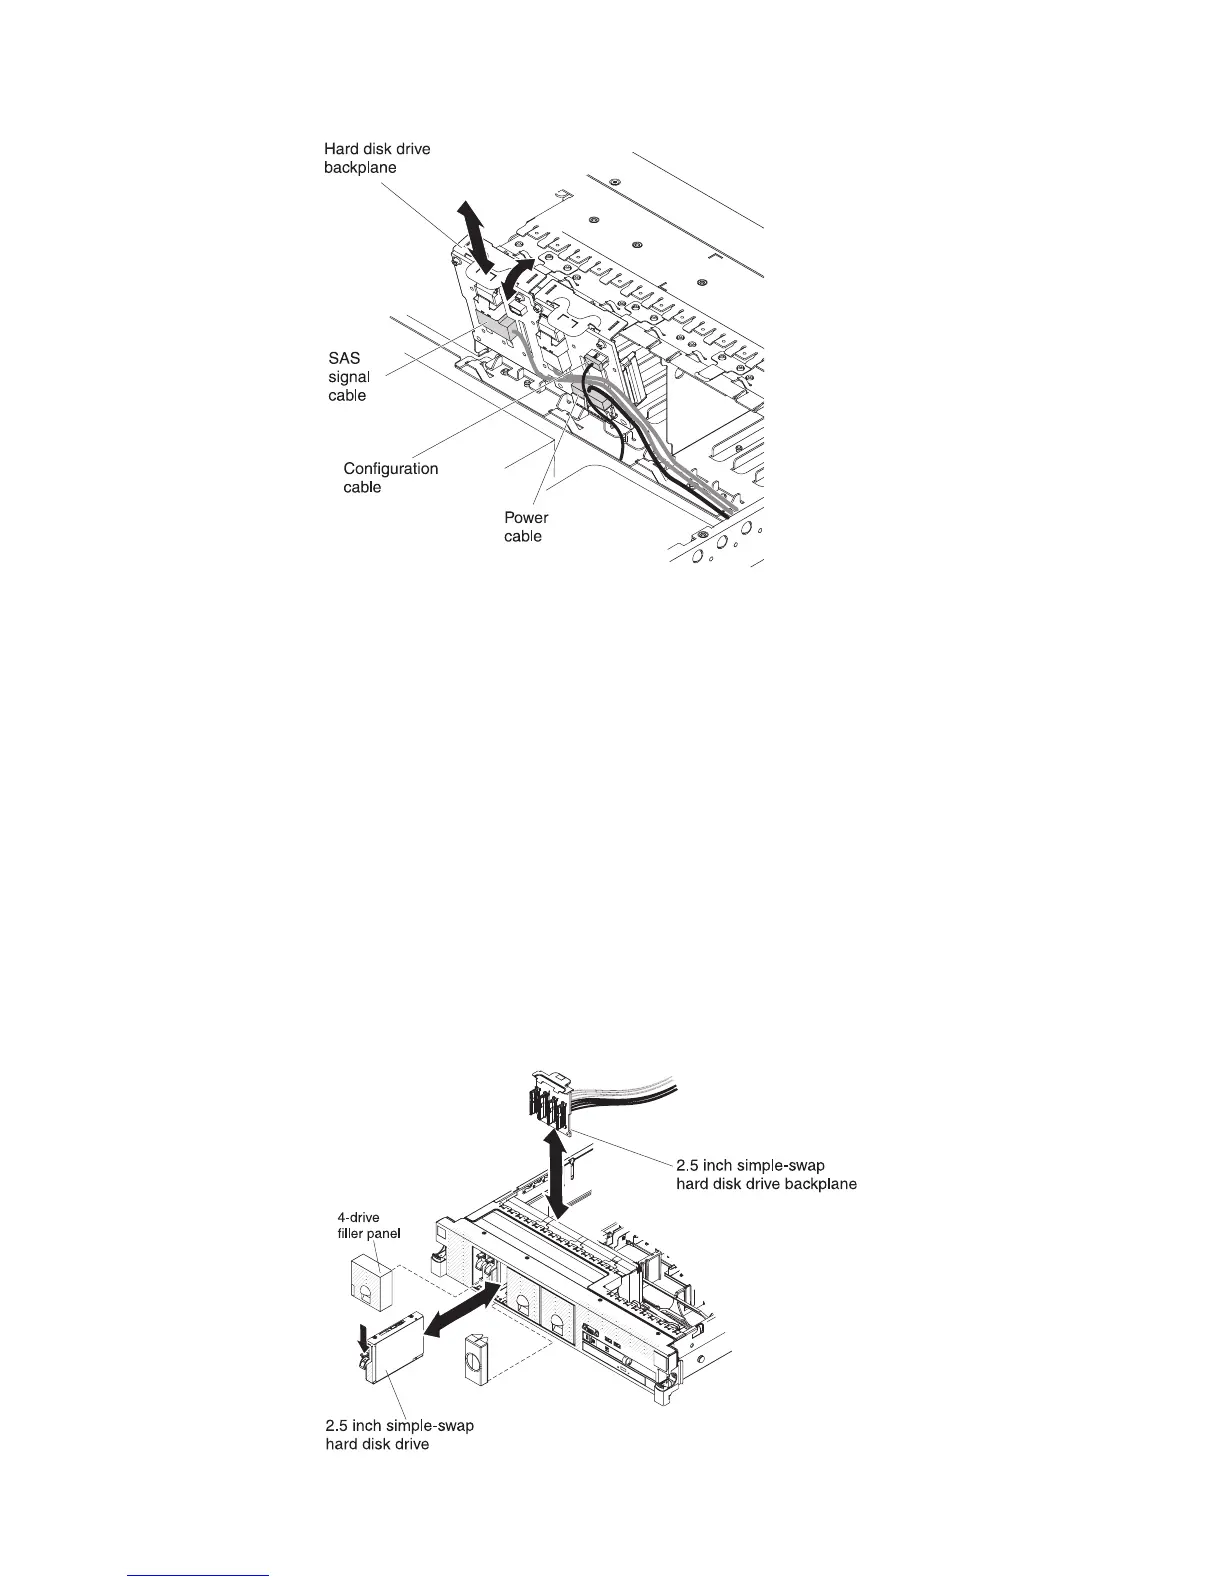
1. Connect the power and signal cables to the replacement backplane (see
“Internal cable routing and connectors” on page 172).
2. Align the backplane with the backplane slot in the chassis and the small slots
on top of the hard disk drive cage.
3. Lower the backplane into the slots on the chassis.
4. Rotate the top of the backplane until the front tab clicks into place into the
latches on the chassis.
5. Insert the hard disk drives and the fillers the rest of the way into the bays.
6. Replace the fan bracket and fans if you removed them (see “Installing the fan
bracket” on page 184 and “Installing a hot-swap fan” on page 224).
7. Install the cover (see “Installing the cover” on page 178).
8. Slide the server into the rack.
9. Reconnect the external cables; then, reconnect the power cords and turn on the
peripheral devices and the server.
Removing the simple-swap hard disk drive backplate
To remove the simple-swap hard disk drive backplate, complete the following steps.
236 IBM System x3650 M3 Types 4255, 7945, and 7949: Problem Determination and Service Guide

 Loading...


