1. Read the safety information that begins on page vii and “Installation guidelines”
on page 87.
2. Turn off the server and peripheral devices, and disconnect the power cords and
all external cables.
3. Remove the cover from the server.
4. Remove the fan-bracket assembly (see “Removing the fan-bracket assembly”
on page 93).
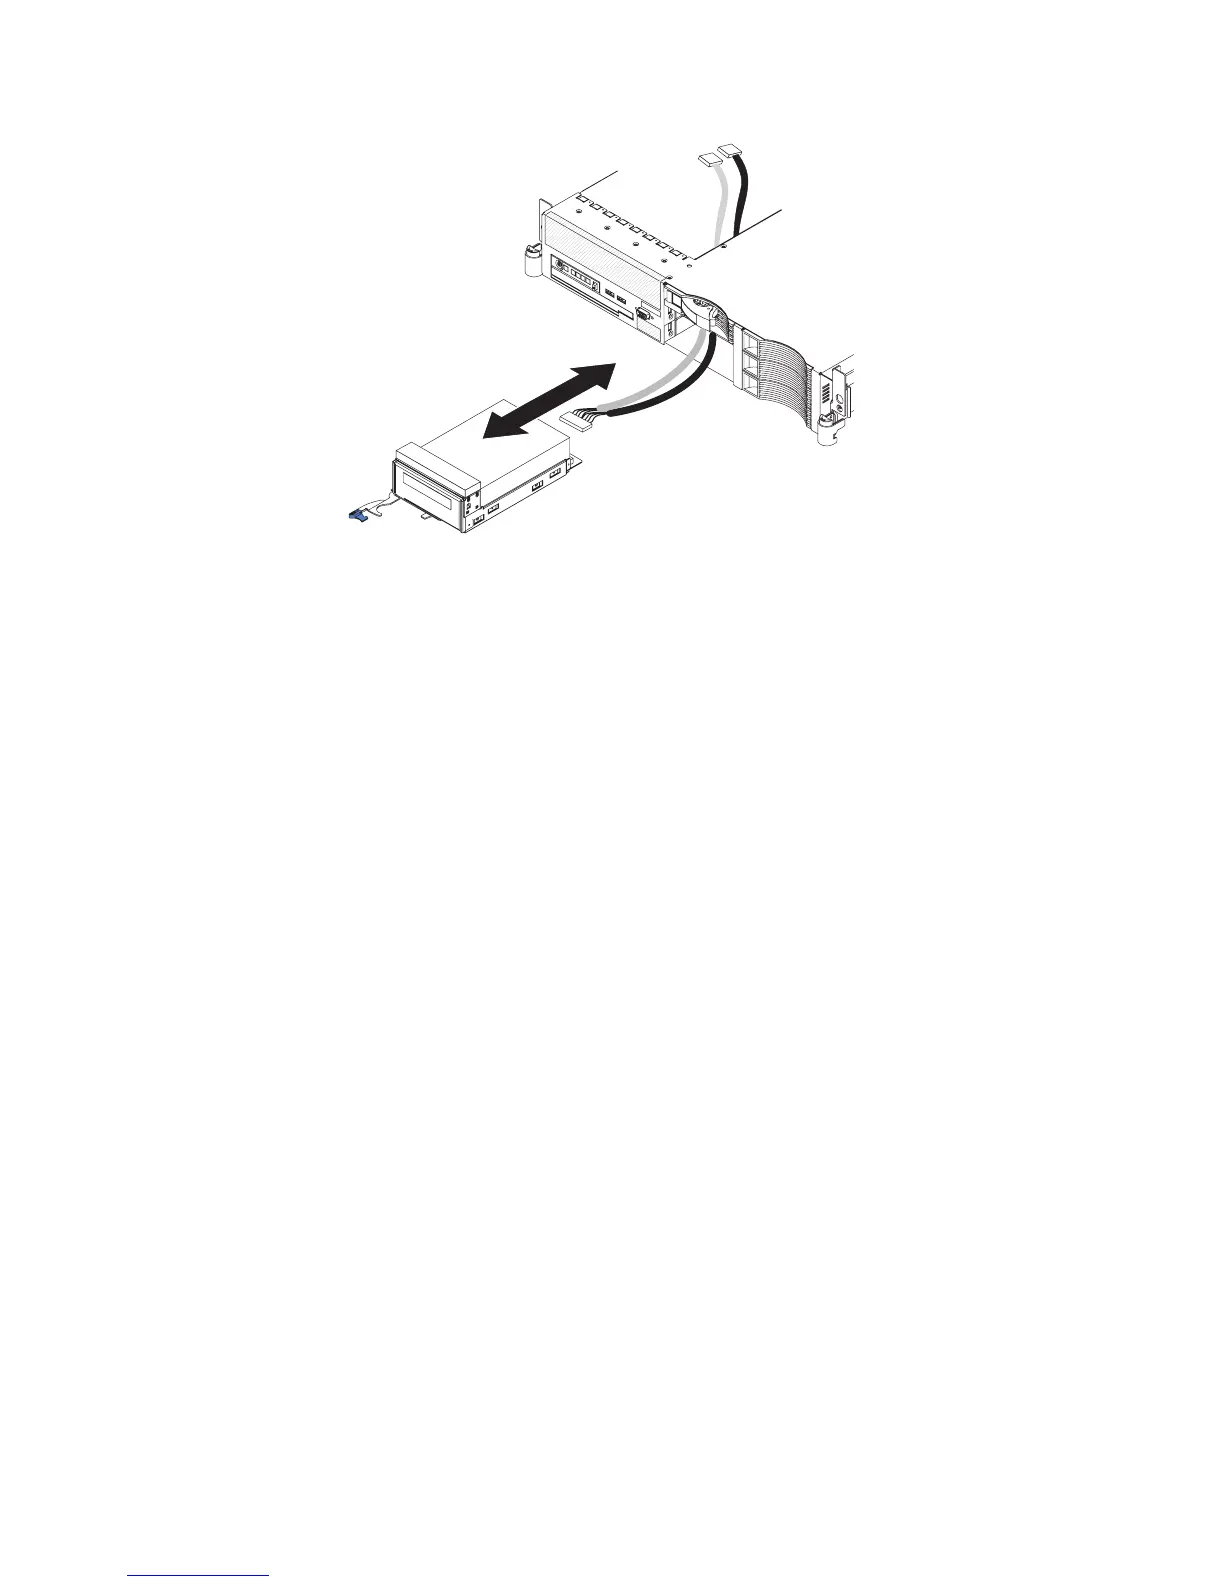
5. Disconnect the tape drive cables from the connectors on the system board.
6. Open the tape drive tray release latch.
7. Gently pull the drive and cables out of the bay.
Note: On a 3.5-inch model server, gently pull the drive cables through the slot
in the left side of the bay and out the front of the server.
8. If you are not installing another drive in the bay, install a filler panel or panels in
the bay.
Installing an optional tape drive
Prepare the drive according to the instructions that come with the drive, setting any
switches or jumpers, then see “Installing the tape drive in a 3.5-inch model server”
or “Installing the tape drive in a 2.5-inch model server” on page 112.
Installing the tape drive in a 3.5-inch model server
The optional tape drive installs in the two bottom-left hard disk drive bays. If you
have hard disk drives in those bays, move the drives to other bays. The cables for
the tape drive come with the tape drive option.
Chapter 4. Removing and replacing server components 109

 Loading...


