3. Remove the power supplies from the power-supply bays (see “Removing a
hot-swap power supply” on page 118).
4. Remove the cover (see “Removing the cover” on page 90).
5. Remove the fan-bracket assembly (see “Removing the fan-bracket assembly”
on page 93).
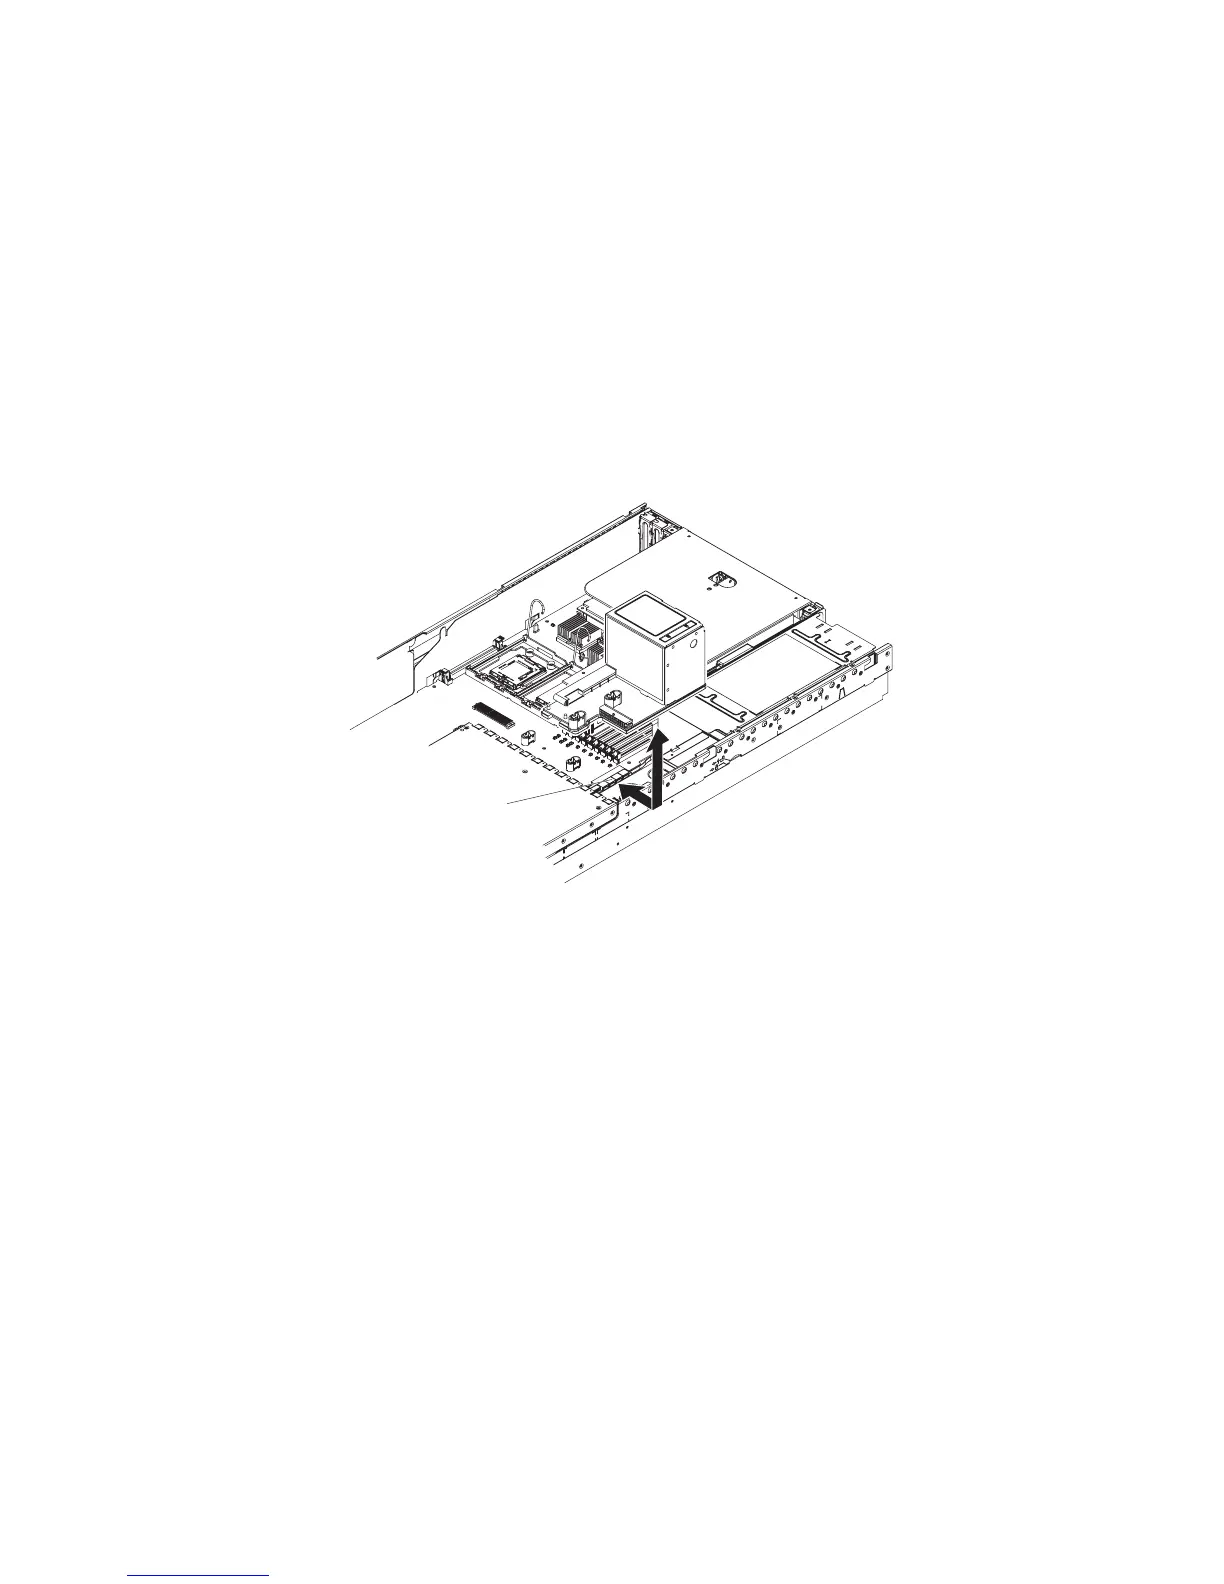
6. Grasp the power backplane and slide it toward the right side of the server.
7. Disconnect the power cable from the hard disk drive backplane.
8. Lift the power backplane out of the server.
9. If you are instructed to return the backplane, follow all packaging instructions,
and use any packaging materials for shipping that are supplied to you.
Installing the power backplane
To install the power backplane, complete the following steps.
Power backplane
connector
1. Align the edge-connector of the power backplane with the power-backplane
edge-connector on the system board.
2. Slide the power backplane toward the left side of the server until the
edge-connectors are fully connected.
3. Connect the power cable from the hard disk drive backplane to the power
backplane.
4. Install the fan-bracket assembly (see “Installing the fan-bracket assembly” on
page 95).
5. Install the cover (see “Installing the cover” on page 91).
6. Install the power supplies into the power-supply bays (see “Installing a hot-swap
power supply” on page 119).
7. Slide the server into the rack.
8. Reconnect the external cables; then, reconnect the power cords and turn on the
peripheral devices and the server.
Chapter 4. Removing and replacing server components 127