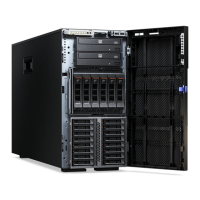
Removing the 3.5-inch center bracket
This procedure applies to 3.5-inch model servers only. If the center bracket between
the two columns of 3.5-inch hard disk drives becomes damaged, you can replace it.
To remove the center bracket, complete the following steps.
3.5-inch
cage divider
1. Read the safety information that begins on page vii and “Installation guidelines”
on page 87.
2. Turn off the server and peripheral devices, and disconnect the power cords and
all external cables.
3. Remove the server from the rack and place it on a flat, static-protective surface.
4. Remove the cover (see “Removing the cover” on page 90).
5. Remove the fan-bracket assembly (see “Removing the fan-bracket assembly”
on page 93).
6. Remove the hard disk drive backplane (see “Removing the 3.5-inch-drive hard
disk drive backplane” on page 130).
7. Remove the top and bottom screws that hold the center bracket in place.
8. Pull the center bracket out the front of the server.
9. If you are instructed to return the center bracket, follow all packaging
instructions, and use any packaging materials for shipping that are supplied to
you.
Installing the 3.5-inch center bracket
This procedure applies to 3.5-inch model servers only. If the center bracket between
the two columns of 3.5-inch hard disk drives becomes damaged, you can replace it.
To install the center bracket, complete the following steps.
Chapter 4. Removing and replacing server components 143

 Loading...


