IDEATEC S.A. - Z.I. de Noville-les-Bois - rue Léopold Génicot 19A - 5380 Fernelmont, Belgium - Tel: +32(0)81 42 00 10 - Fax: +32(0)81 57 91 70 - E-mail: info@ideatec.be
User Guide POLARIS V1.0 - Console V1.16 - Module V2.16
Page 48
Fig.2
a
Fig.1
9.
SYSTEM OK
Fig.2
To upload the configuration into the POLARIS from the computer, use an USB/Mini-USB cable (Fig.1).
You can also use the USB connector on the POLARIS Central Unit in place of the mini-USB on the touchscreen
console (Fig.2).
9.2.1 Upload configuration file
Your warranty
Configuration (continued)
9.2 Touchscreen Console Configuration
9.2.2 Console address selection
Touchscreen console has the possibility to be used as console 1 : address 1, console 2 : address 2 or console 3 :
address 3 (see Fig.1 on page 42). To select the console address please connect the touchscreen console to the
POLARIS Central Unit and power up the system.
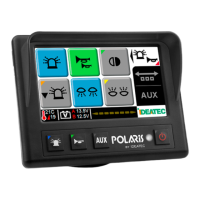
Press on the logo in the right corner of the touchscreen console as described on the picture (Fig.2) below :