A
PPENDIX
A-6 S
MART
AXIS P
RO
/L
ITE
U
SER
'
S
M
ANUAL
FT9Y-B1378
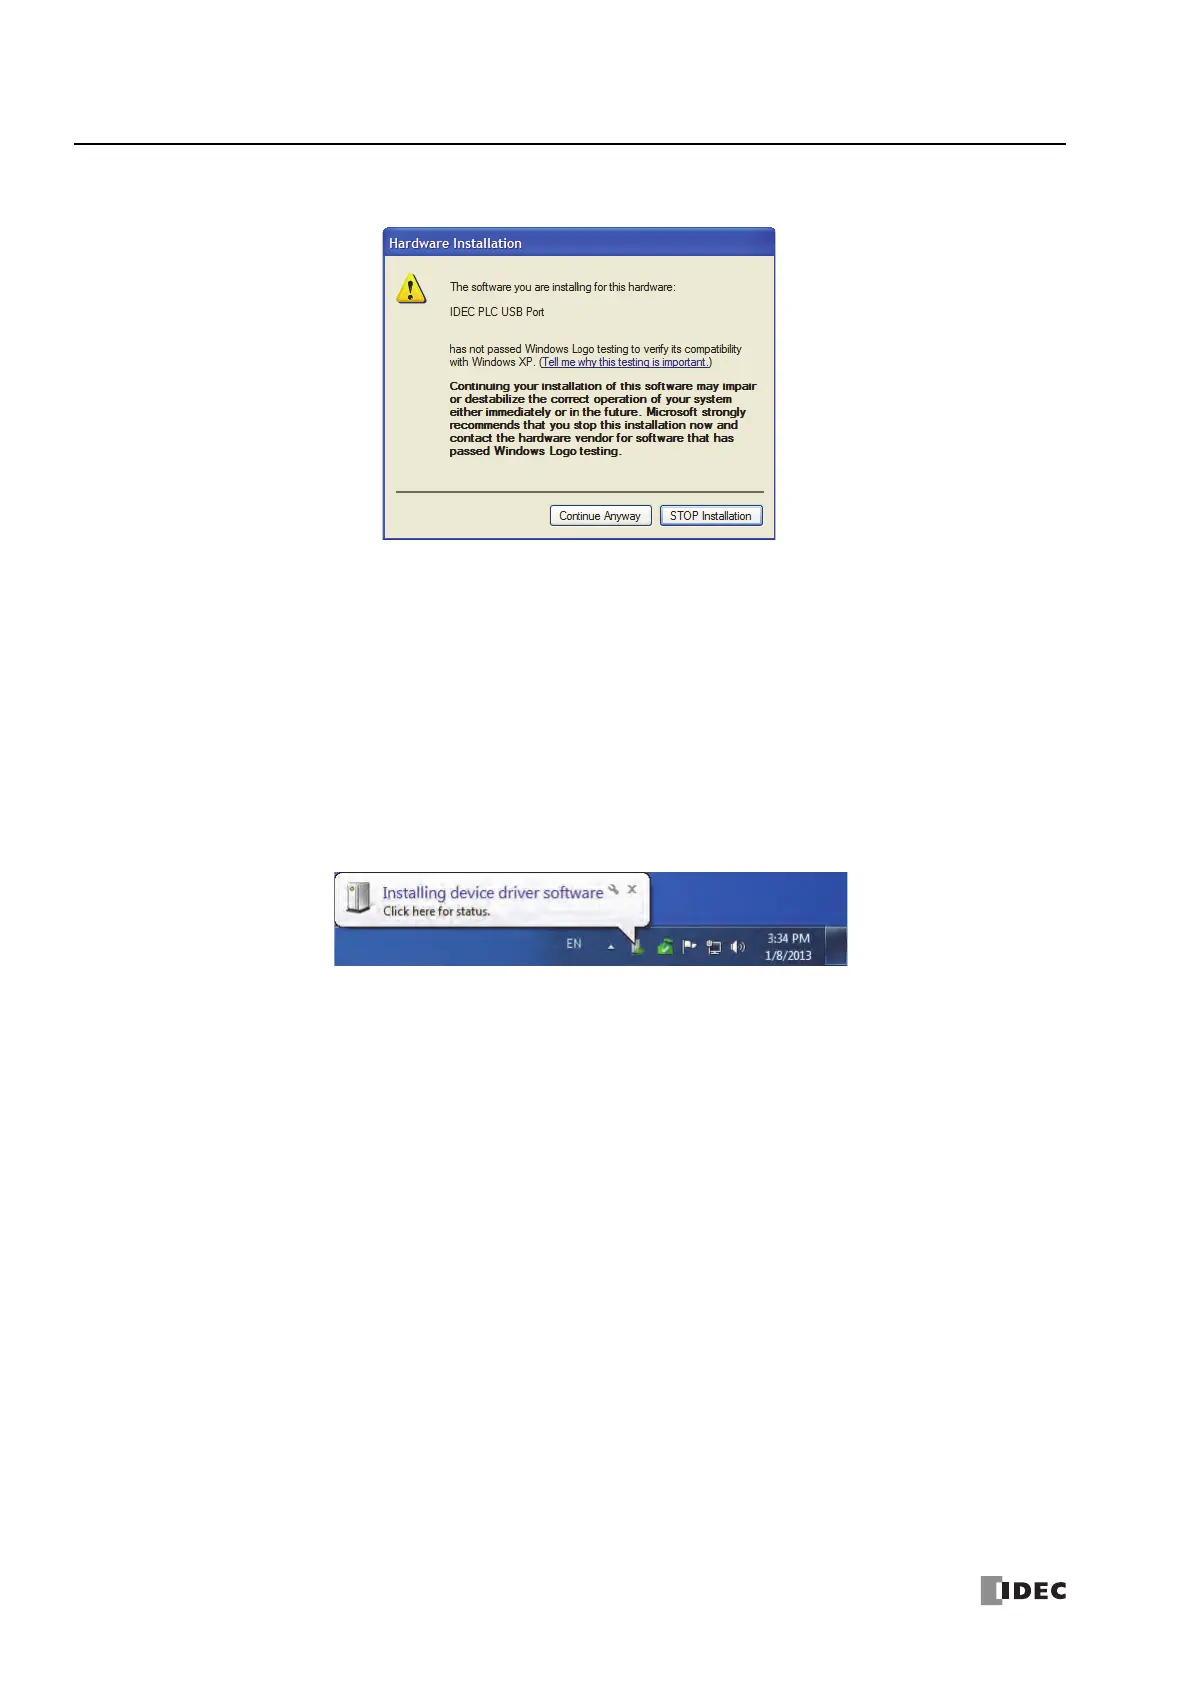
4. Click Continue Anyway button.
If the installation is aborted without showing the dialog box above, Block is selected in the Driver Signing Options in Driver
Signing in the System Properties dialog box. If the installation is aborted, this option should be changed to Warn. After
changing the option to Warn, reconnect the SmartAXIS and retry the installation procedure from the step 1.
5. Installation is now complete. Click Finish.
Installing on Windows Vista/7 (32-bit or 64-bit)
1. Connect a USB cable to the USB port on the SmartAXIS with the power supplied and the computer running.
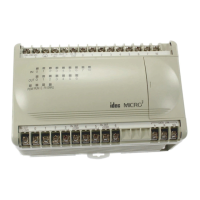
2. The following message appears in the bottom right corner of the desktop.
3. The installation is complete once the message “Your device is ready to use” appears in the bottom right corner of the desktop.