-22-
4 Installation and Fixing
AC800 Series Intelligent Machine Controller Hardware User Guide
2 Installation
Install the fall in revere order.
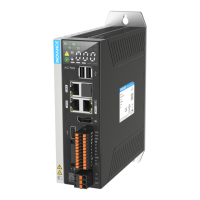
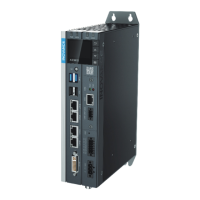
4.4 Installing and Removing the Battery
The battery can only be removed and installed after the fan is removed. Remove the fan as instructed in
section 4.3 rst.
Replacing the battery
1) Loosen the screws on the bottom of the controller and open the fan cover. You can see the battery as
shown below.
2) Hold the battery with at-nose pliers and take it out. Push the new battery into the battery slot with
your hand.
Precautions:
1) After replacing the battery, the controller needs to be manually started.
2) When removing the battery, clamp the battery with at-nose pliers. Be careful not to touch the
surrounding parts to avoid damage. Live working is not allowed.
3) When installing the battery, see the label at the bottom of the battery to identify the battery's positive
and negative poles.
4) After replacing the battery, power on the controller and check if the controller reports battery failure.
If such an error is reported, check that the battery is installed correctly.
5) If the controller is powered on without any error, recalibrate the system clock.
6) Dispose of the replaced battery properly to avoid environmental pollution and personal injury.
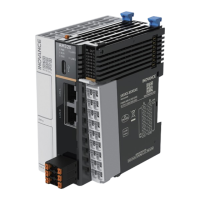
4.5 Installing and Removing the Expansion Card Slot
Removal
1) Loosen the screws on the cover of the slot with a screwdriver.
2) Pull the captive screws on both sides to the outside with both hands and take out the expansion slot.
The following diagram shows an expansion card which is completely removed from the slot:
 Loading...