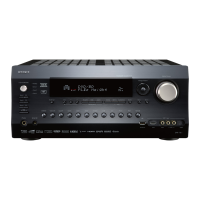
55
First Time Setup—Continued
Powered Zone 2/3/4
See “Setting the Powered Zone 2/3/4” on page 141.
Note:
This procedure can also be performed on the AV receiver
by using its [Setup] button, arrow buttons, and [Enter]
button.
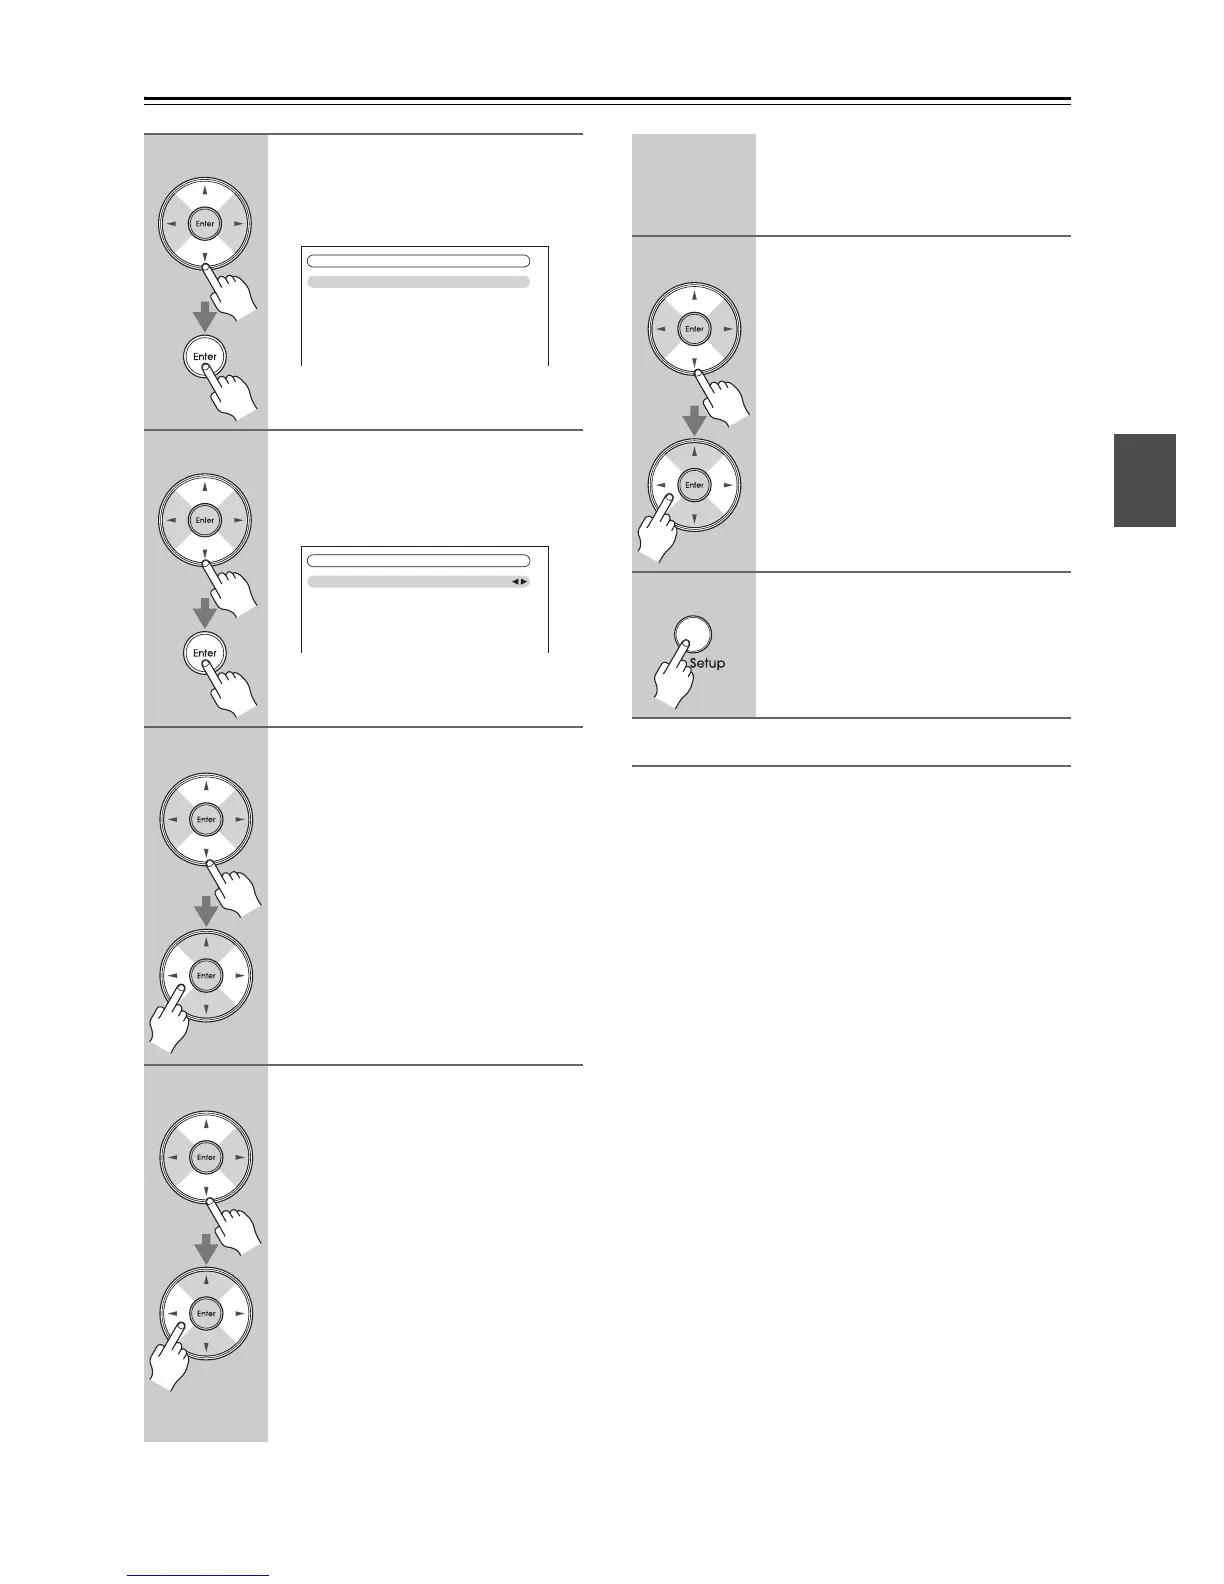
2
Use the Up and Down [q]/[w] but-
tons to select “2. Speaker
Setup”, and then press [Enter].
The “Speaker Setup” menu appears.
3
Use the Up and Down [q]/[w] but-
tons to select “1. Speaker Set-
tings”, and then press [Enter].
The “Speaker Settings” menu appears.
4
Use the Up and Down [q]/[w] but-
tons to select “Speaker Imped-
ance”, and then use the Left and
Right [e]/[r] buttons to select:
4ohms: Select if the impedance of any
speaker is 4 ohms or more but
less than 6.
6ohms: Select if the impedances of all
speakers are between 6 and
16 ohms.
Note:
When bridging is used, “Speaker
Impedance” setting is fixed at
“8ohms”.
5
Use the Up and Down [q]/[w] but-
tons to select “Speakers
Type(Front)”, and then use the
Left and Right [e]/[r] buttons to
select:
Normal: Select this if you’ve con-
nected your front speakers
normally.
Bi-Amp: Select this if you’ve con-
nected your front speakers
for bi-amped operation.
BTL: Select this if you’ve con-
nected your front speakers
for bridged operation. The
BTL indicator will appear on
the display.
2. Speaker Setup
1. Speaker Settings
2. Speaker Configuration
3. Speaker Distance
4. Level Calibration
5. Equalizer Settings
6. THX Audio Setup
2–1. Speaker Settings
Speaker Impedance
Speakers Type(Front)
Passive Subwoofer
Powered Zone2
Powered Zone3
Powered Zone4
6ohms
Normal
Not Use
Not Act
Not Act
Not Act
Note:
Surround back speakers and Powered
Zone 3/4 cannot be used if you select
“Bi-Amp” or “BTL”.
6
Use the Up and Down [q]/[w] but-
tons to select “Passive Sub-
woofer”, and then use the Left
and Right [e]/[r] buttons to
select:
Use: Select this if you’ve con-
nected passive subwoofers.
Not Use: Select this if you’ve con-
nected no passive subwoof-
ers.
Note:
Powered Zone 2/4 cannot be used if
“Passive Subwoofer” is set to “Use”.
7
Press the [Setup] button.
The setup menu closes.