69
► Check whether there is a thin layer of ceramic grease
between the flange of the shoulder bolt and the front panel.
If there is insuicient grease present, extra must be applied:
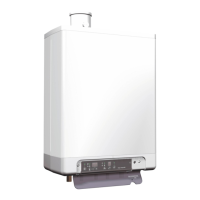
► Check whether the gasket around the front panel is
correctly placed. Place the front panel on the heat
exchanger and attach it with the special shoulder bolts
(socket). Tighten the shoulder bolts (1 to 11) by hand,
working diagonally. For the order of tightening, see the
picture.
► Verify the shoulder bolts according to the same order with a
torque spanner at 10-12Nm.
► Tighten the burner bolts diagonally by hand.
► Check the gasket and fit the gas connection under the gas
valve.
► Install the connector on the fan.
► Open the gas valve and check the gas connections under
the gas valve for leakage.
► Check the water supply piping for leakage.
► Fill the siphon cup to just over half full.
► Replace the siphon cup by sliding it over the siphon spout
and then turning it clockwise until it is secure. Check
whether the siphon spout is sticking into the water and
check whether the siphon cup is firmly in place.
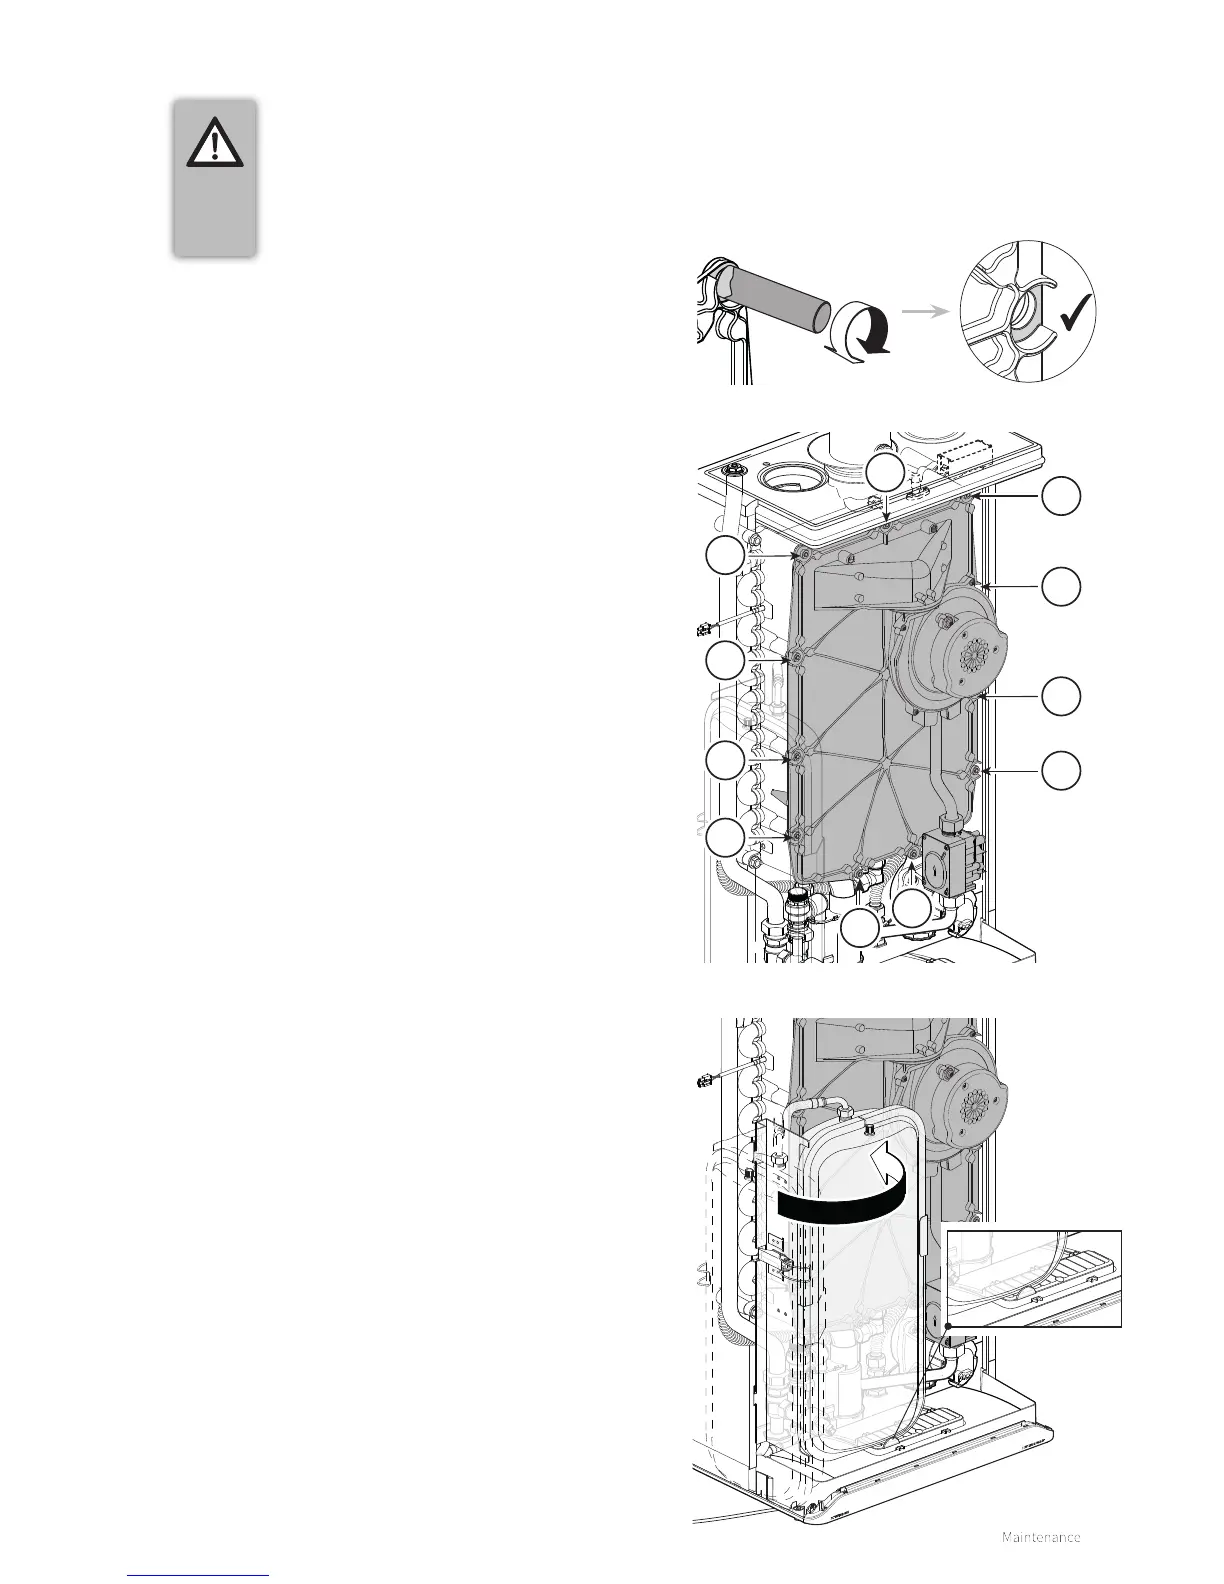
► Turn the expansion vessel back to its original position. Make
sure the vessel is secured by the lip on the cable cover.
► Turn the power supply on at the fuse spur.
► Switch on the boiler.
► Check the front cover, the connection of the fan on the front
cover, and the flue components for leakage.
► Check the gas/air control (see §8.9 and §8.10) and check
the gas connection on the gas valve for tightness.
► Install the casing and tighten the two screws at the le and
right under the boiler.
► Check the domestic hot water facility for correct operation.