Basic Operation
5.10 Set Parallel Operation Mode (Parallel)
This menu item is used to control whether the instrument is working in single
mode or in parallel mode. This chapter takes three instruments (with operation
panel) as an example to describe how to parallelize the single units and how to
return from parallel mode to single mode.
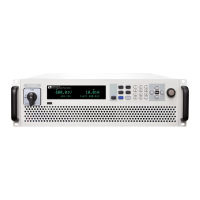
The IT8000 series load supports multiple instruments to work in parallel mode
to provide more power and current input capability. Parallel instruments can ac-
tively average current.
Configure the Menu Item
1. Press the composite keys [Shift]+[P-set] (System) on the front panel to en-
ter the system menu.
2. Press the Up/Down key or turn the knob to select the Parallel and press
[Enter].
3. Press the Left / Right key or turn the knob to adjust the value of this
parameter.
• Single: Default value, indicates that the instrument is in single mode.
• Master: Indicates that the current single unit is set to master in parallel
mode. When set to Master, you also need to set the number of slaves to
be mounted for the master, so you need to set the value of the Total pa-
rameter. For example, setting Total = 3 means that the total number of
units in the parallel relationship is 3.
In the parallel mode, you only need to operate the master. Synchro-
nous operations on other slaves are implemented by operating the
master.
• Slave: Indicates that the instrument is set to the slave in parallel mode.
4. After the parameter settings are complete, press [Enter].
Set the Parallel Mode
• Before connecting the system bus, you must ensure that each instru-
ment is in single mode (Single).
• Fiber optic cables cannot be flexed or folded. When the cable is too long
and needs to be arranged, gently wrap the cable in a circle and gently tie
it.
Copyright © Itech Electronic Co., Ltd.
75