DP400 Motherboard
○○○○○○○○○○○○○○○○○○○○○○○○○○○○○○○○○○○○○○○○○○○○○○○○○○
User’s Manual
4•8
○○○○○○○○○○○○○○○○○○○○○○○○○○○○○○○○○○○○○○○○○○○○○○○○○○
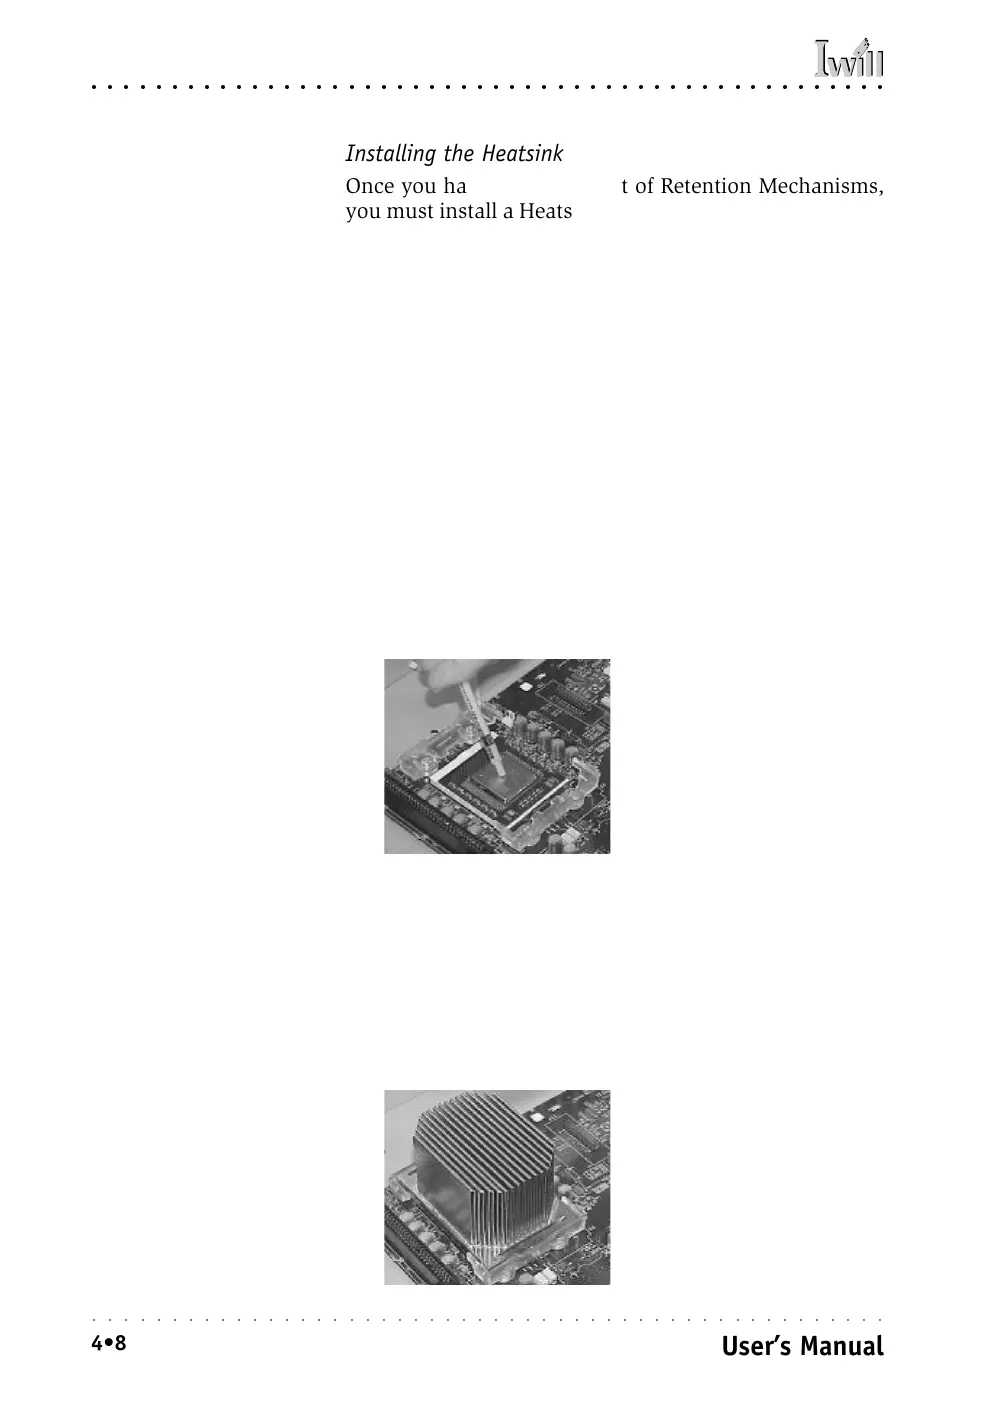
Installing the Heatsink
Once you have attached a set of Retention Mechanisms,
you must install a Heatsink. The Heatsink attaches to the
Retention Mechanisms with the two supplied Heatsink
retaining clips.
Apply Thermal Interface Material
Before you install the heatsink you must apply the Ther-
mal Interface Material (TIM) that is supplied in an appli-
cator with boxed intel Xeon processors (or an exact
equivalent) to the heat spreader on the installed CPU.
We assume here that you have TIM in an Intel-supplied
applicator. To apply TIM to the CPU do as follows:
1. Apply all of the TIM in the applicator to the center
of the square heat spreader plate in the middle of
the CPU.
2. Do not spread the TIM around. When you place the
Heatsink on top of the CPU the material will dis-
perse evenly.
Next, install the processor Heatsink as detailed below.
Install the Heatsink
To install a processor Heatsink do as follows:
1. Place the Heatsink on top of the Xeon CPU so that it
fits into the recesses in the Retaining Mechanisms.
The Heatsink base is rectangular and will only fit
into the mechanism frame in the correct orientation.
Apply TIM
Apply all of the Thermal
Interface Material to the
center of the processor
heat spreader plate
Don’t spread the TIM out with
the applicator tip. The
Heatsink will disperse it.
Don’t spread the TIM out with
the applicator tip. Wiggle the
Heatsink a little after you
position it to disperse the
Thermal Inteface Material.
Position the Heatsink
place the Heatsink on top
of the CPU so that it fits
into the Retention Mecha-
nisms.