SeapiX – Operation Manual
SSD-C-1302 Ed. A – 01/2020 41
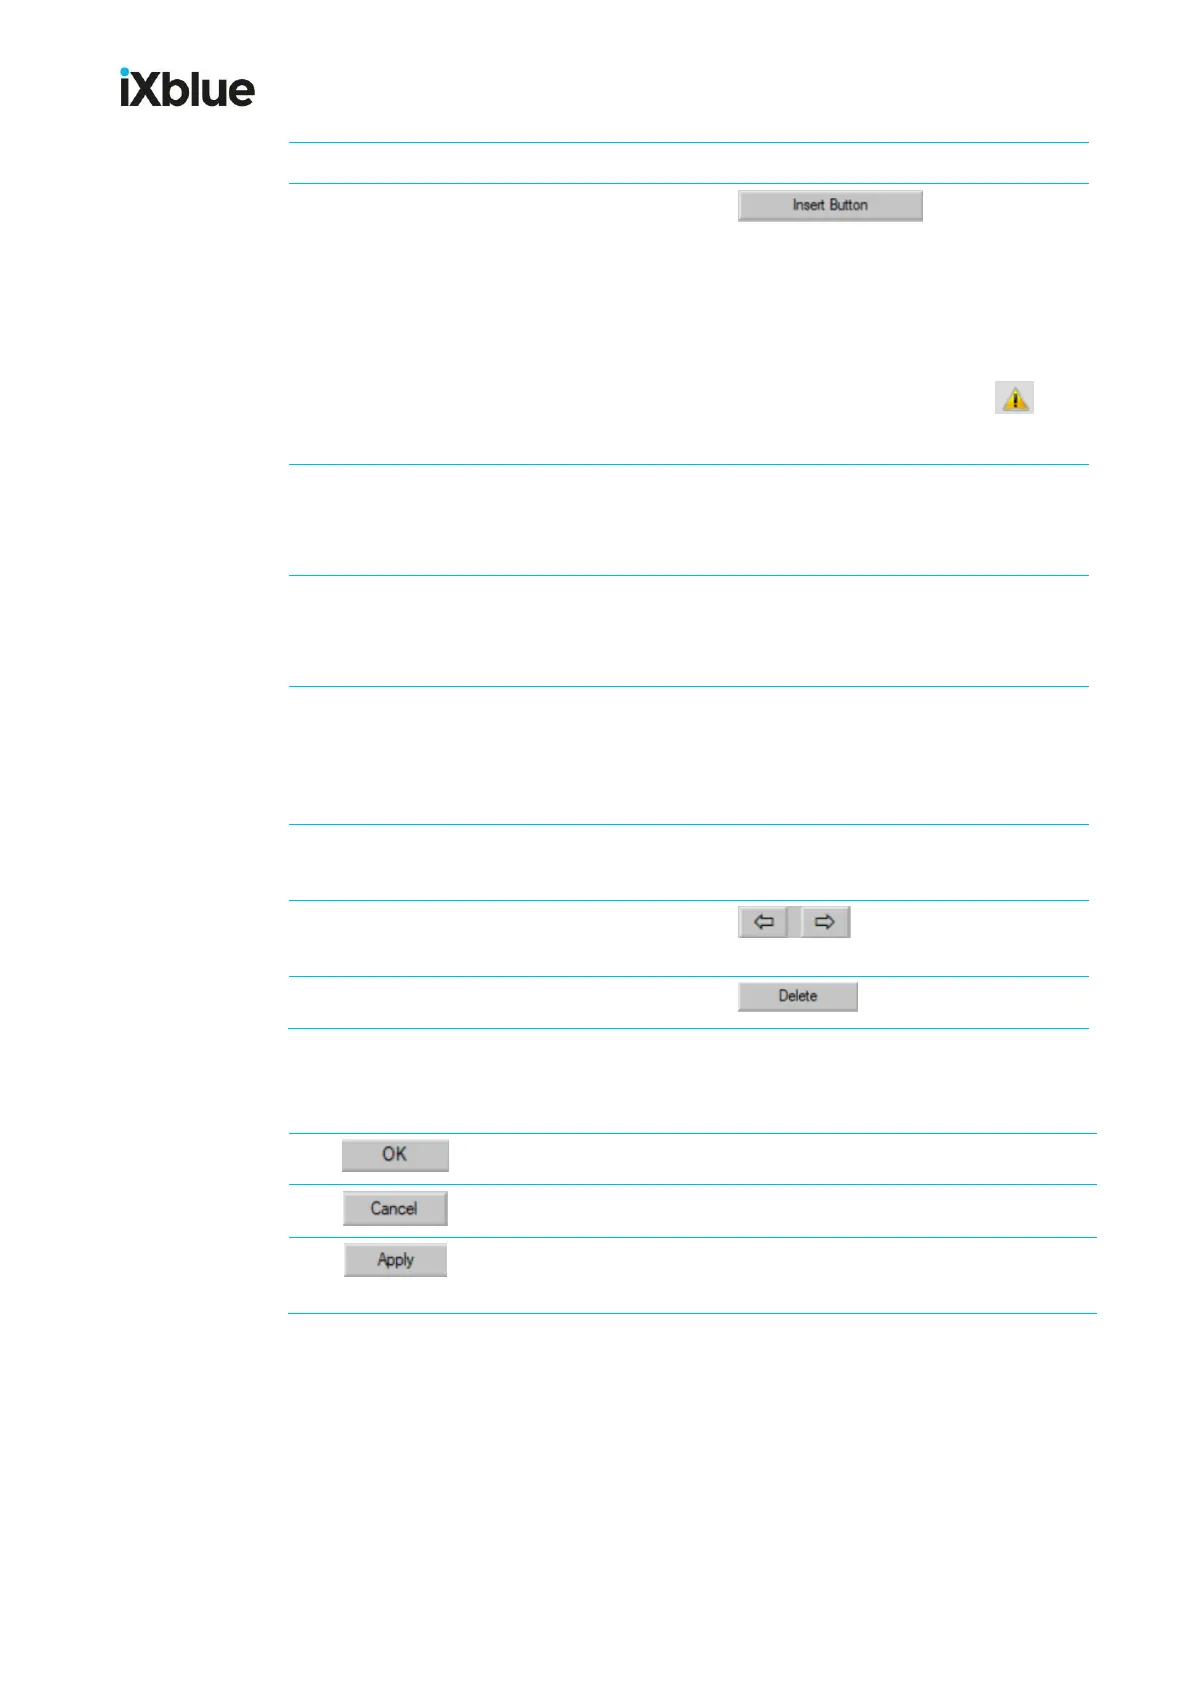
To insert a new button (to the right of the
selected one),
click
You then have to configure it (assign it an
image, a command, a tooltip). The new
button will not be created until all necessary
information has been entered: otherwise,
warning messages – starting with –
will be displayed.
To assign an image to the selected button,
open the image bank and pick up a new
one (you can also add up images to the
bank).
To assign a command to the selected
button,
open the main menu, browse through the
different sub-menus then pick up a new
command.
To assign a tooltip to the selected button,
delete the text in the Tooltip field – if any –
then write one. (If no Tooltip text is entered,
the name of the command will show when the
cursor hovers the button.)
To add or remove a separator just before
the selected button,
To move the selected button along the
toolbar, to the left or to the right,
To delete the selected button,
How do OK, Cancel and Apply buttons work?
validates your choice and leaves the Configuration window.
cancels your choice and leaves the Configuration window.
validates your choice but keeps the Configuration window open,
to let you make other actions.