NT-2000 REF Manual
Customizing Operation via Menu System
4-12
4.10.2. Outputting Live NAVTEX Messages
This output mode is to be activated when an optional printer is plugged in for realtime,
on–line message printing or when a live NAVTEX output is required for other onboard
applications.
To output live messages as they are received, follow the steps given below. Be sure to set
the printer (e.g.
*
1
PR–900) or other receiving device properly.
NOTE: A forced carriage return
(
)
will be replaced by an underscore
( _ ) (
hex 5F
)
when it
is output to a PC terminal or a printer
.
(1) Highlight option “1:RECEIVING MSG” on the SELECT OUTPUT MESSAGES
submenu, and then press
.
(2) Press
to highlight “*
2
ON,” and then press
. Another submenu will then
show up, allowing you to select the first or second receiver, as illustrated below.
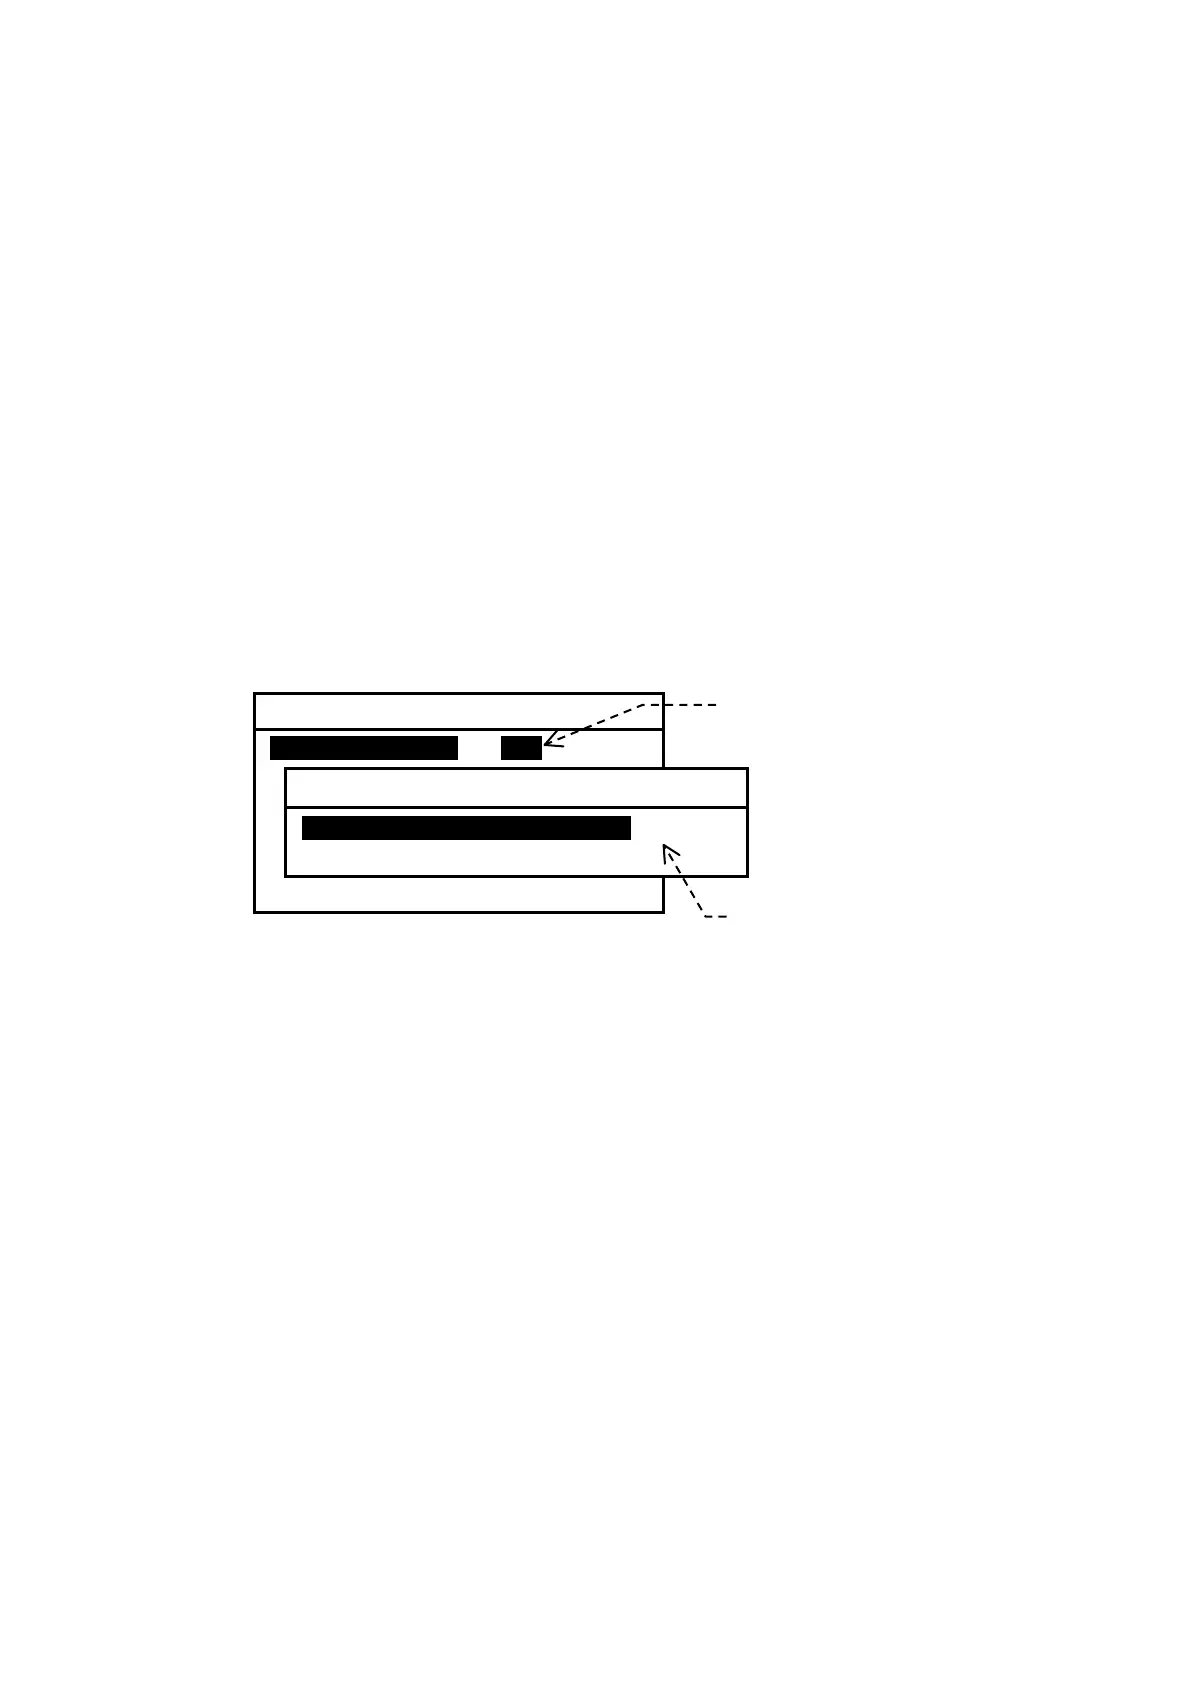
Figure 4-19 Outputting Live NAVTEX Message
(3) Using
/
, select the desired receiver, and then press
. The equipment
will then start outputting live messages from the receiver selected.
The settings you made via the above steps will be stored in memory.
(4) Press
to return to the previous menu or
to return to the first receiver
message screen.
*
1
:
Before the printer can be used, the data transfer speed via the RS–232C port must
be set to 110 baud
(BIT RATE: 0.11)
via the instructions given in 4.11.4.2.
*
2
:
This setting is remembered in memory. It will return to “
OFF
” owhen you execute the
system reset via the instructions in paragraph 4.14.
6: SELECT OUTPUT MESSAGES
1: RECEIVING MSGi iONi OFF
2: ALL STORED MSG
3: MSG SELECTED BY FREQUENCY
4: MSG SELECTED BY STATION
5: MSG SELECTED BY TYPE
6: DISPLAYED MSG
7: SELECTED MSG
Select this option with
,
and then press
.
1: RECEIVING MSG
1: FIRST RECEIVER (518KHZ)i
2: SECOND RECEIVER (490KHZ)
Select desired receiver with
/