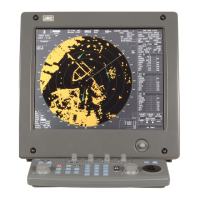
3.2 INSTALLATION OF THE LCD MONITOR
1) Installation of the LCD monitor
Install the LCD monitor by taking into consideration the following:
<1> Install the LCD monitor in a convenient location so that when the user is facing the bow the user can
ob
ser
ve the LCD panel to find the target direction.
3
<2> Select locations where there is least vibration.
<3> It is necessary to allow space for a bend in the installation c
a
ble at the rear of the equipment.
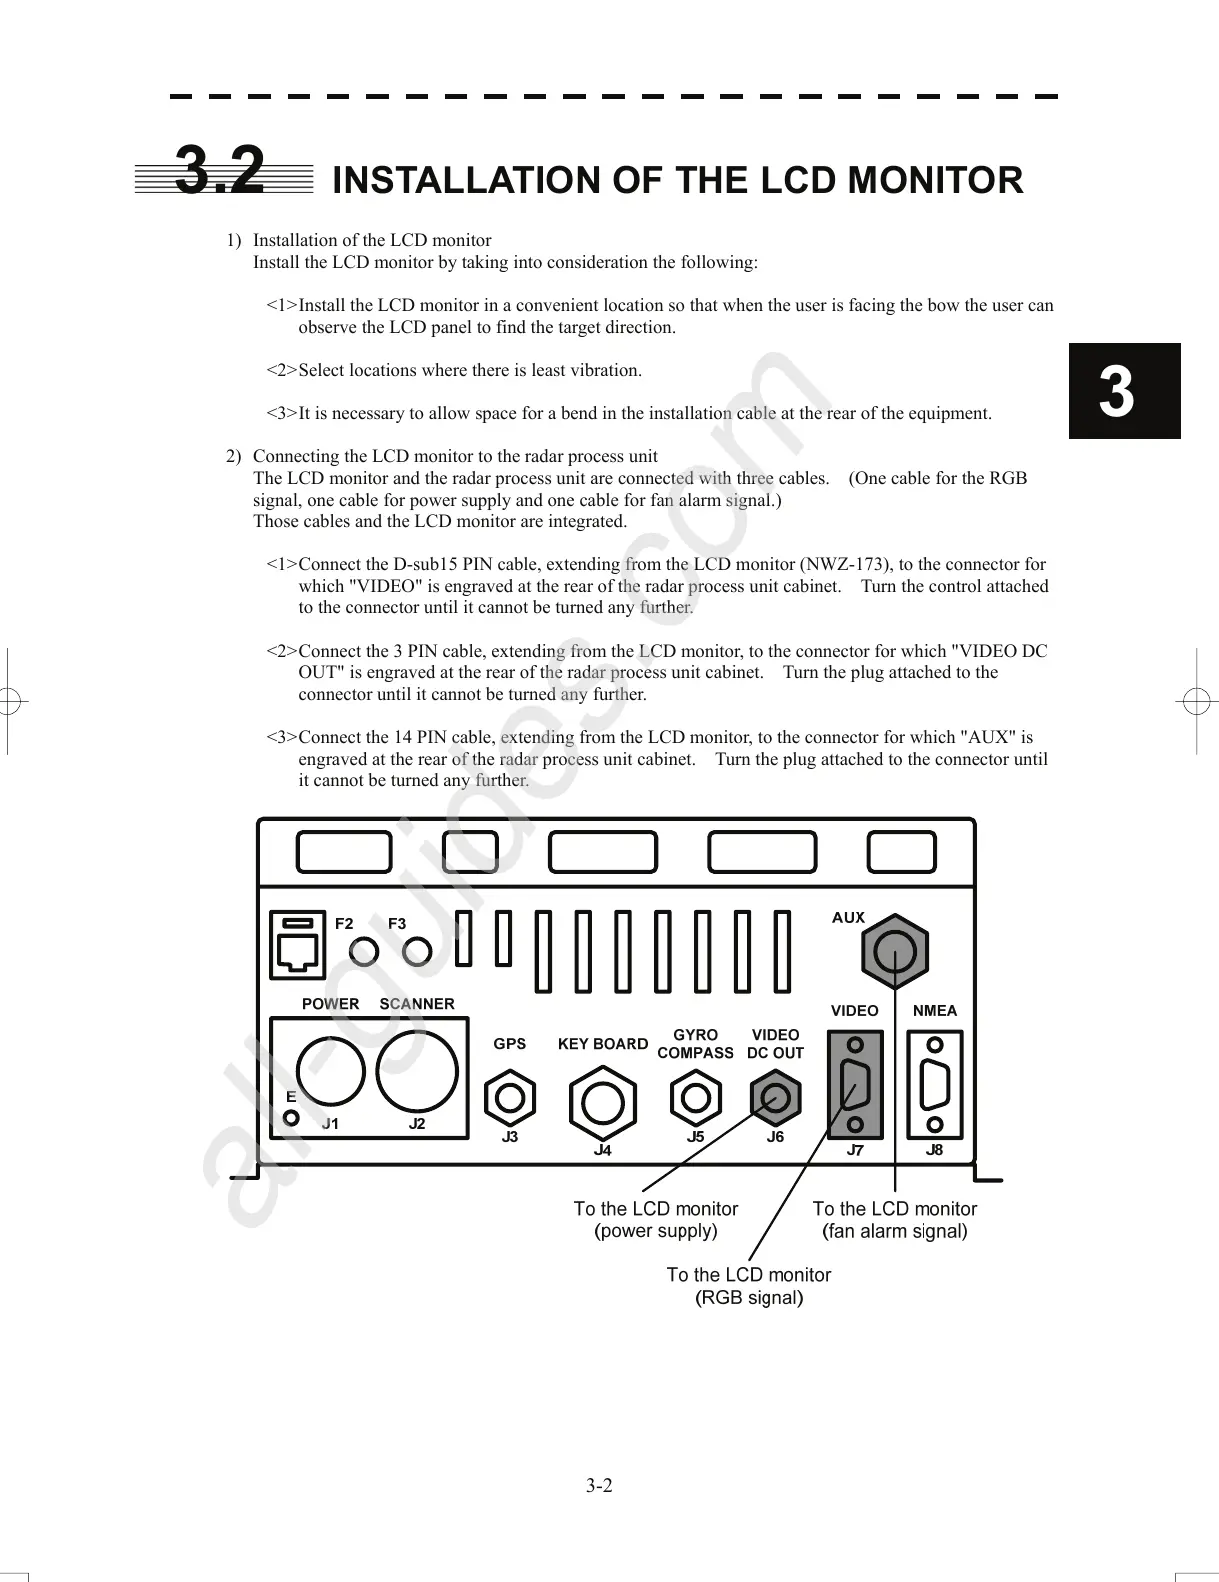
2) Connecting the LCD monitor to the radar process unit
The LCD monitor and the radar process unit are connected
with three ca
bles. (One cable for the RGB
signal, one cable for power supply and one cable for fan alarm signal.)
Those cables and the LCD monitor are integrated.
<1> Connect the D-sub15 PIN cable, extend
ing from the LCD monitor (NWZ-173), to the connector for
which "VIDEO" is engraved at the rear of the radar process unit cabinet. Turn the control attached
to the connector until it cannot be turned any further.
<2> Connect the 3 PIN cable, extending from the LCD monitor, to the connector for which "VIDEO DC
OUT" is en
graved at the rear of the radar process unit cabinet. Turn the plug attached to the
connector until it cannot be turned any further.
<3> Connect the 14 PIN cable, extending from the LCD mo
nitor, to the connector for which "AUX" is
engraved at the rear of the radar process unit cabinet. Turn the plug attached to the connector until
it cannot be turned any further.
3-2
 Loading...