3-17
DIP switch 7: Spare
1 1: Spare
2 1: Spare
3 1: Spare
4 1: Spare
5 1: Spare
6 1: Spare
7 1: Spare
8 1: Spare
DIP switch 8: Spare
1 Selection of the target machine (KE-3020V or KE-3020)
ON: For KE-3010/3020V/3020VR (TR6SNV)
OFF: For KE-3020/3020R (TR6SNX/TR6SXLX)
2 1: Spare
3 1: Spare
4 1: Spare
5 1: Spare
6 1: Spare
7 1: Spare
8 1: Spare
(2) Initialization of parameters
When starting the machine while holding down the [ONLINE] and [ ↑ ] buttons on the HOD,
the operation enters the EEPROM Default Set mode.
<Flow of parameter initialization>
1. EEPROM Default set: Press the ENTER key.
2. EEPROM Default set Sure?: Press the ENTER key.
3. EEPROM Writing: Wait for a while.
4. Power OFF: Turn OFF the power.
(3) Entering parameters
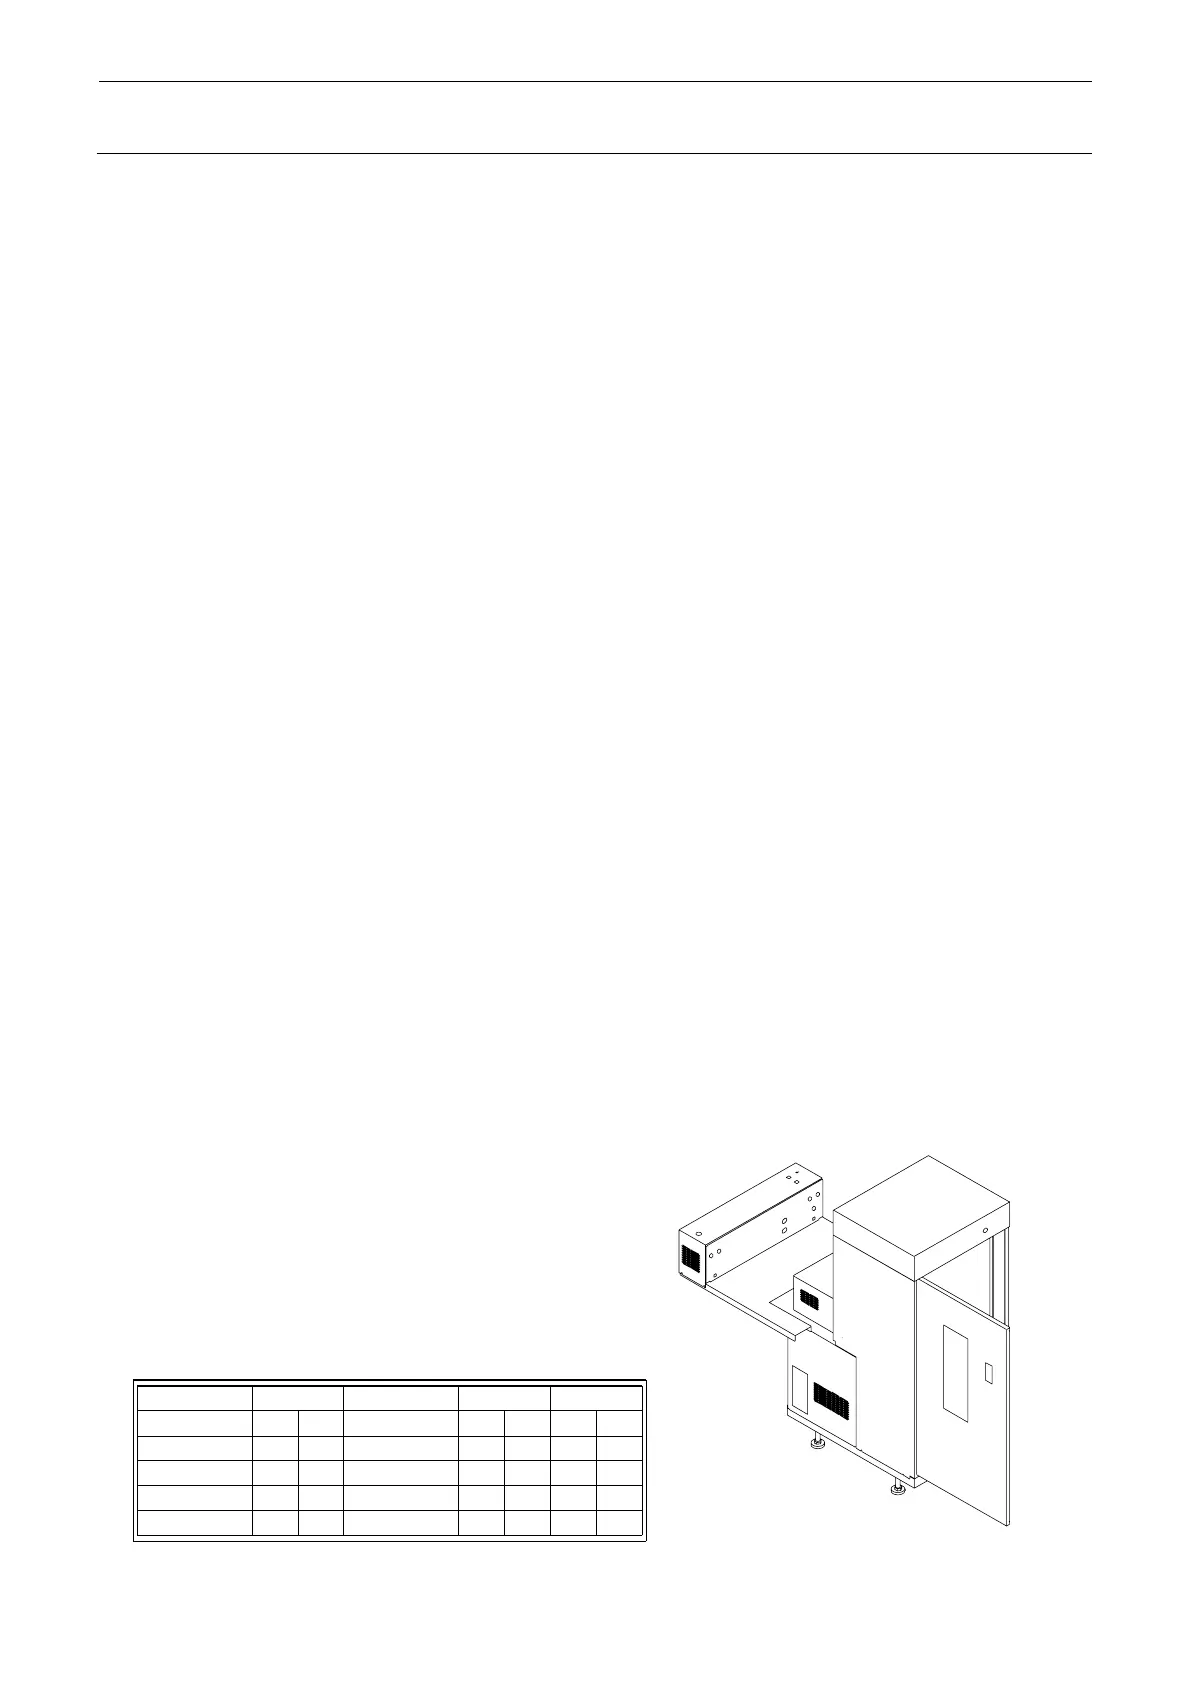
A nameplate containing set parameters is attached on the open door.
Enter parameters using “19. XYZ ADJ” of test mode.
< Sequence of XYZ ADJ >
1. Tray Pos: No parameters to be entered
2. H.P Offset: Enter the Shuttle 1 value
3. Tray Ref ADJ: Enter the Head 2 value
4. No.1 Head ADJ: Enter the Head 1 value
5. Spot ADJ: Enter the Spot value
6. Pad Confirm: No parameters to be entered
1. The setting is made according to the software specifications,
such as special order.
Make the same setting as that on the previous PCB.
Shuttle 2
Head 1
Head 2
*****
*****
*****