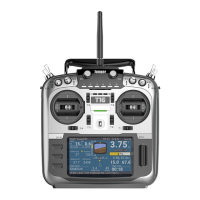
18
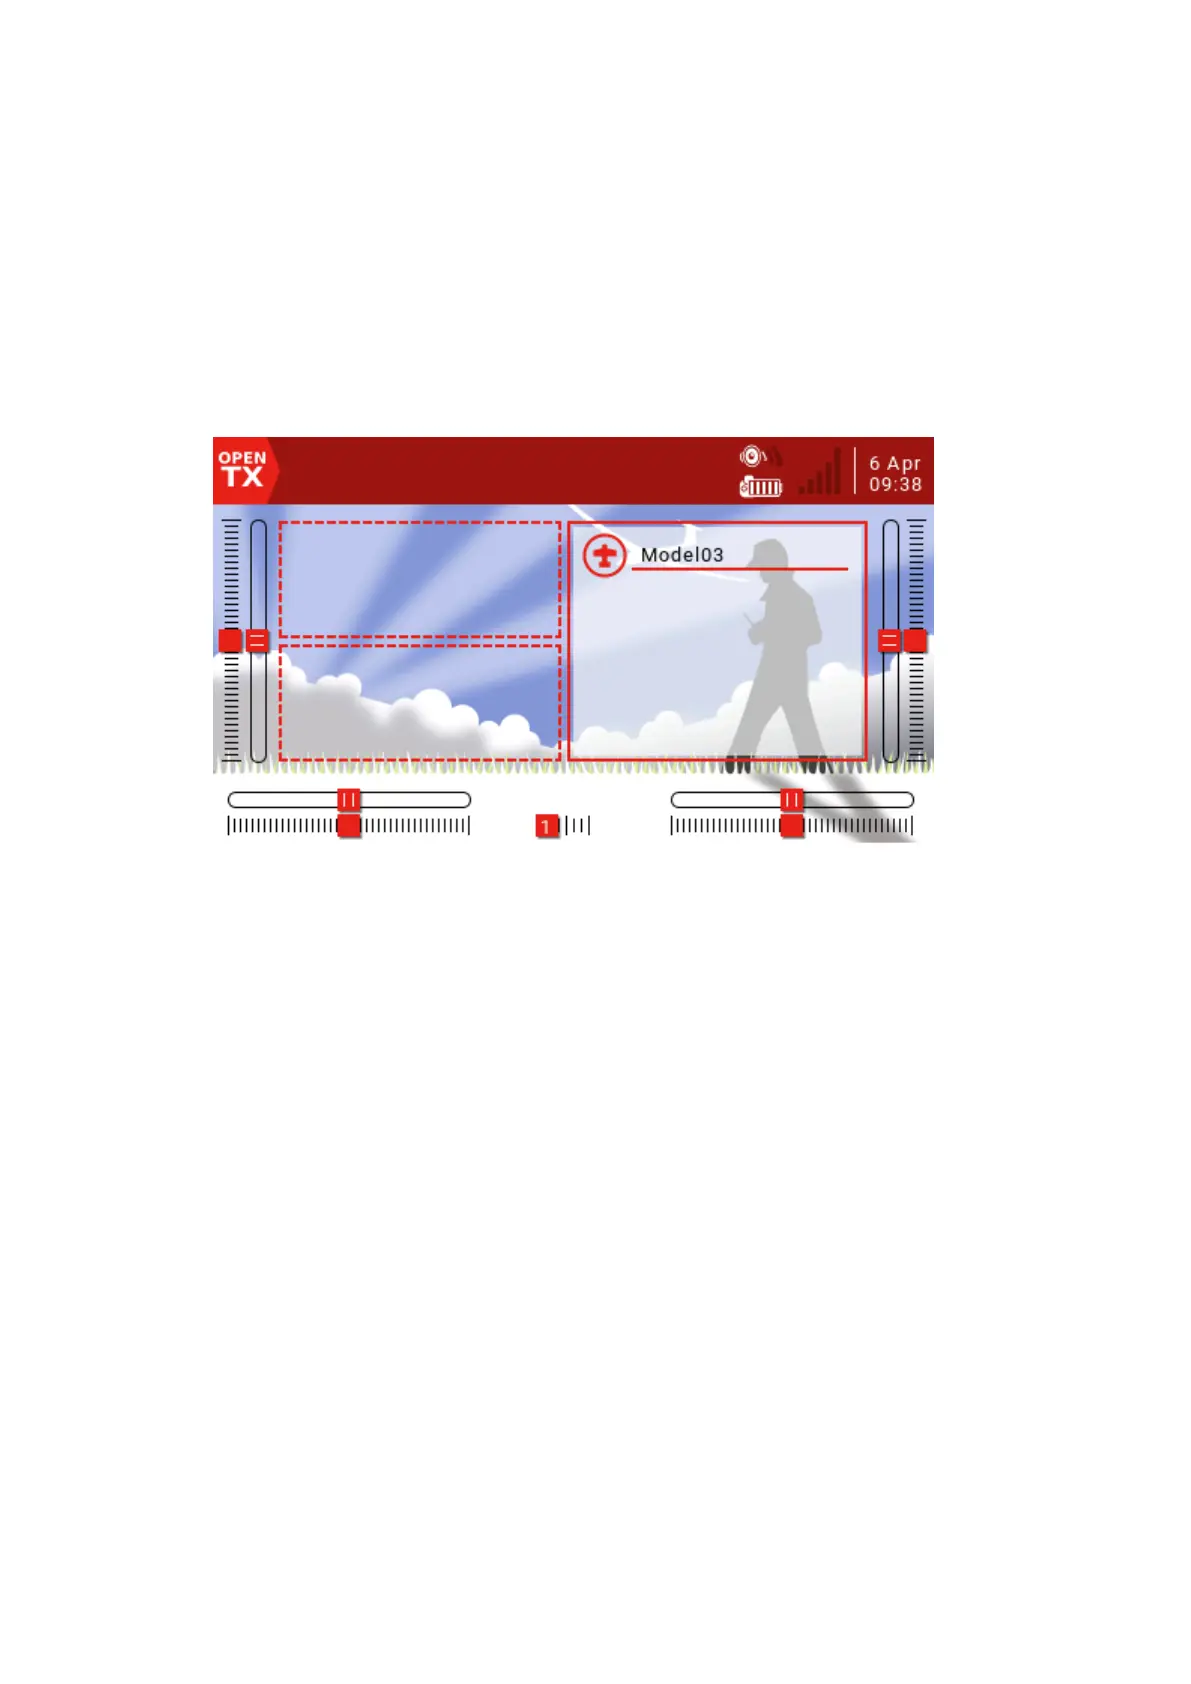
Layout:
There are 2 medium-sized widget areas on the left side of the default layout and 1
large area on the right side. The active layout is highlighted in white. There are 5 options,
from 1 large area to 8 small areas. Press the ENT key to enter the edit mode (the icon
changes from the currently selected white to red), then use the scroll wheel to select the
layout option (or use the [TELE] and [SYS] buttons) to confirm the selection by pressing
the ENT key. Press the RTN button to exit the edit mode.
Setup widgets:
Once you have selected the main view layout, you can set up the small window
next. Scroll down to "Setup widgets" and press ENT to enter edit mode.
Use the scroll wheel to select the area and press the ENT key. A list of available widgets will
pop up and a scroll arrow will appear on the right. Scroll through the options until you find the
part you want, then press the ENT key to enter edit mode.
Standard widget:
Outputs: Displays multiple channel outputs.
First channel: Select the first channel number to display.
Fill Background? If selected, the background fill color will be used.
BG Color: Sets the RGB value of the background color.
Value: Displays the value of the source.
Source: Select the source to display.
Color: Sets the RGB value of the text.
Shadow: Add a shadow to the text.
ModelBmp: Displays the model image set in the Model Setup page.
Text: Displays the specified text in the widget.
Text: The text to display.
Color: Sets the RGB value of the text.
Size: Determine the size of the text, from Standard, Tiny, Small, Mid to Double.
Shadow: Add a shadow to the text.
Gauge: The bar shows the selected source.
Source: Press and hold the ENT key to enter the submenu for selecting the input
source by category. Scroll up/down to the desired category and press ENT, it will return