•
4 rubber feet to stabilize the chassis on the a desk or other level surface (provided in
the accessory box in the switch carton)
To mount a switch on a desk or other level surface:
1. Remove the switch from the shipping carton (see “Unpacking an EX3300 Switch” on
page 66).
2. Turn the chassis upside down on the desk or the level surface where you intend to
mount the switch.
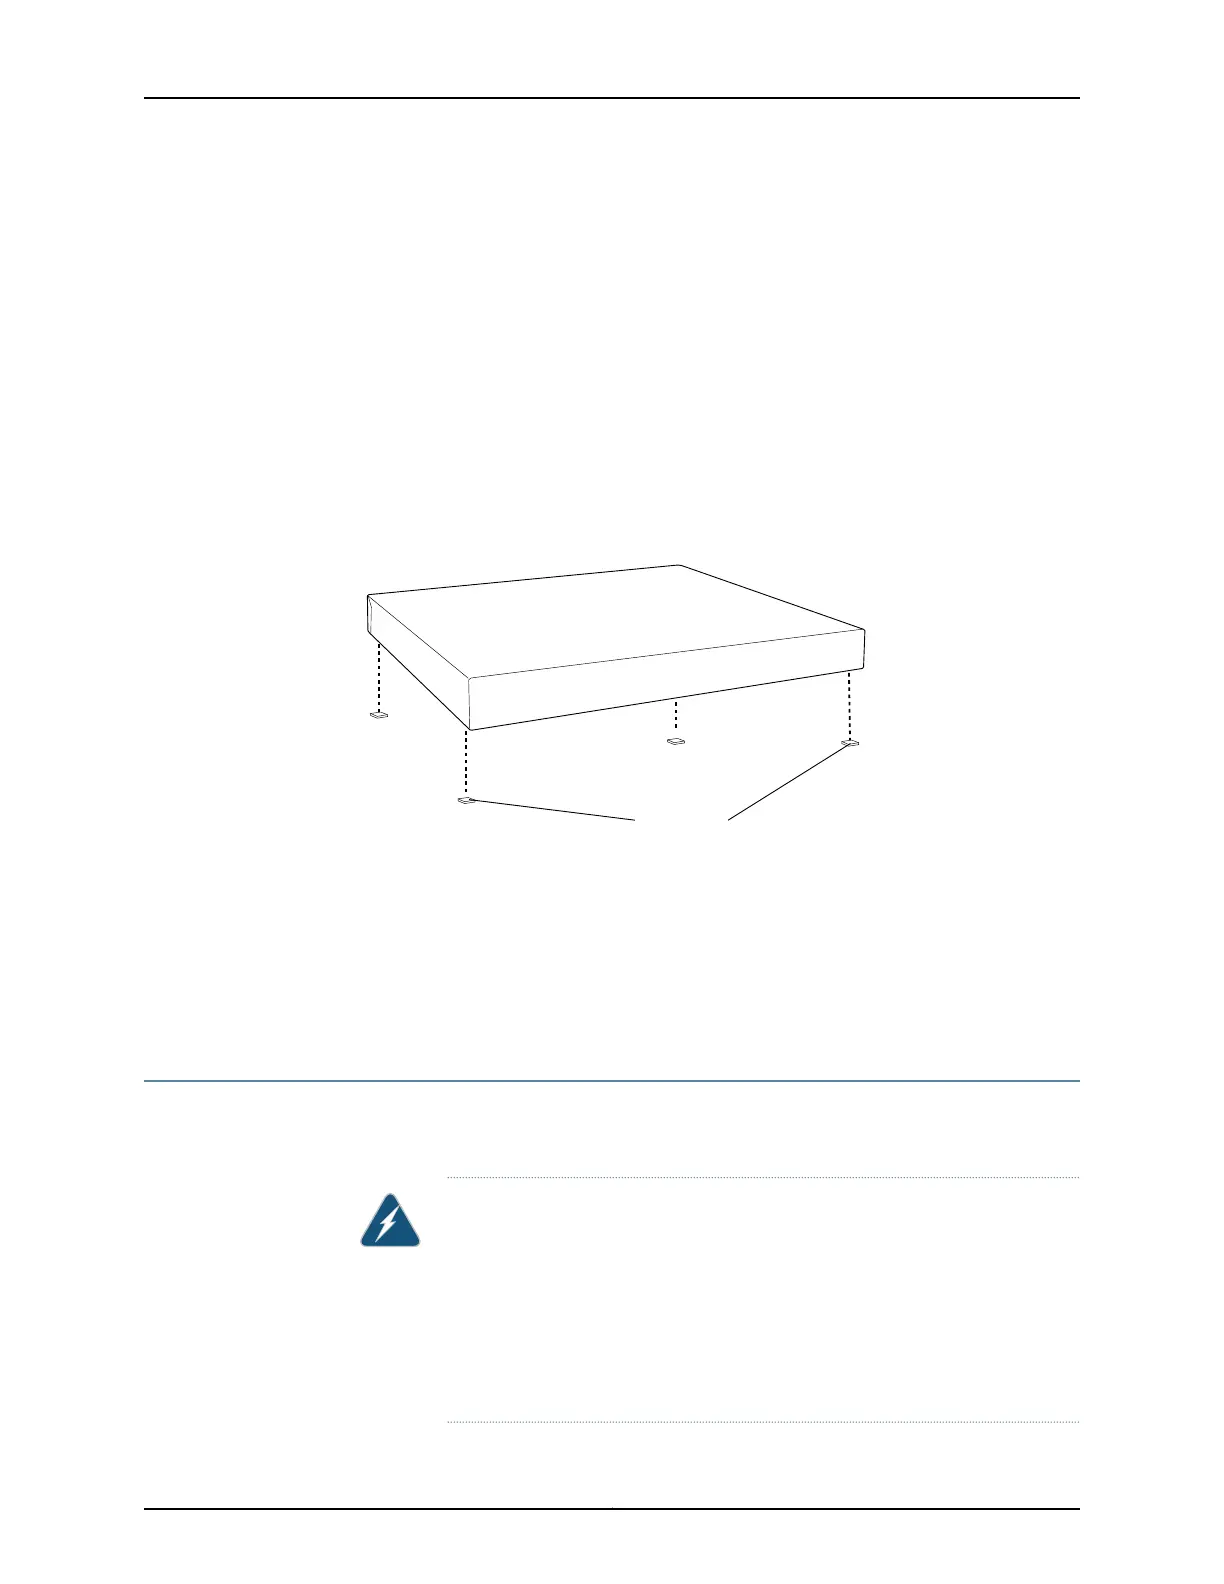
3. Attach the rubber feet to the bottom of the chassis, as shown in Figure 27 on page 75.
4. Turn the chassis right side up on the desk or the level surface.
Figure 27: Attaching Rubber Feet to a Switch Chassis
Related
Documentation
Connecting AC Power to an EX3300 Switch on page 91•
• Connecting DC Power to an EX3300 Switch on page 92
• Connecting and Configuring an EX Series Switch (CLI Procedure) on page 110
• Clearance Requirements for Airflow and Hardware Maintenance for EX3300 Switches
on page 50
Mounting an EX3300 Switch on a Wall
You canmount an EX3300 switch on a wall by using the separately orderable wall-mount
kit.
WARNING:
When mounting an EX3300 switch chassis in a vertical position, orient the
front panel of the chassis downward to ensure proper airflow and meet
safety requirements in the event of a fire.
•
•
Install the wall-mount baffle above the units to reduce the risk of objects
or substances falling into the air exhaust or power supply, which could
cause a fire.
75Copyright © 2011, Juniper Networks, Inc.
Chapter 9: Installing the Switch