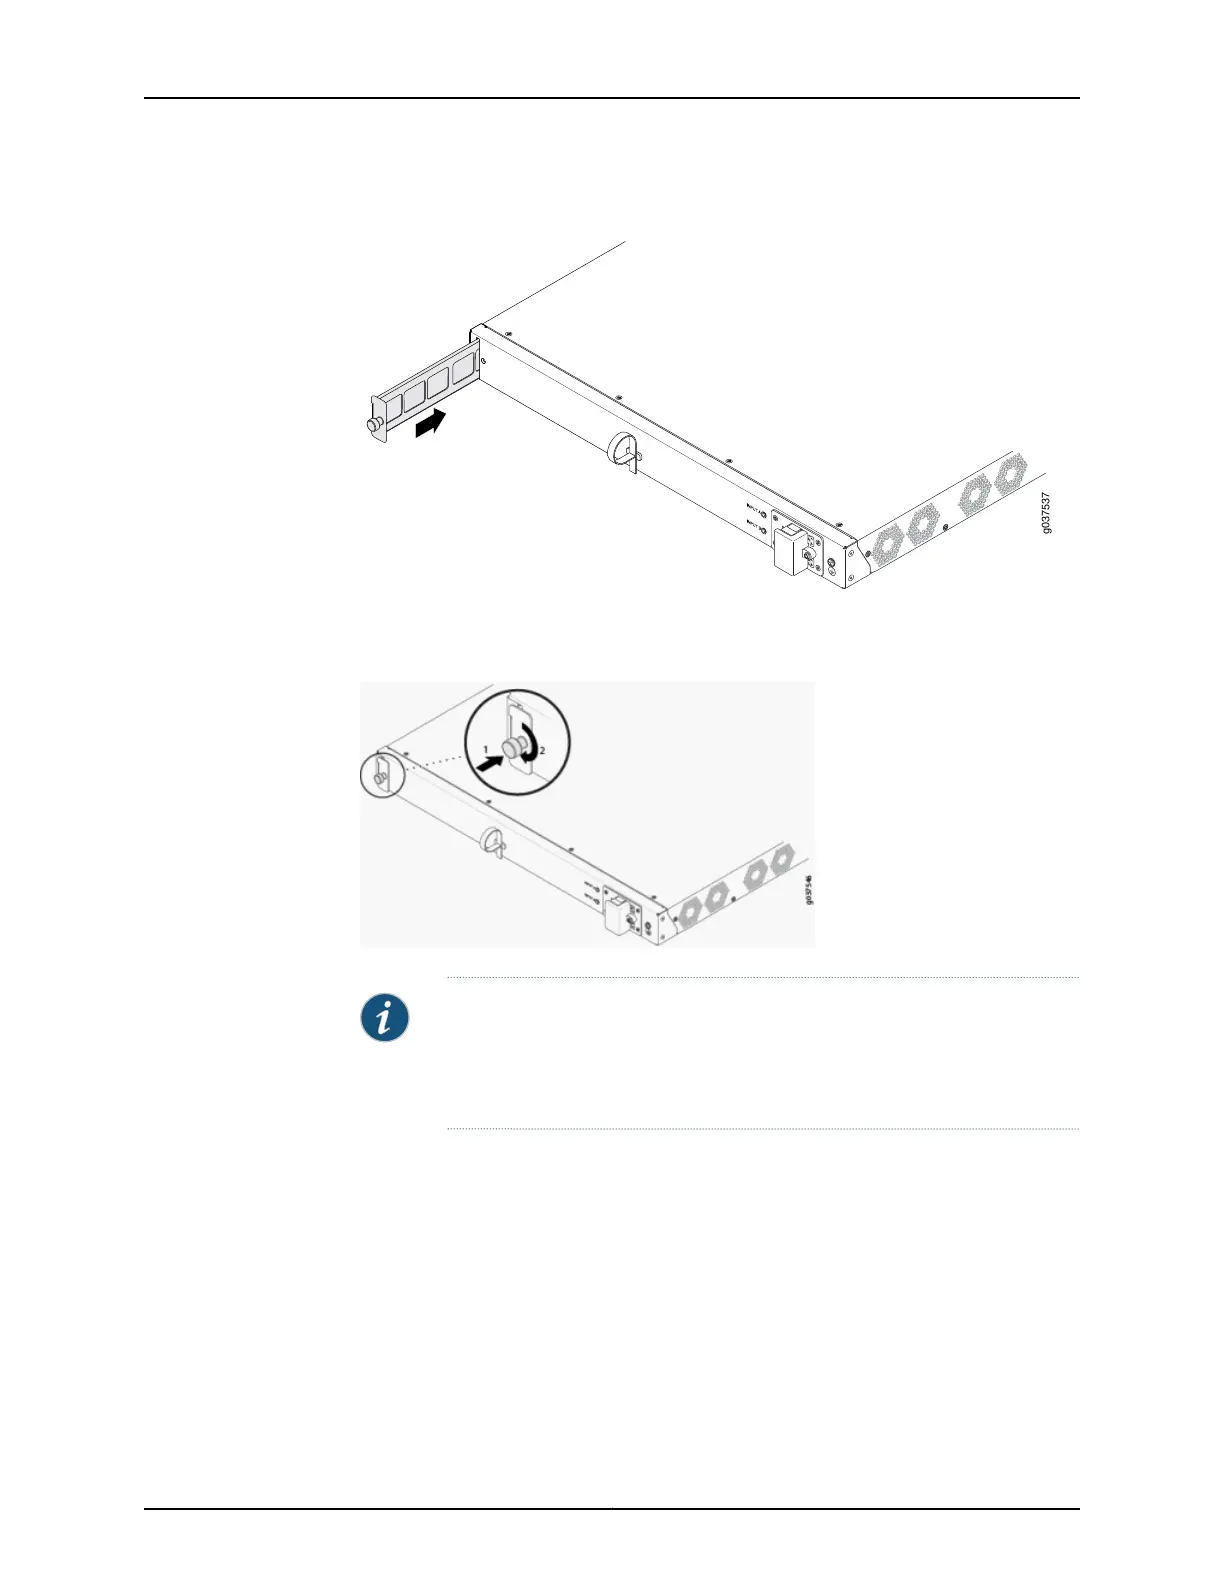
Figure 23: Installing the Air Filter in a Services Gateway
5. Tighten the screw on the air filter to secure it in the chassis. See Figure 24 on page 123.
Figure 24: Tightening the Air Filter Screw
NOTE: When you are inserting an air filter for the first time on the SRX240
Services Gateway High Memory with AC Power supply model, you must
remove the air filtercover by removing the screw on the cover using a number-1
Phillips screwdriver.
Related
Documentation
• Maintaining the SRX240 Services Gateway Hardware Components on page 105
• SRX240 Services Gateway Air Filter on page 24
123Copyright © 2015, Juniper Networks, Inc.
Chapter 18: Replacing Cooling System Components

 Loading...


